Cute Nail Designs: 25 Stunning Ideas to Try Right Now
Ever looked down at your nails and thought, “These need a serious upgrade”? Well, you’re in luck. Cute nail designs are the perfect way to add a splash of personality to your look without breaking the bank. From playful polka dots to chic minimalist lines, there’s a design for every vibe and occasion.
Consider this or think about this: you’re at a party, and someone catches a glimpse of your nails. Suddenly, you’re the center of attention, and everyone’s asking where you got them done. Trust me, a cute nail design can be the ultimate conversation starter. Ready to turn your nails into tiny canvases of art? Let’s explore or examine into the world of adorable nail designs that’ll make you the envy of all your friends.
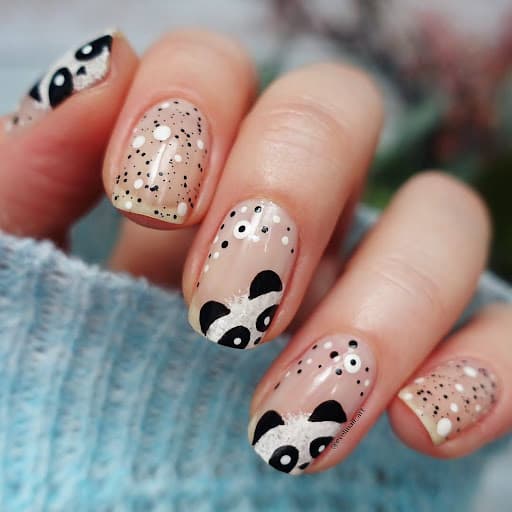
Classic Polka Dots
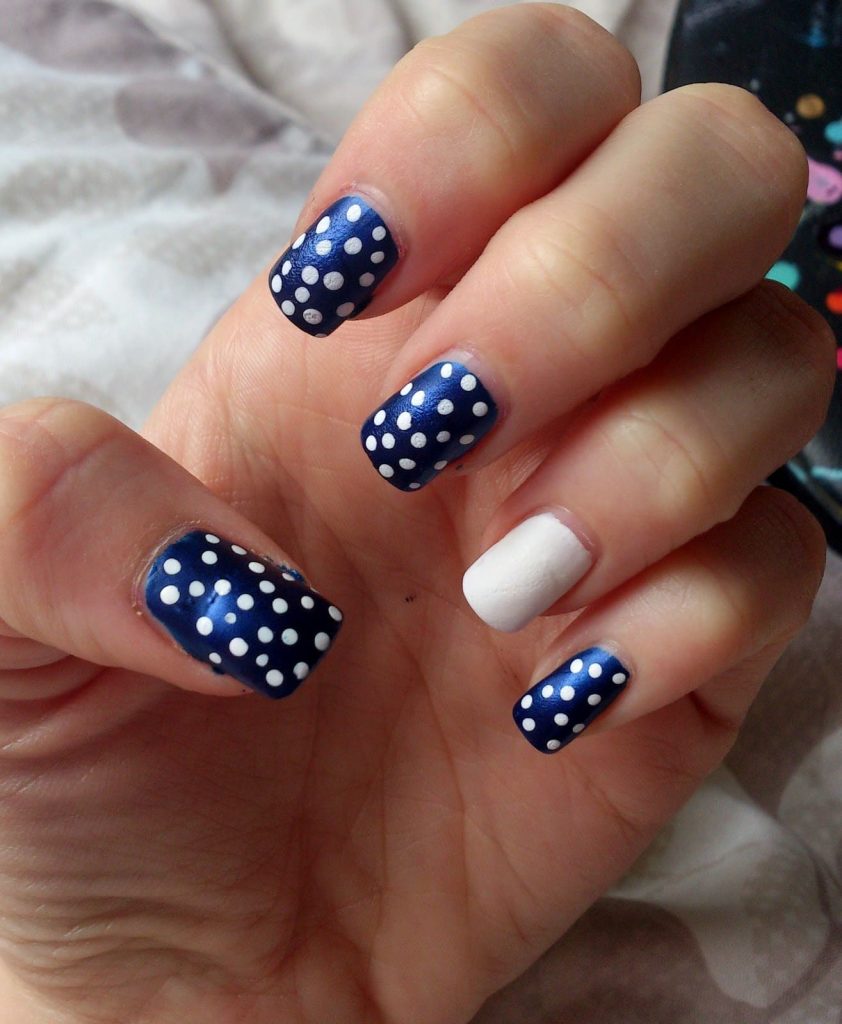
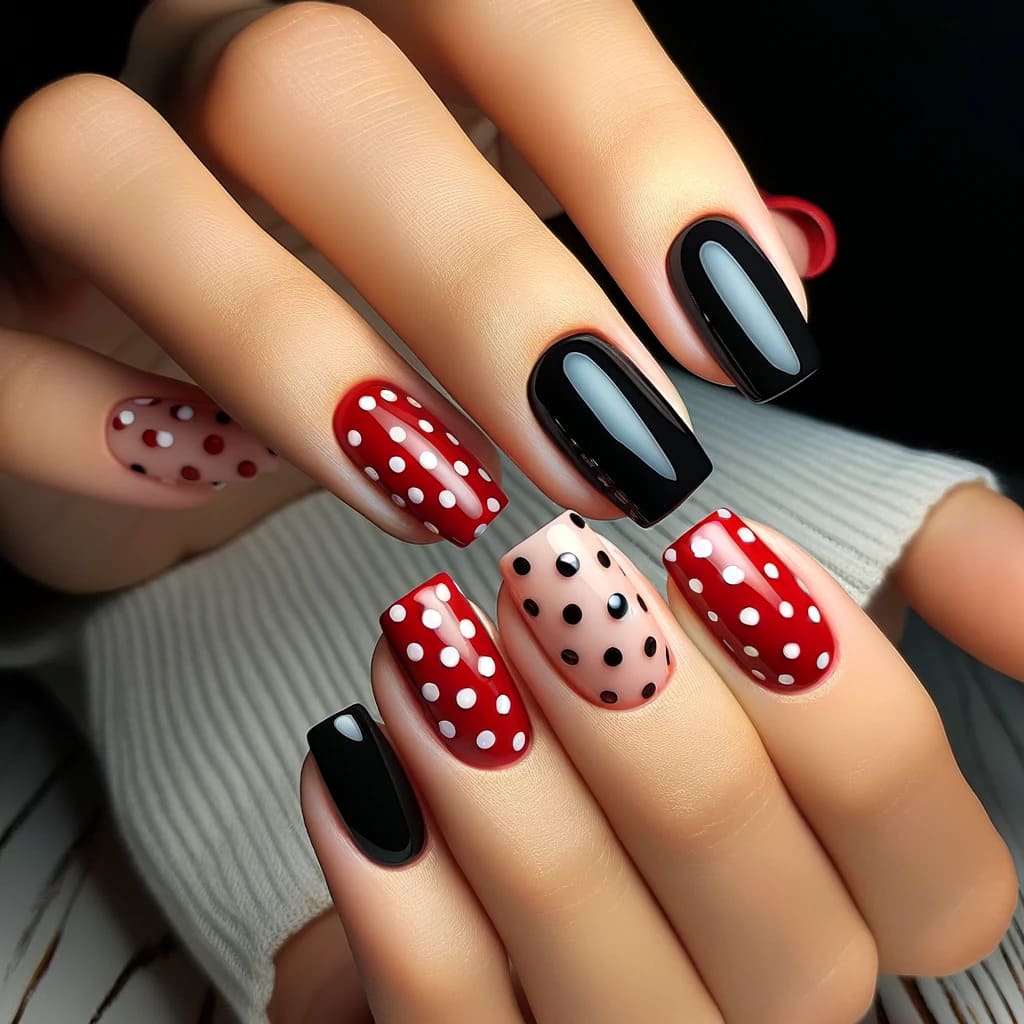
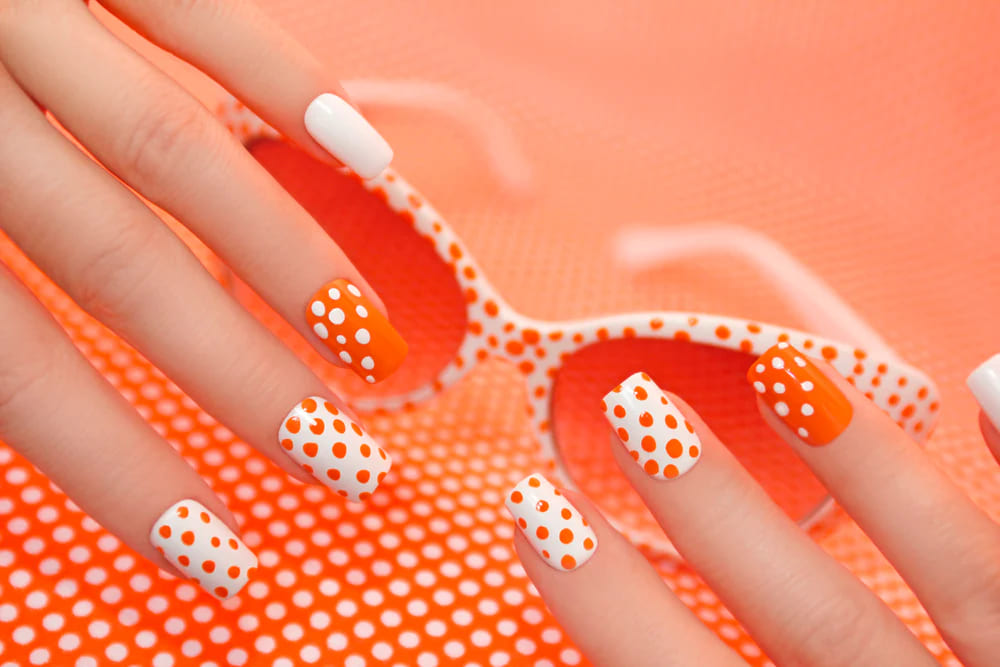
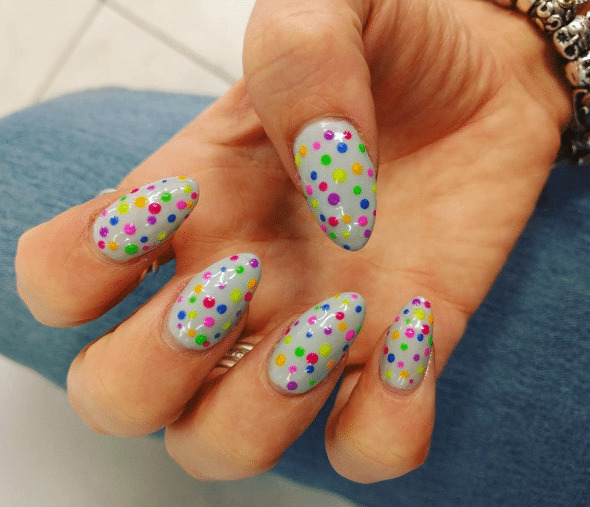
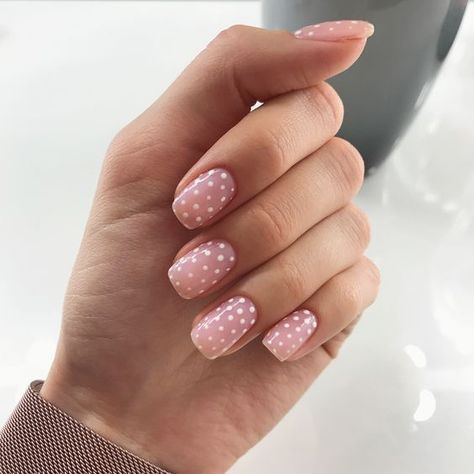
Possibly the most timeless design, classic polka dots add a touch of playfulness to any look. They are versatile enough to work on any nail length or shape, providing a simple yet chic aesthetic.
Choosing the Right Base Color
Selecting the perfect base color is essential in achieving that polished look. For a classic style, I recommend using neutral tones like white or beige. These colors make the dots pop. If you’re feeling bold, go for a bright shade like red or navy blue. Your base color sets the stage, so choose one that fits your style and the season. And remember, a smooth application of the base coat is vital or critical for a clean finish.
Perfecting Your Dots
Creating even and round dots can be tricky at first, but with a bit of practice, it’s simple. I like to use a dotting tool—you can find one at most beauty stores. Dip the tool lightly into your chosen polish, then gently press it onto the nail. For larger dots, use more polish; for smaller ones, use less. Spacing the dots evenly can be a game-changer, so take your time. If you don’t have a dotting tool, a bobby pin or the end of a makeup brush can work just as well.
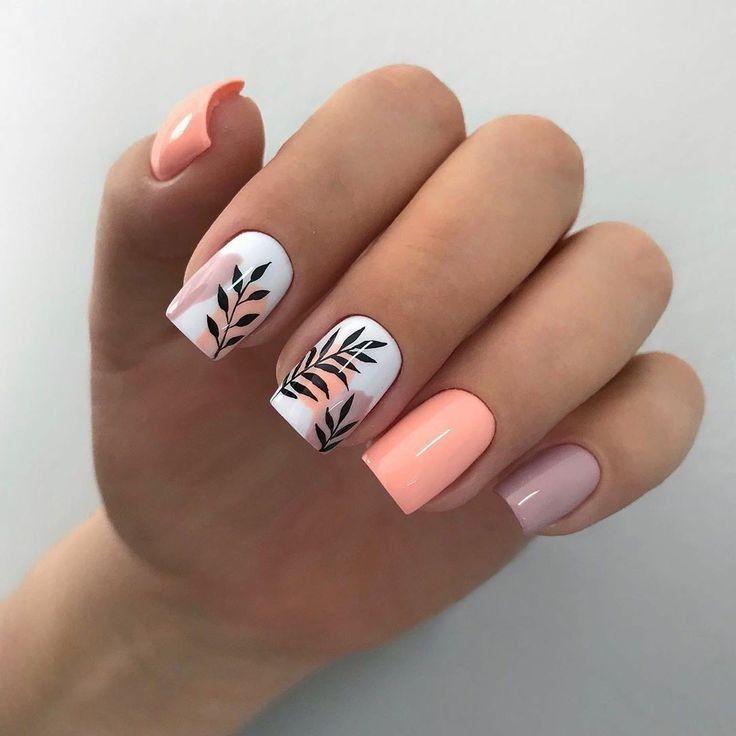
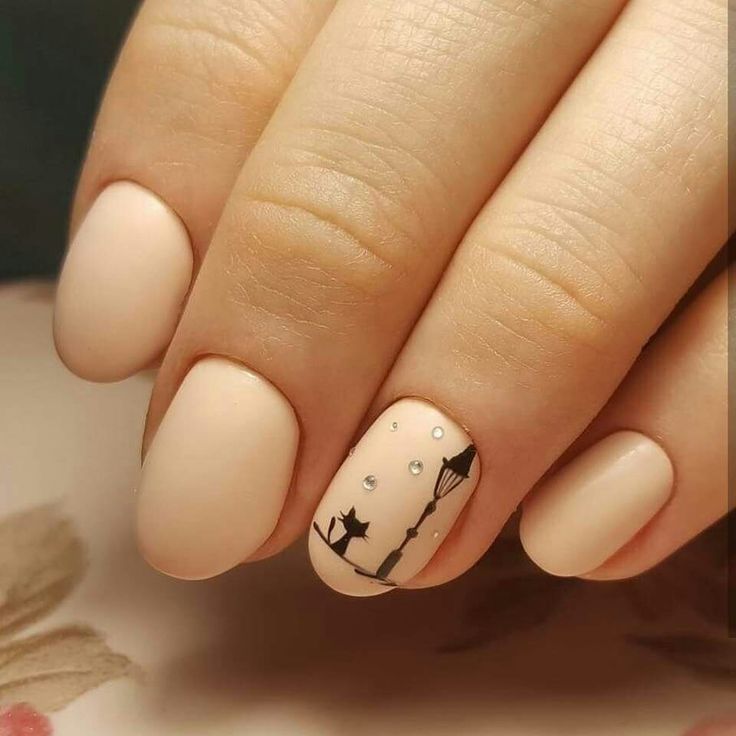
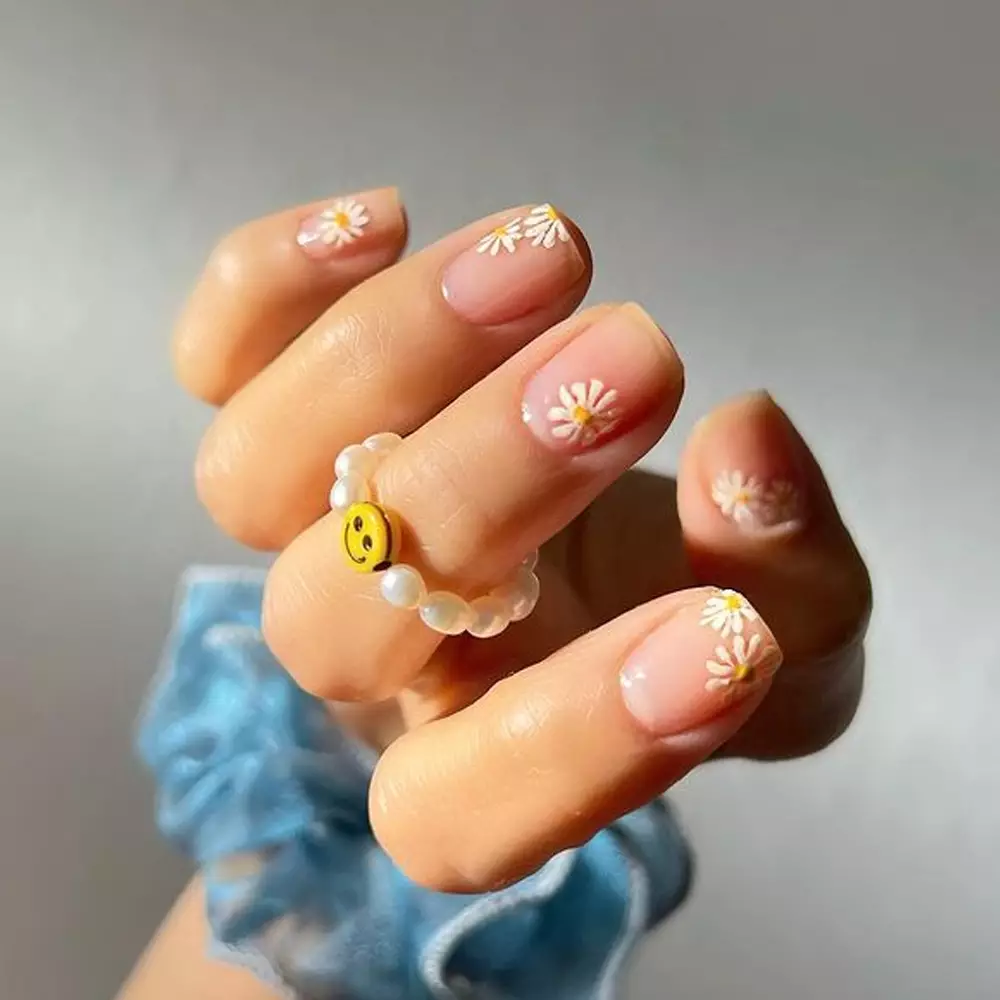
Floral Patterns
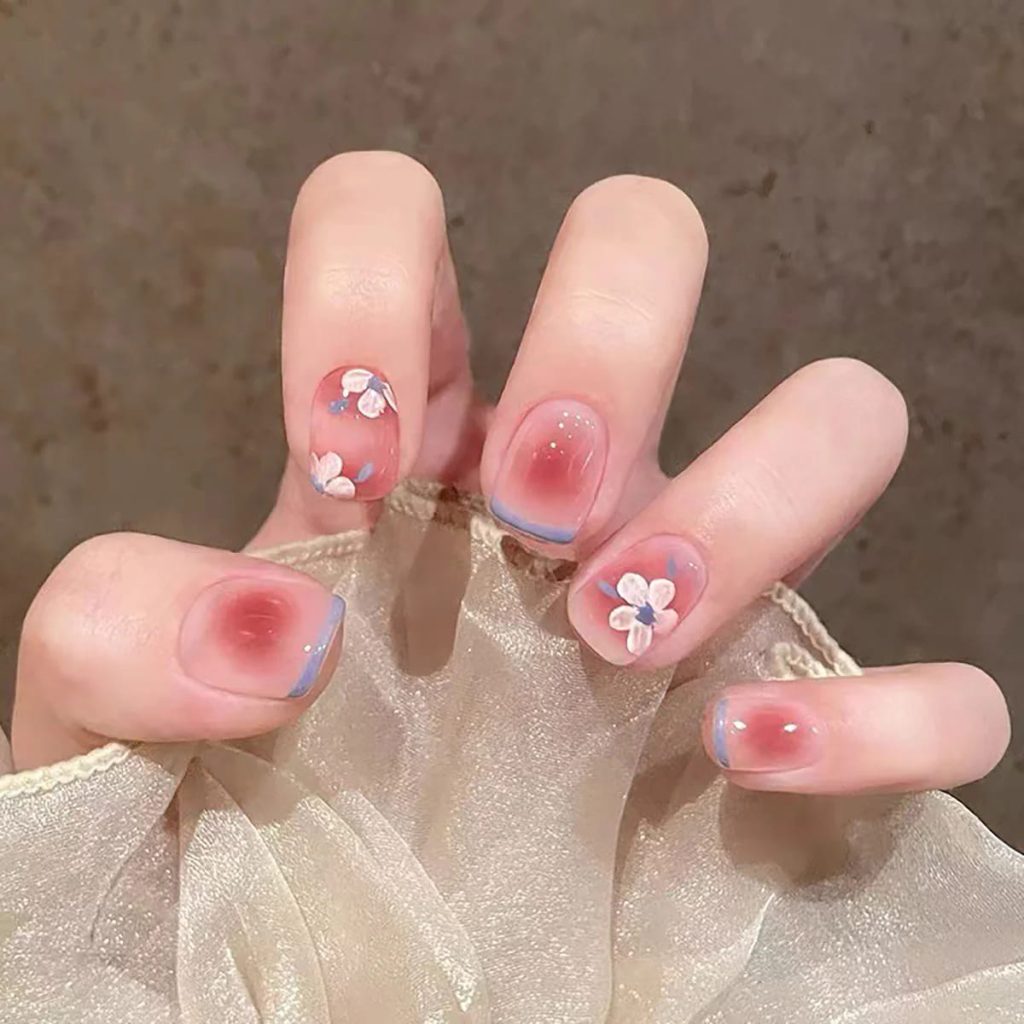
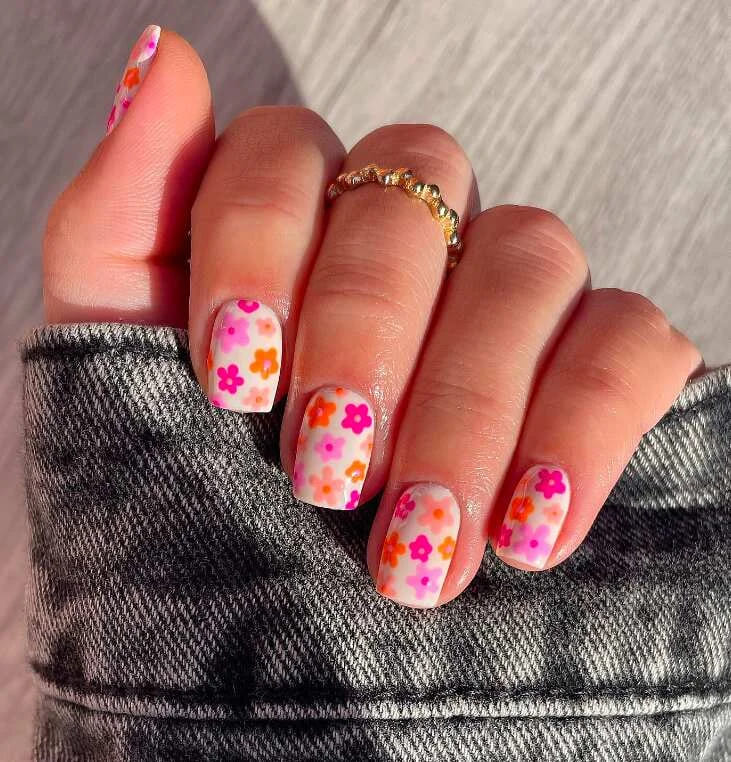
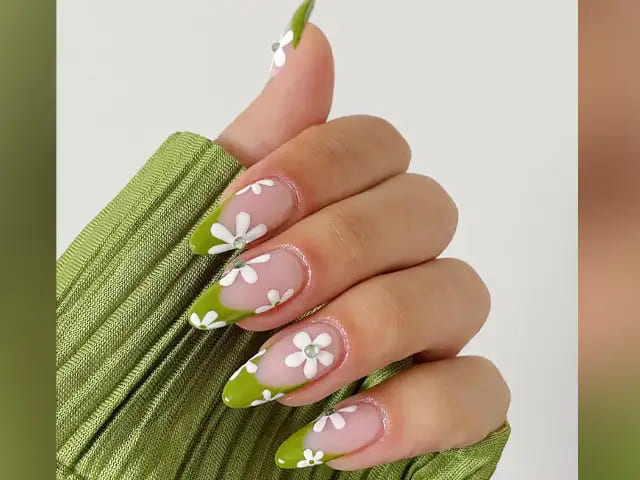
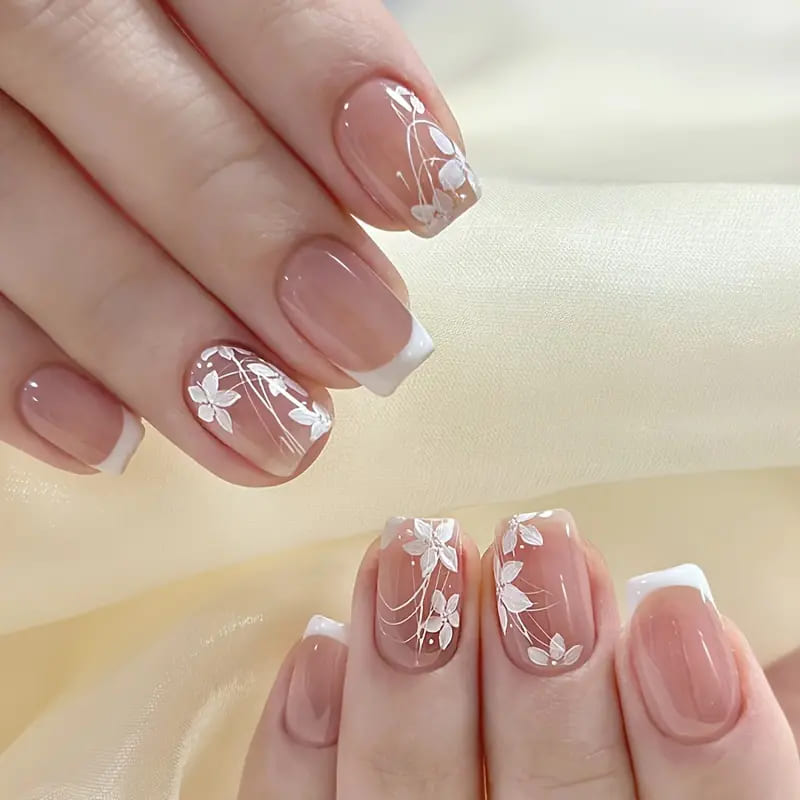
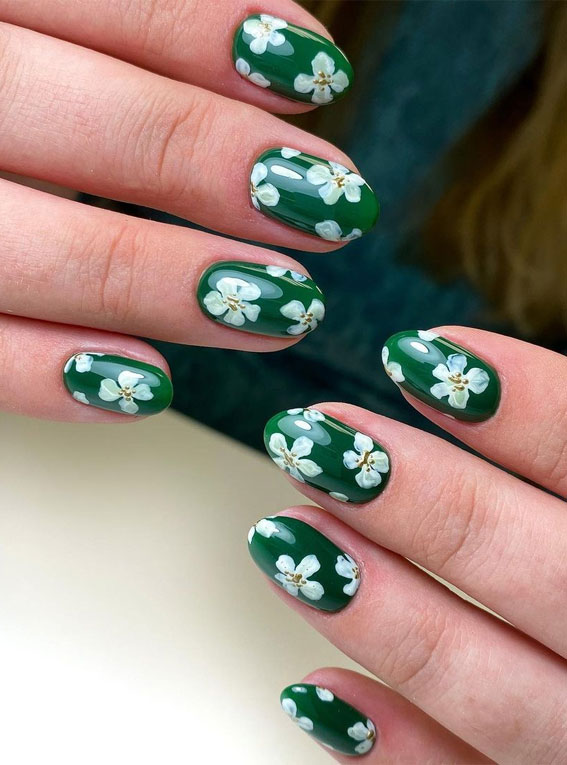
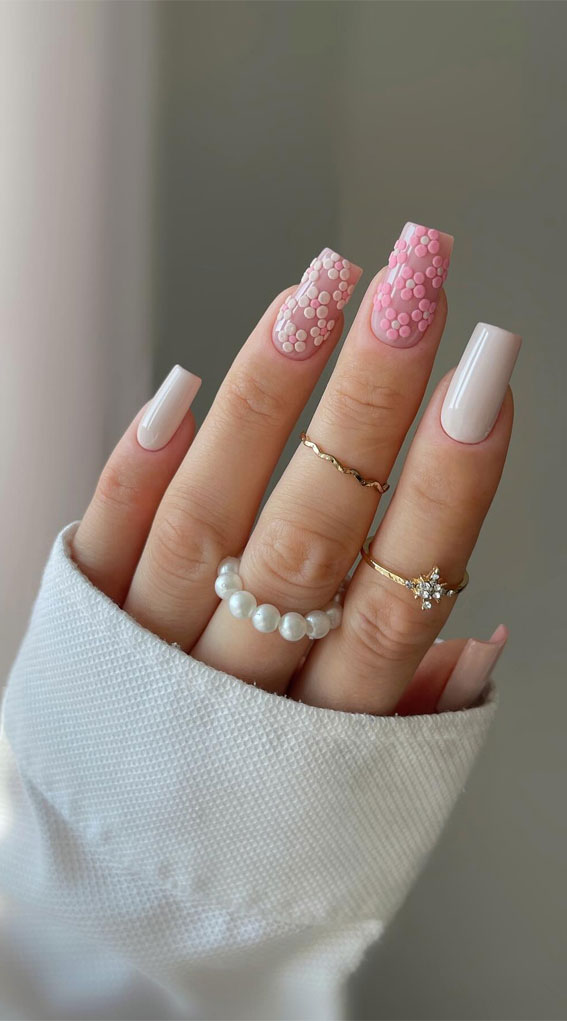

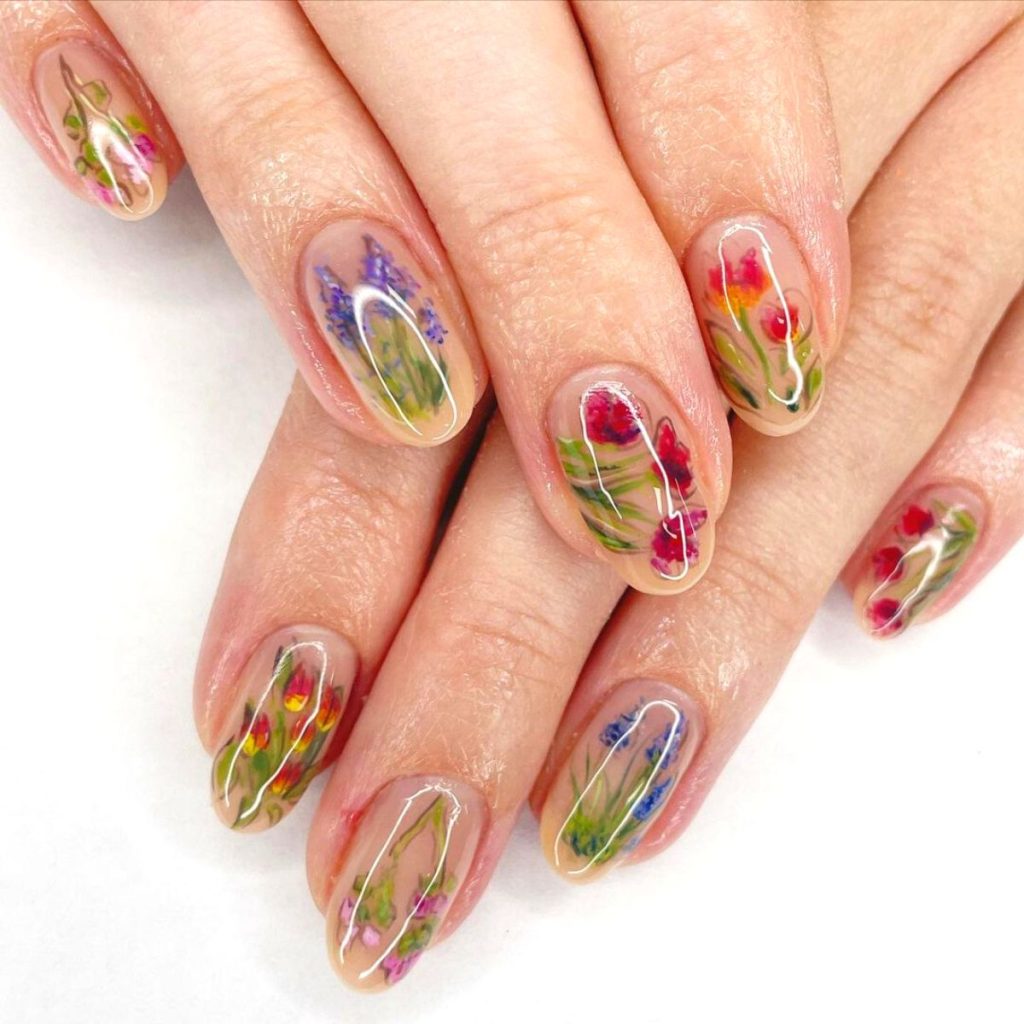
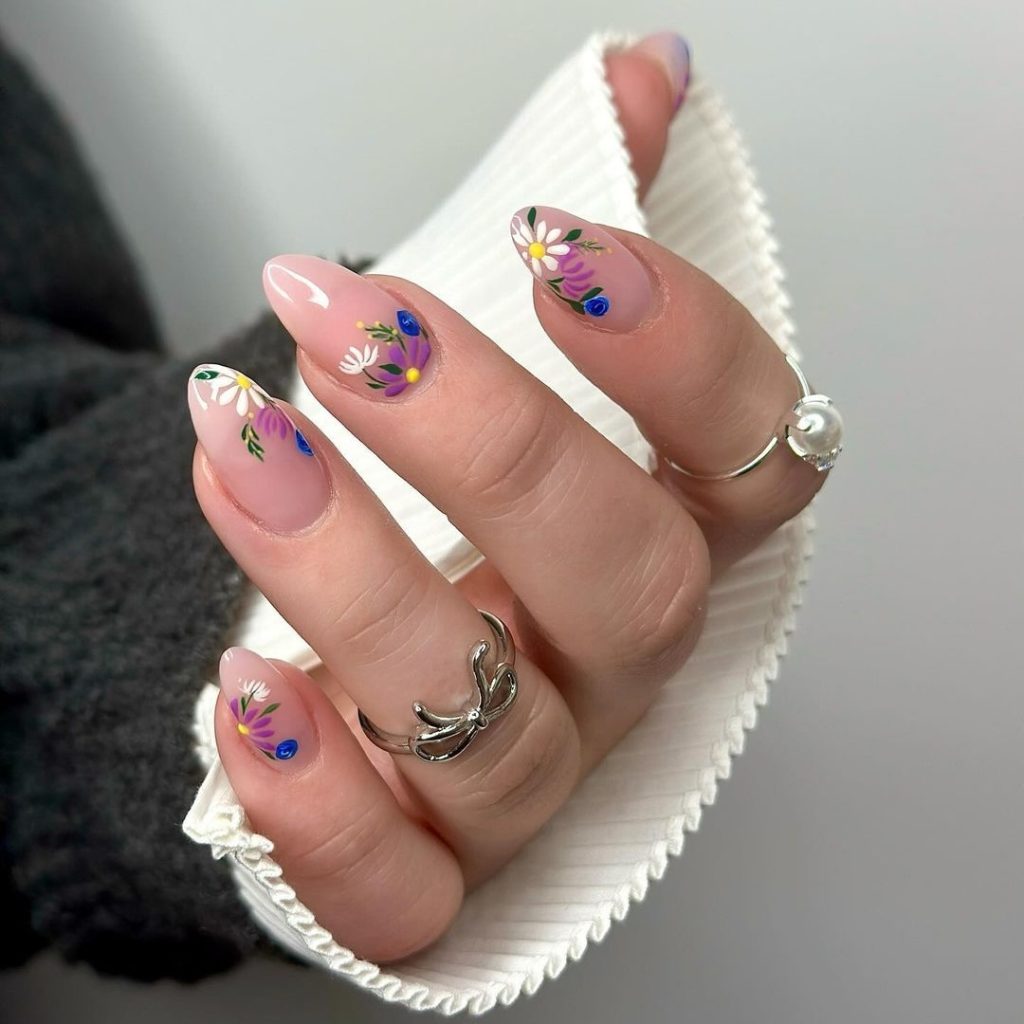
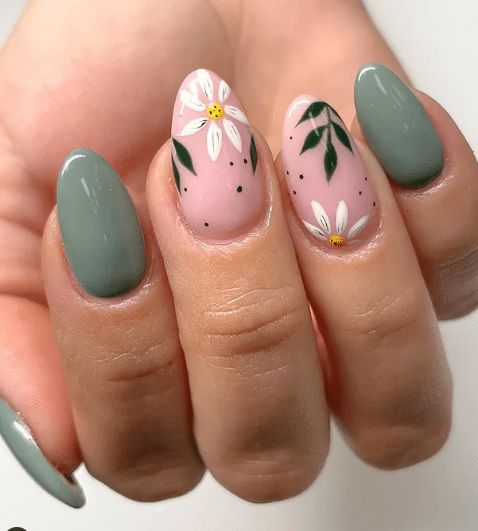

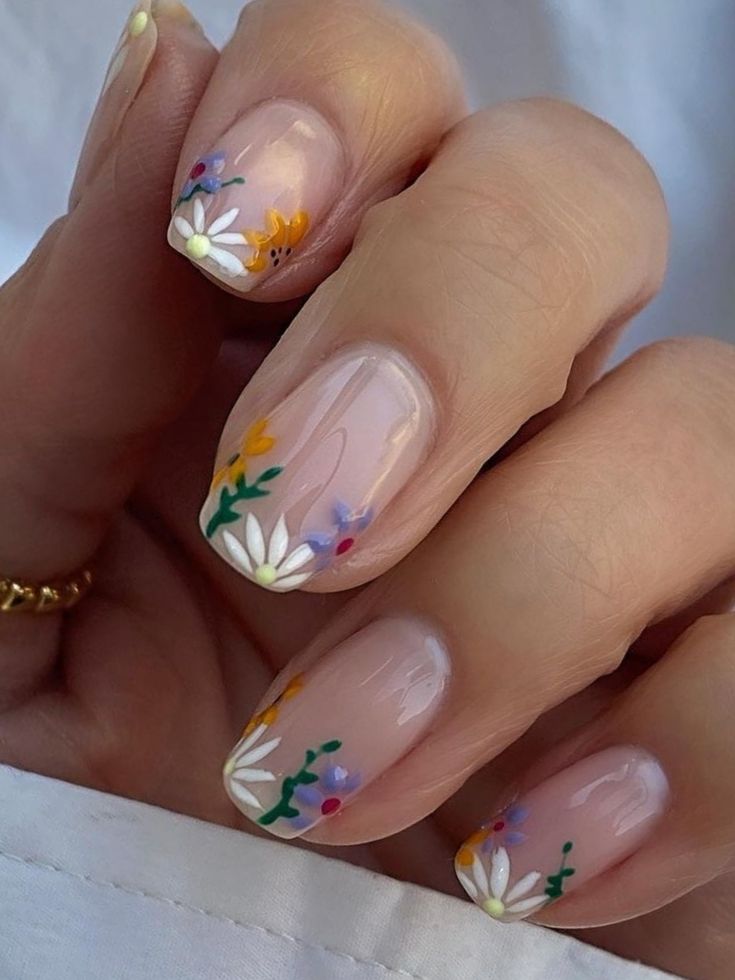
Floral patterns are a timeless choice for cute nail designs. They add a touch of nature’s elegance and can be customized or adapted to various styles and occasions.
Best Flower Designs
Detailed roses or lilies can give your nails a sophisticated look. Sunflowers with their bright, happy hues are perfect for a cheerful vibe. Using daisies with simple white petals brings a fresh, minimalistic touch. Cherry blossoms offer a delicate and refined appearance, ideal for special events.
- Prepare Nails: Clean and file your nails to the desired shape. Remove old polish and push back cuticles.
- Apply Base Coat: Start with a clear base coat to protect your nails and make the design last longer.
- Base Color: Paint your nails with a base color that complements your floral design. Pastels are perfect for a soft look, while bold shades make flowers pop.
- Draw Outlines: Use a thin nail brush to outline the flower shapes gently. For precise details, nail art pens work wonders.
- Fill Colors: Fill in the outlines with appropriate colors. Tiny brushes help for intricate details on petals.
- Add Details: Enhance the flowers by adding tiny dots or streaks to mimic the realistic texture of petals.
- Top Coat: Seal your design with a glossy top coat to prevent chipping and give a polished finish.
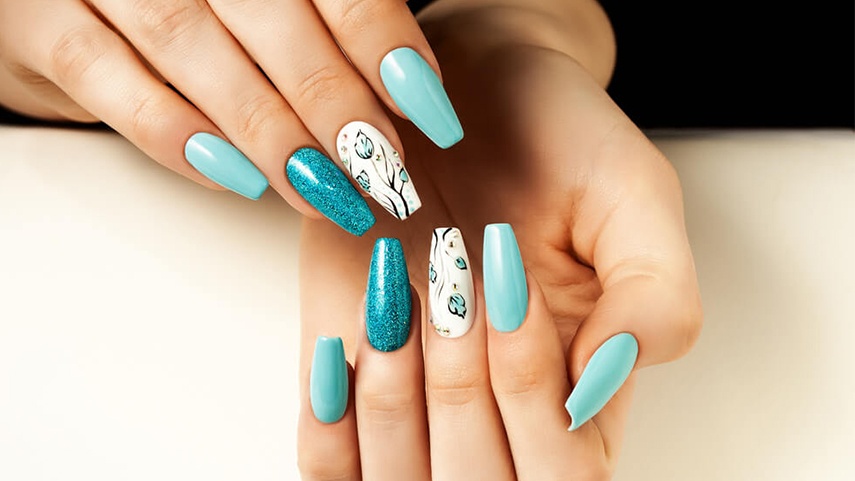
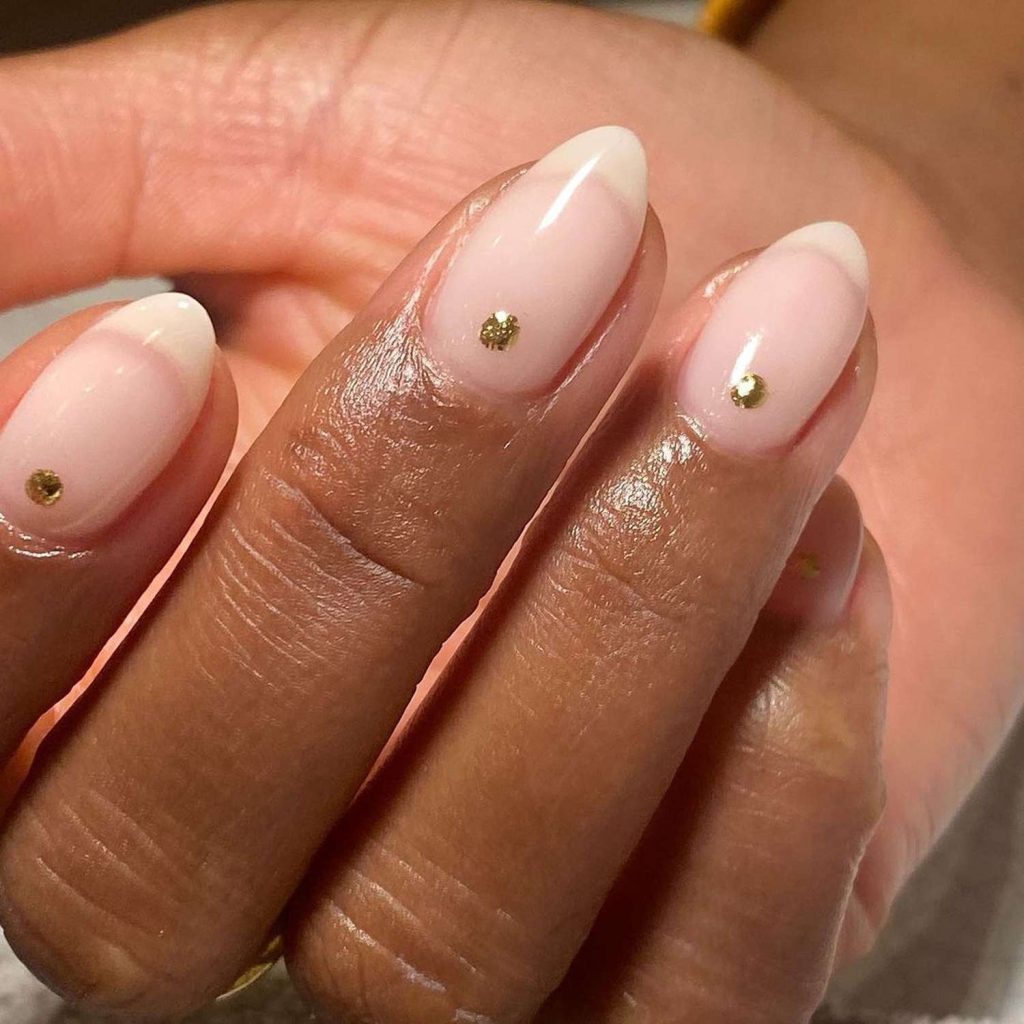
Glitter Accents

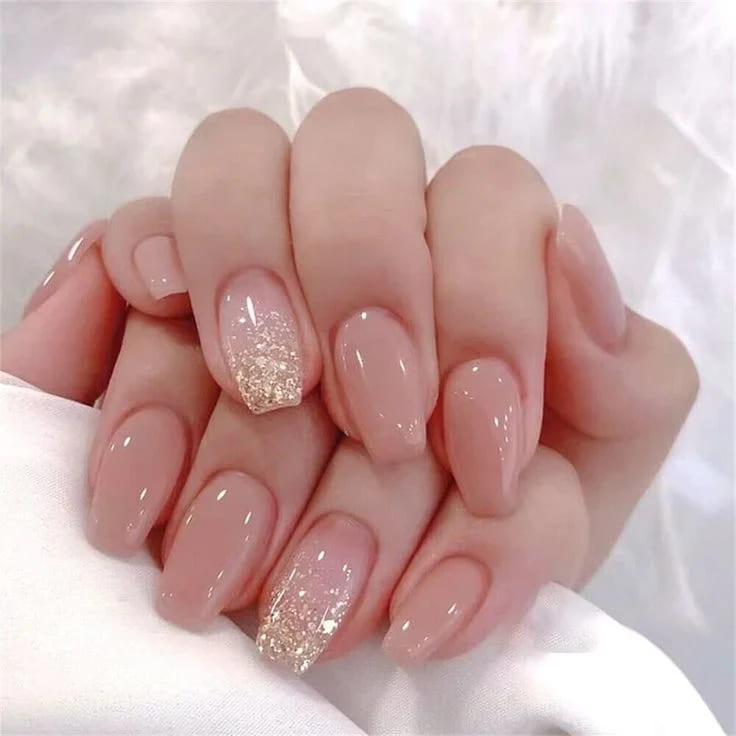
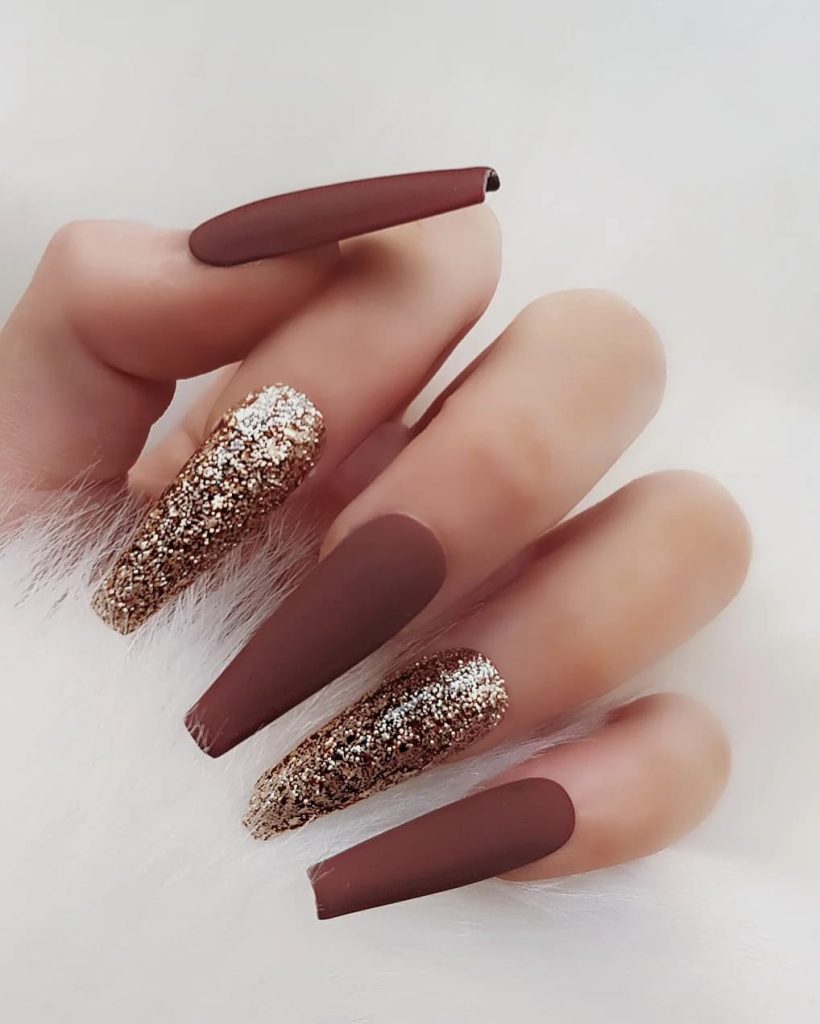
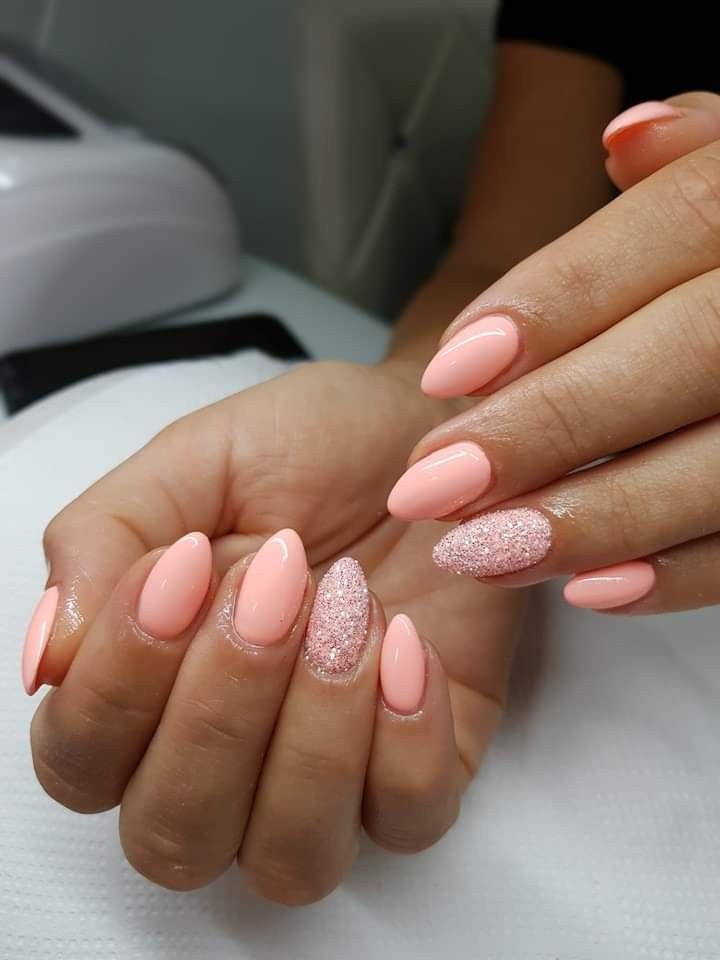
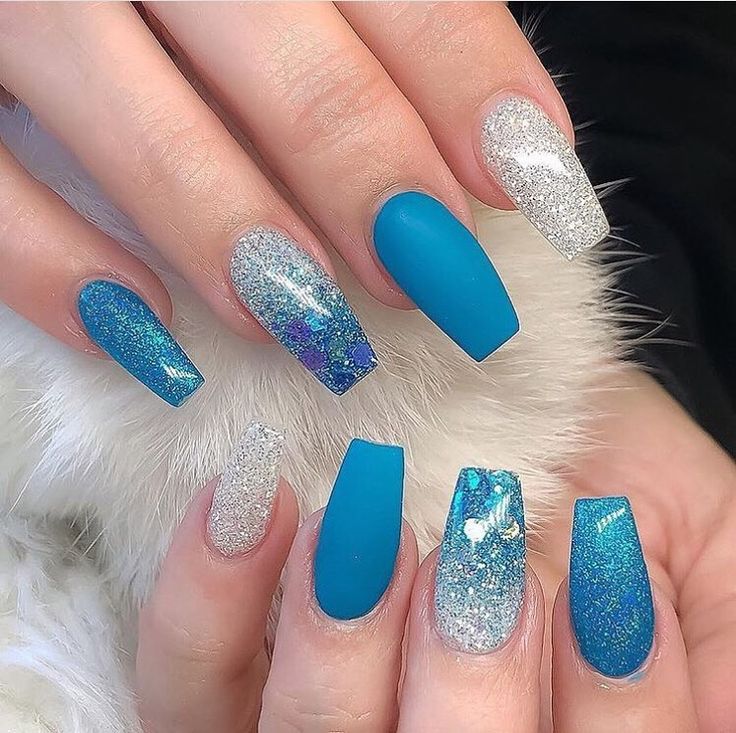
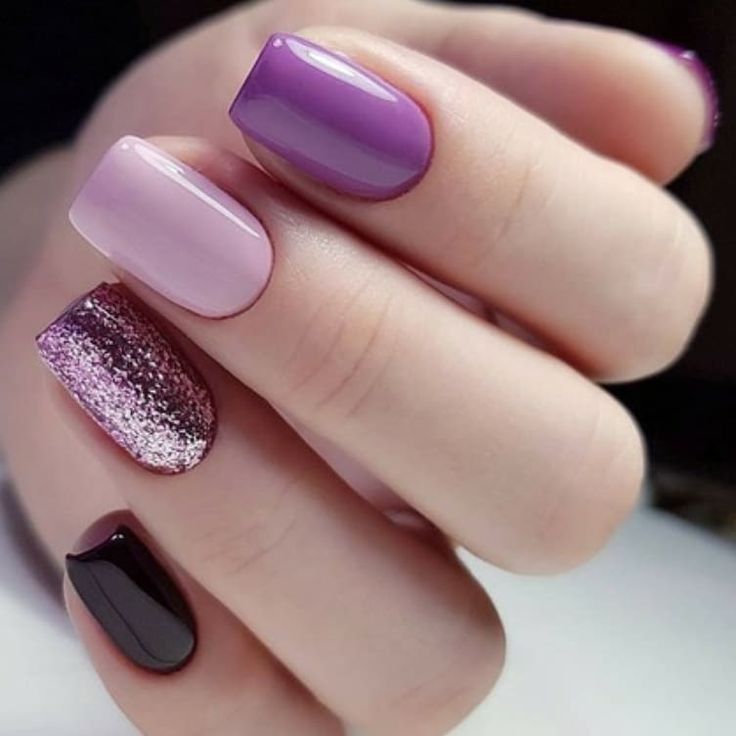
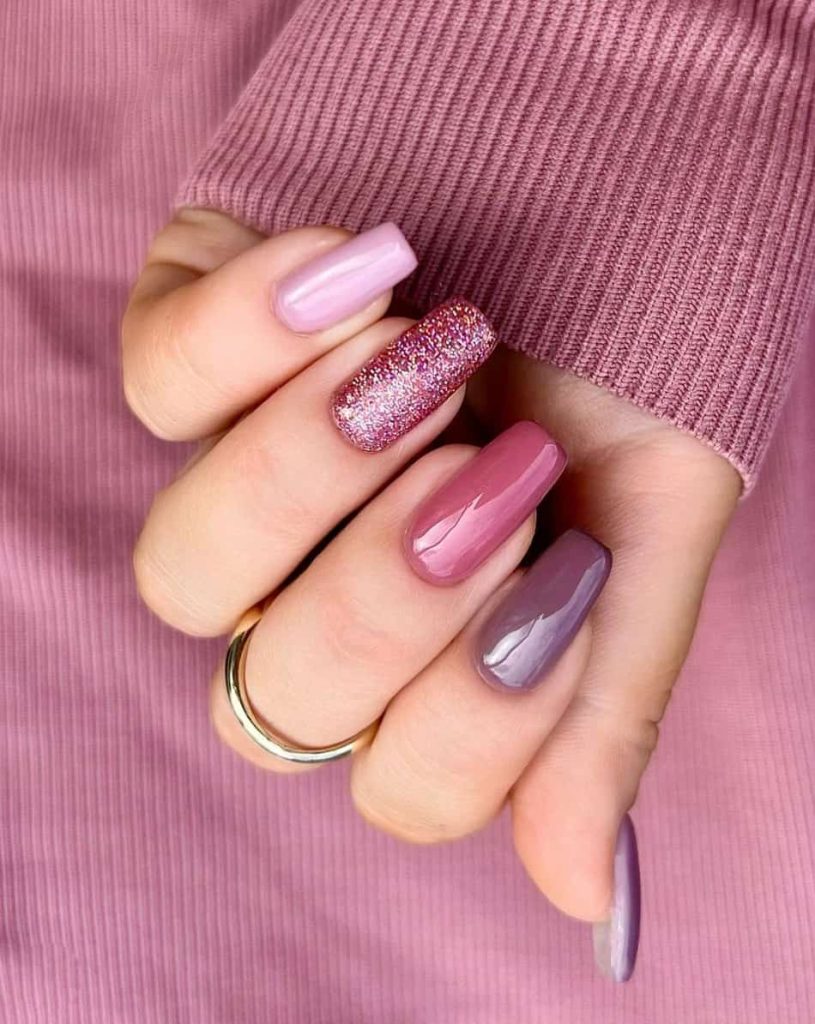
Who doesn’t love a bit of sparkle? Glitter accents can improve or upgrade your nail designs to the next level, adding a touch of glamour and fun.
Glitter Placement Tips
Placement is everything regarding or concerning glitter. First, choose where you want the glitter to stand out. It could be the tips, creating a sparkly French manicure. Another option is to focus on the base, giving it a gradient effect. Make sure to use a fine brush for precise application. Dip the brush lightly into the glitter for controlled placement. Don’t forget to tap off any excess. If you want an all-over glitter effect, apply it evenly across the nail. For a more subtle look, opt for accent nails to keep the focus on selected ones.
Combining Glitter with Other Designs
Mixing glitter with other designs adds creativity. You could start with a minimalist base. Once it’s dry, add geometric shapes like triangles or lines. Outline these shapes with glitter for a chic finish. If you love florals, insert glitter into the center of your flowers for an eye-catching twist. Or, go for a more playful or fanciful look by blending glitter with polka dots or stripes. Experiment with different patterns and colors to find your perfect combination. Matching the glitter color with other design parts or components can create harmony. Don’t be afraid to try new combinations to make your nails one-of-a-kind.
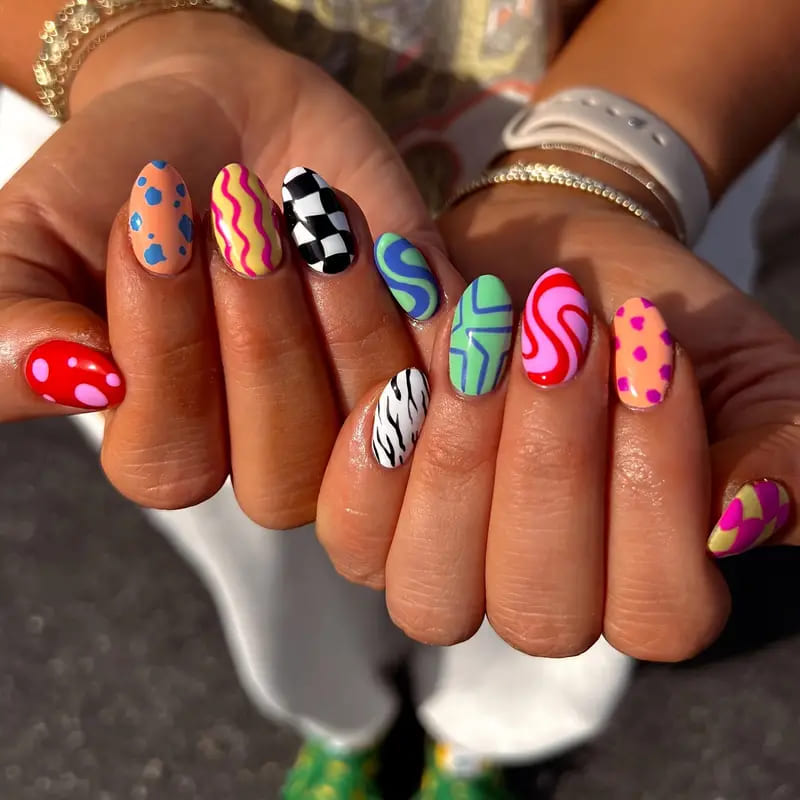
Animal Prints
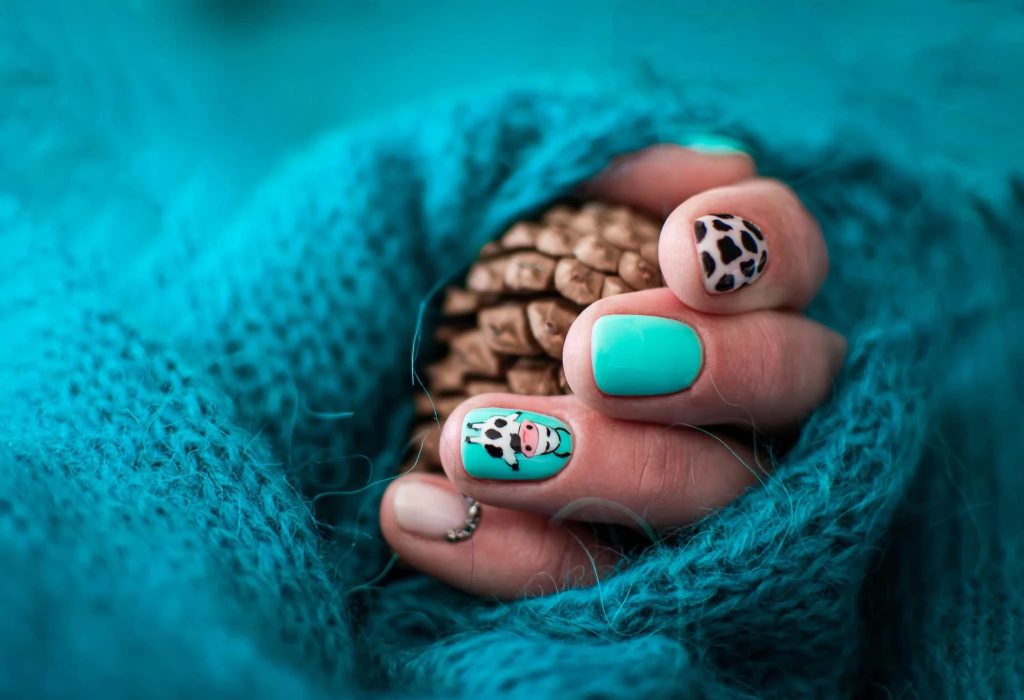
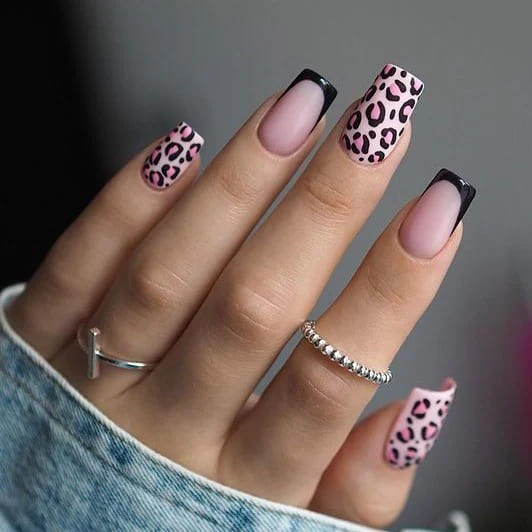

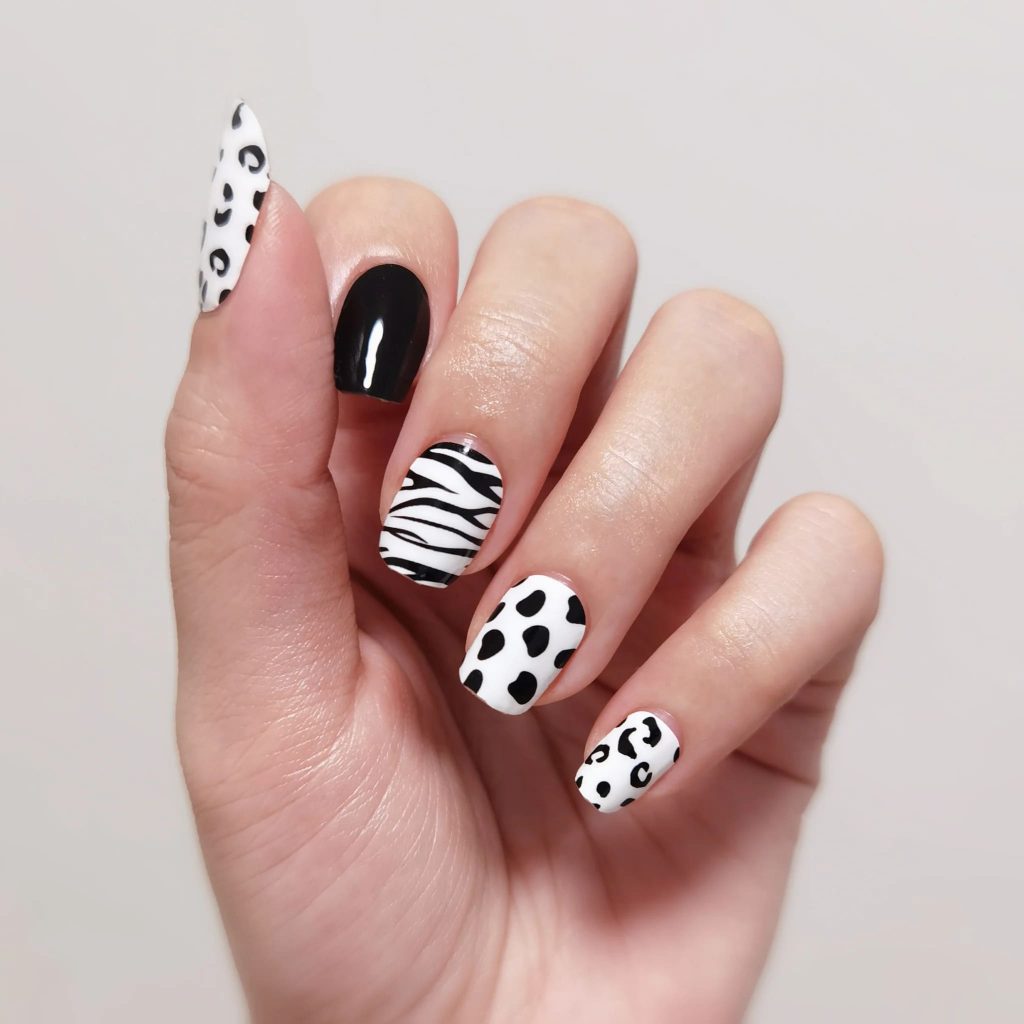
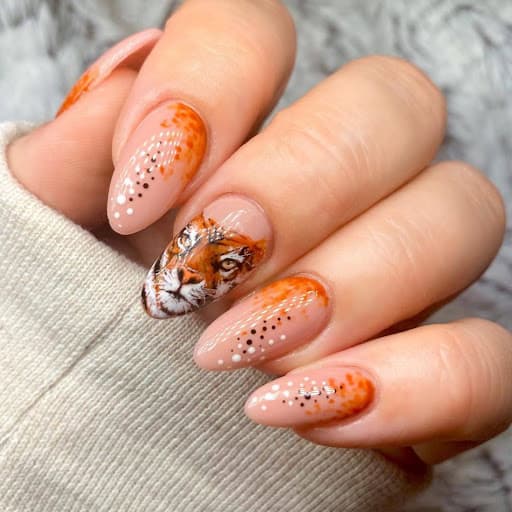
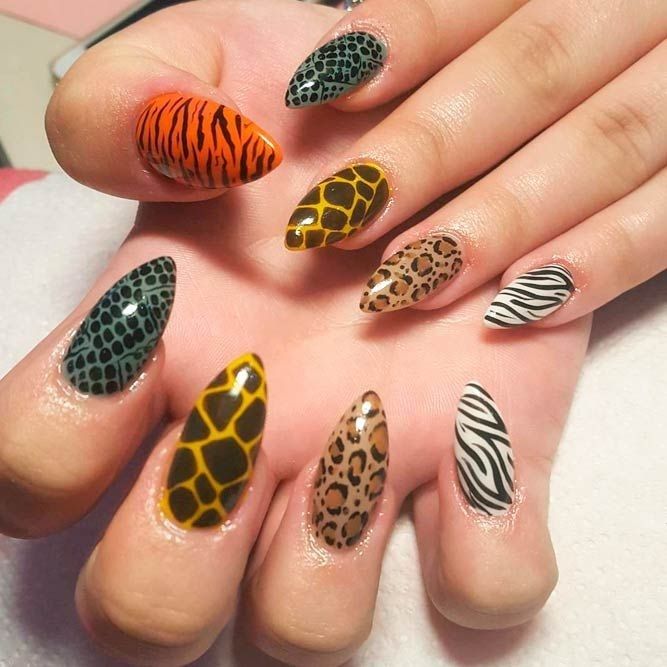
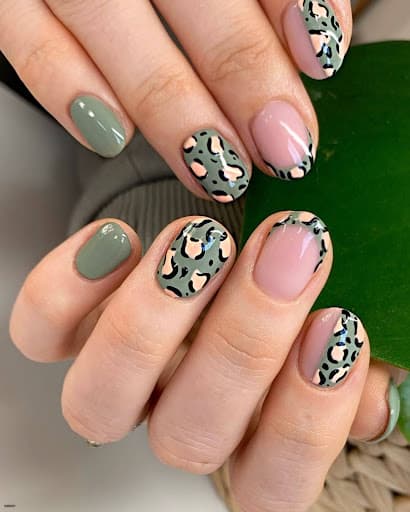
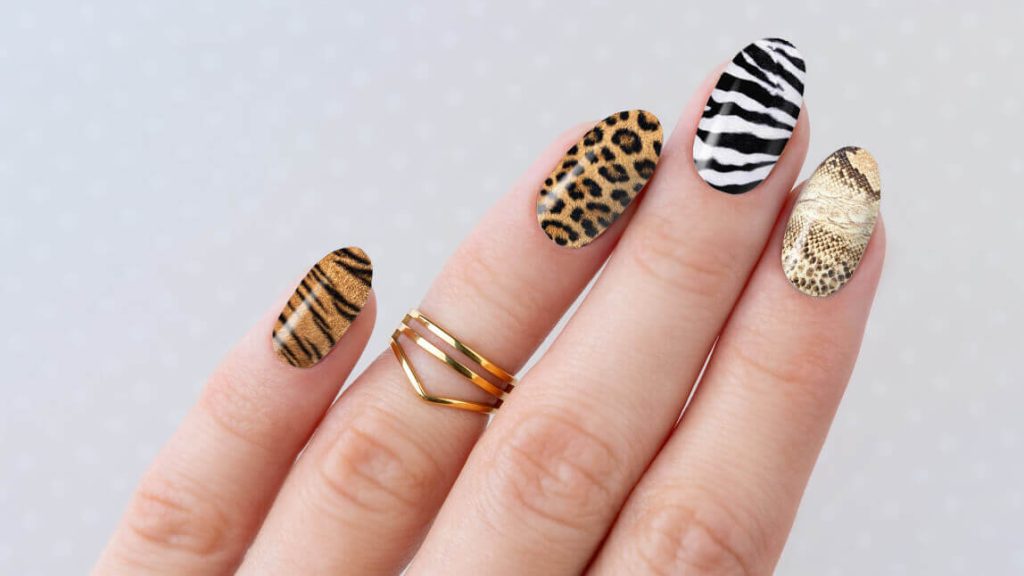
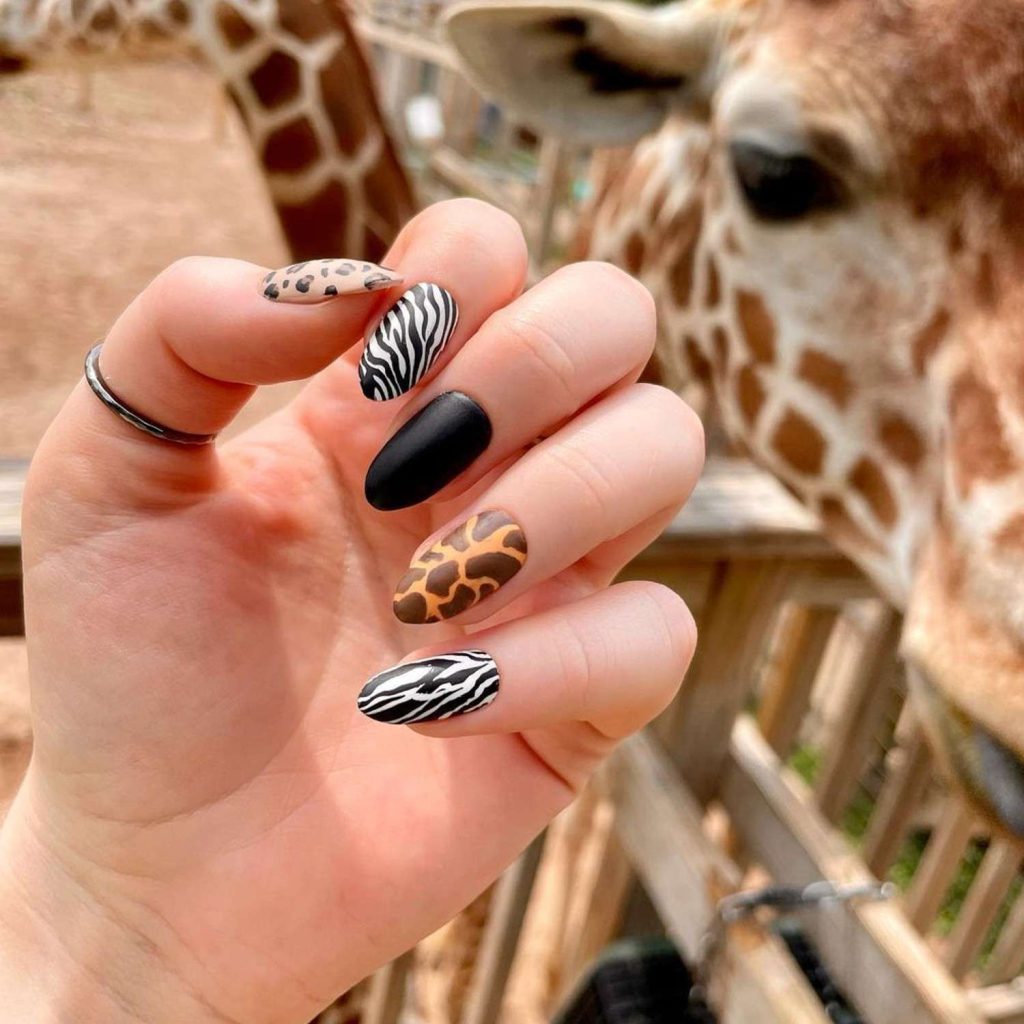
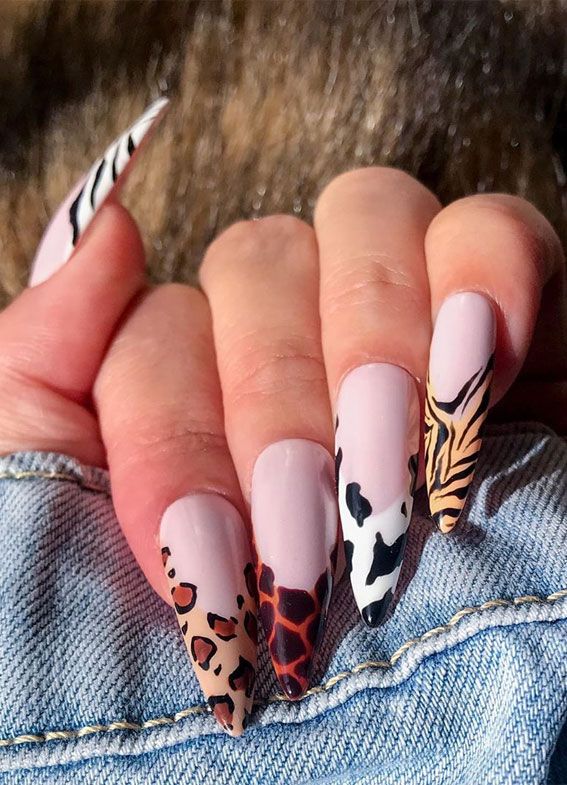
Animal prints offer an exciting way to jazz up your nails. Whether you’re channeling sleek jungle vibes or something more playful or fanciful, these designs are sure to impress.
Popular Animal Patterns
Leopard spots are a timeless classic. I love how they’re both bold and elegant, making my nails pop in any setting. Zebra stripes are strikingly modern, adding an edgy flair that turns heads.
For something fun, why not go for cow print? It’s quirky and trendy, perfect for standing out. Let’s not forget about snake skin patterns, which bring an air of mystery and exoticism to any nail art collection.
DIY Animal Print Techniques
Start with a white or neutral base color for most prints. Grab a fine-tipped brush or a toothpick—these tools are your best friends.
For leopard spots, dab small, uneven blobs using a light brown or gold polish, then outline them with black. Zebra stripes are simpler: just paint thin black lines horizontally or diagonally across your nails.
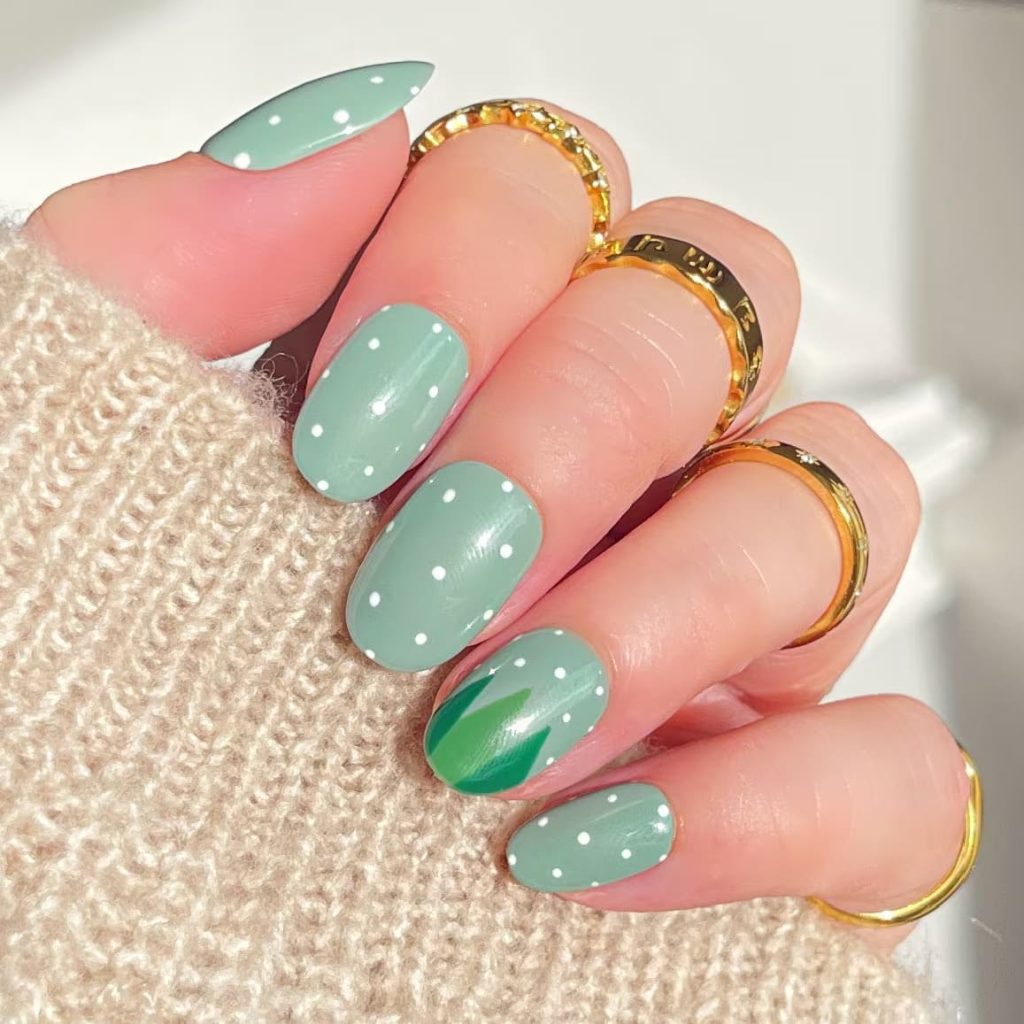
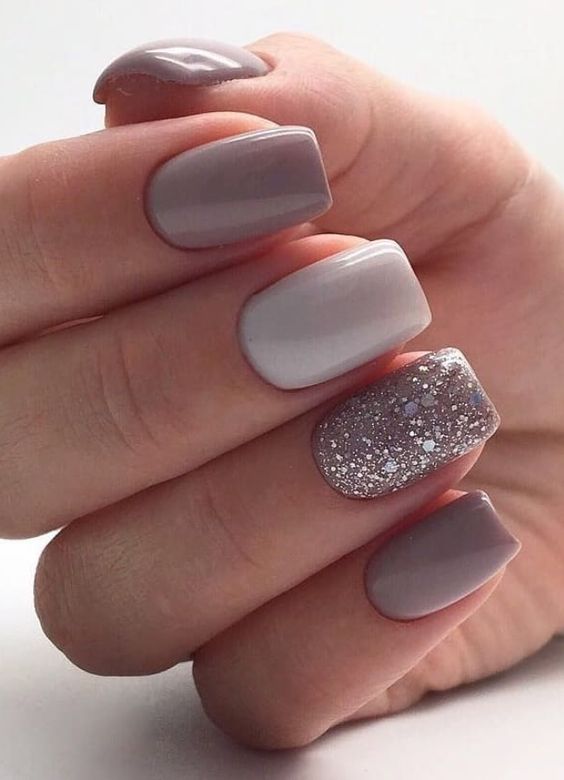
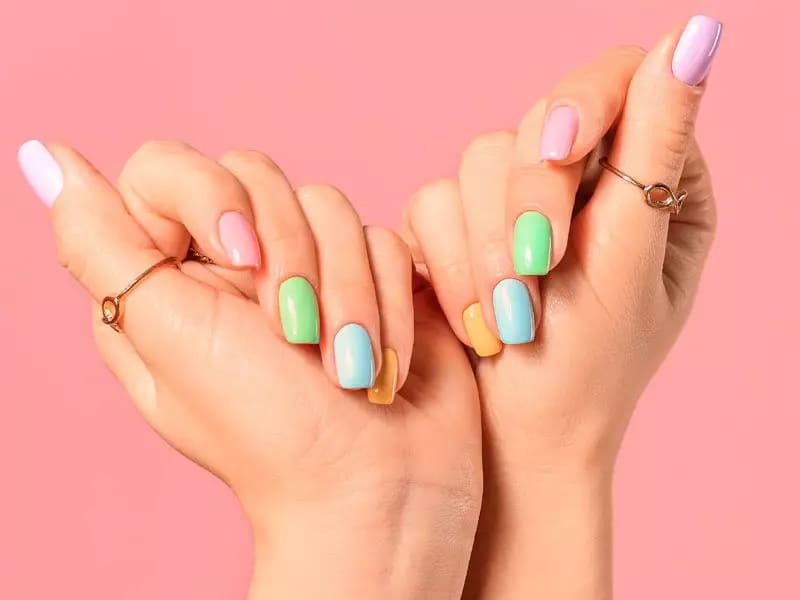
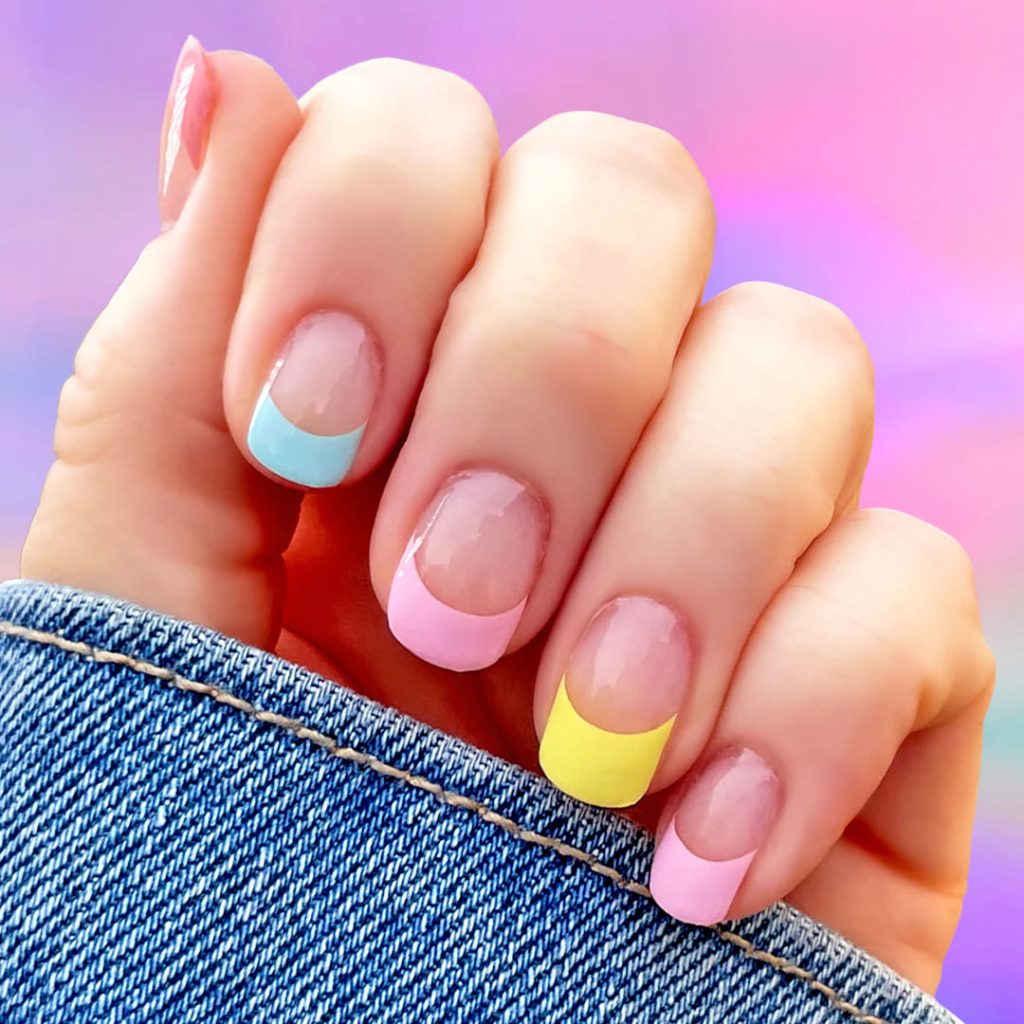
Pastel Hues
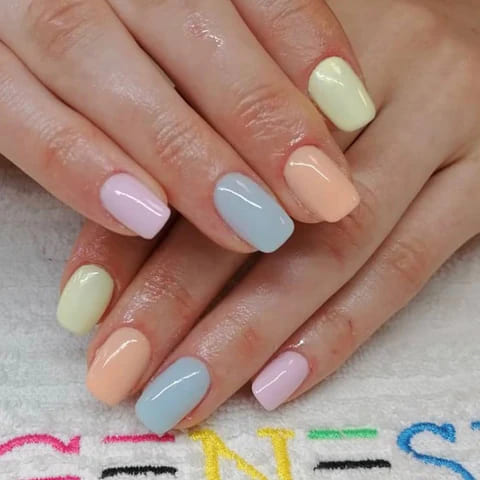

Top Pastel Nail Colors
When I think of pastel nail designs, soft shades immediately come to mind. Pastel pink is a perennial favorite, perfect for creating a delicate and feminine look. Mint green brings a refreshing touch that’s both soothing and stylish. Lavender nails can be playful or fanciful yet elegant, making them ideal for both casual and formal settings. Powder blue exudes tranquility, offering a serene escape from bolder colors. Finally or in conclusion, a gentle peach shade combines warmth and subtlety, striking the perfect balance for any occasion.
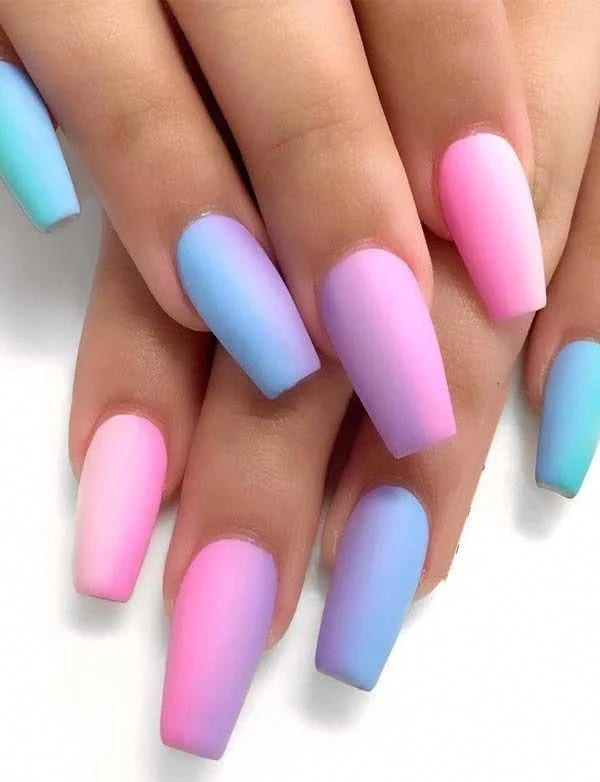
Creating Ombre Effects
Ombre nails are a personal favorite because they blend shades seamlessly. Start with a light base color like pastel blue or pink. Next, choose a complementary pastel hue. Using a small sponge, dab the second color onto the tips of your nails. Blend carefully to create a smooth gradient. Remember, precision matters. Gradually building up the color will help you achieve that perfect ombre effect. Finish with a glossy top coat to unify the design and make it pop.
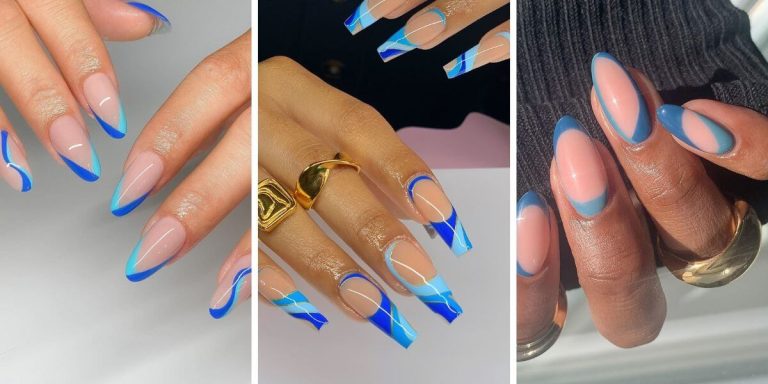
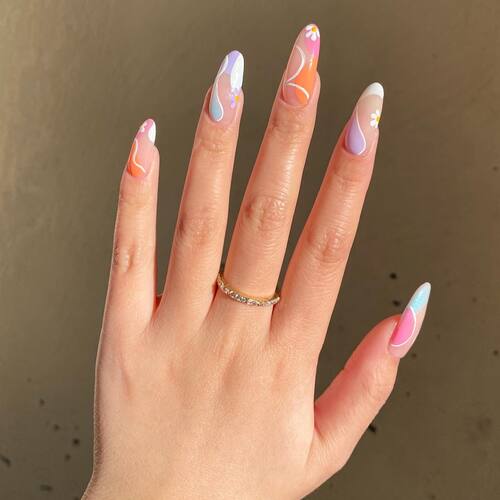
Geometric Shapes
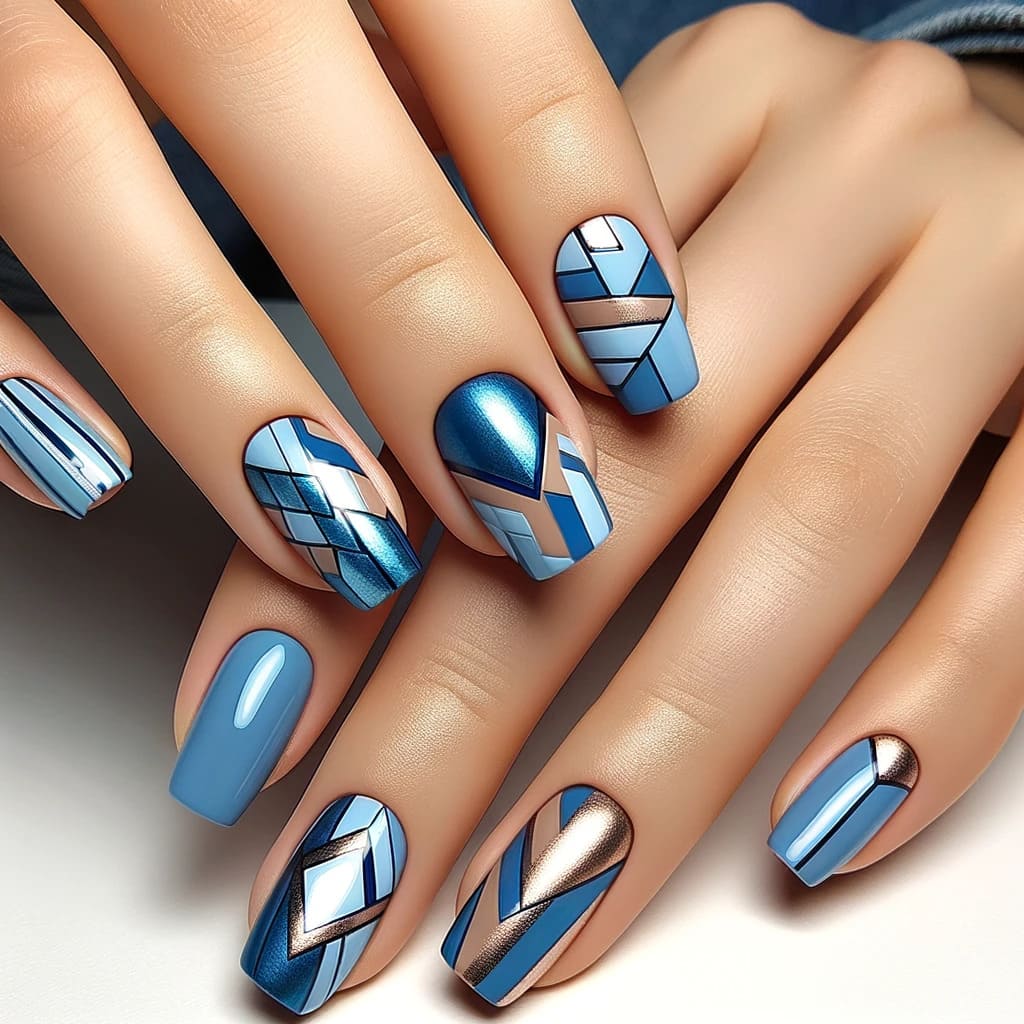
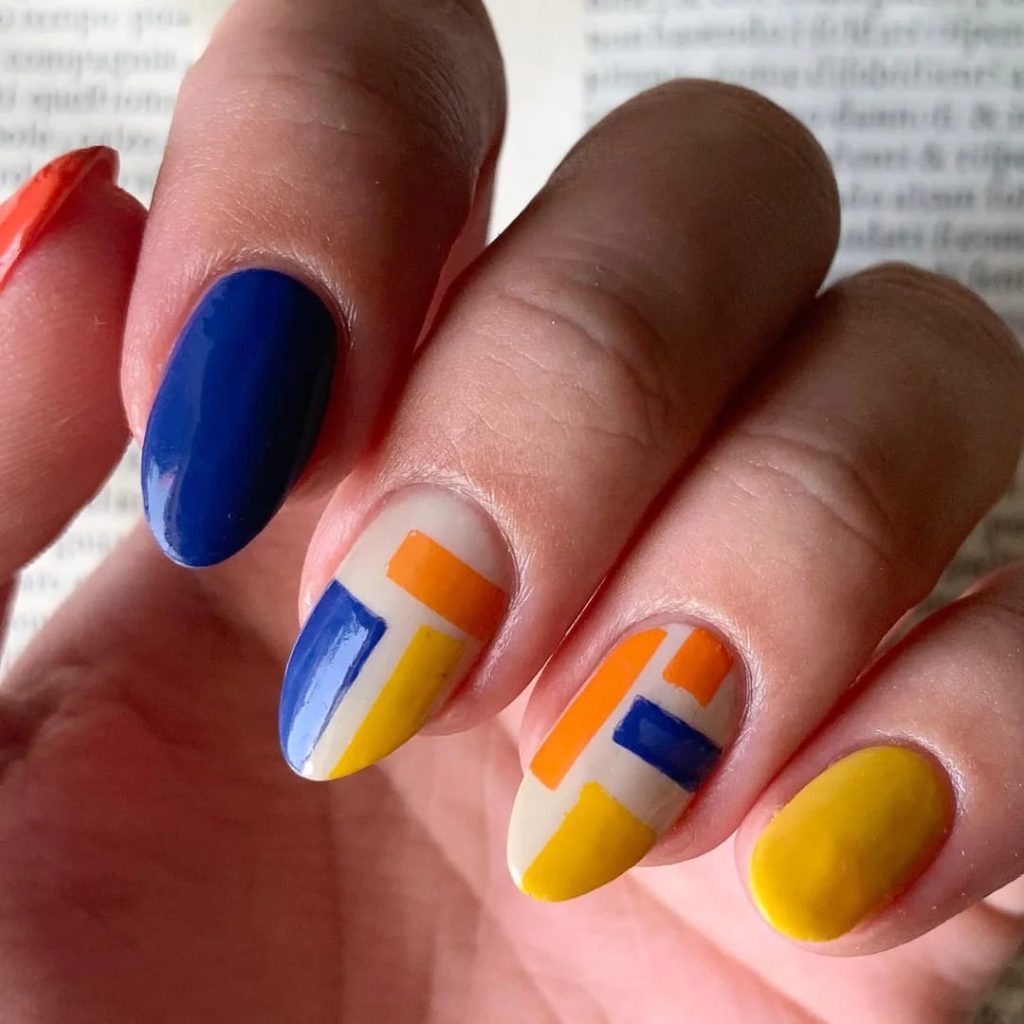
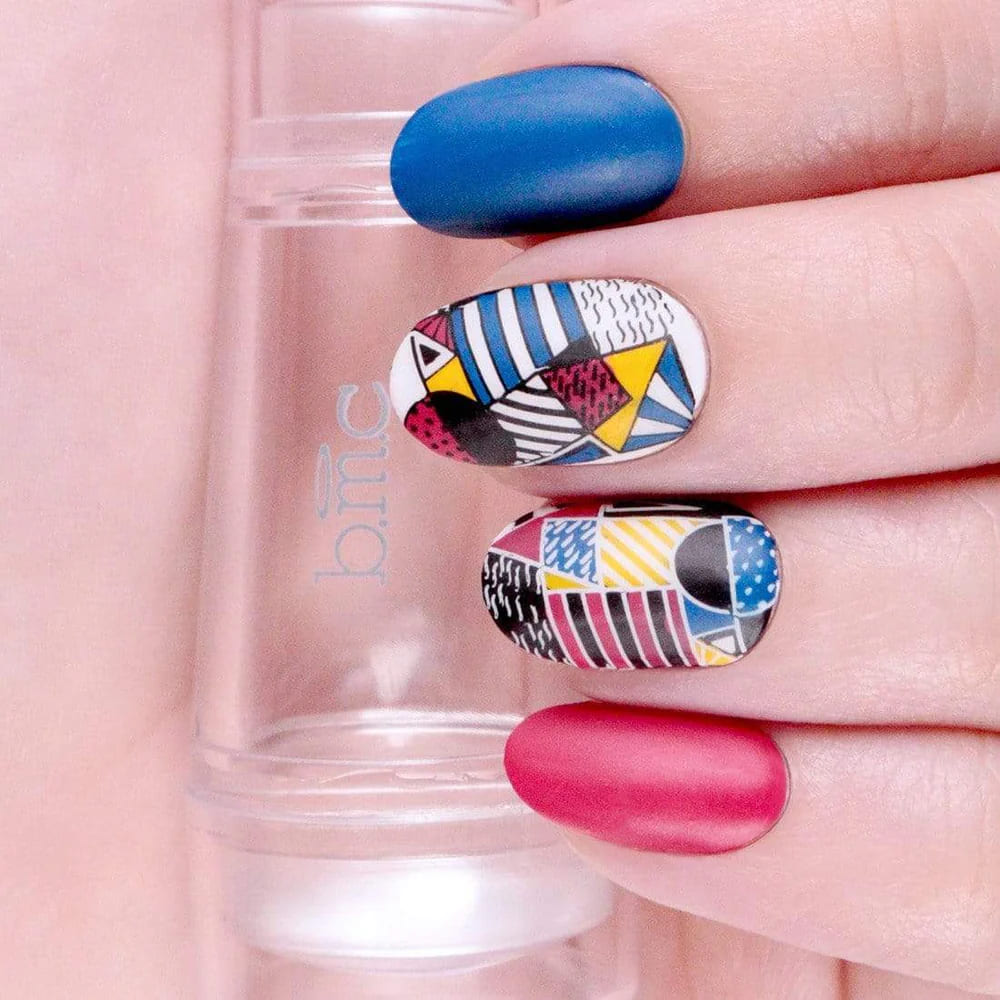
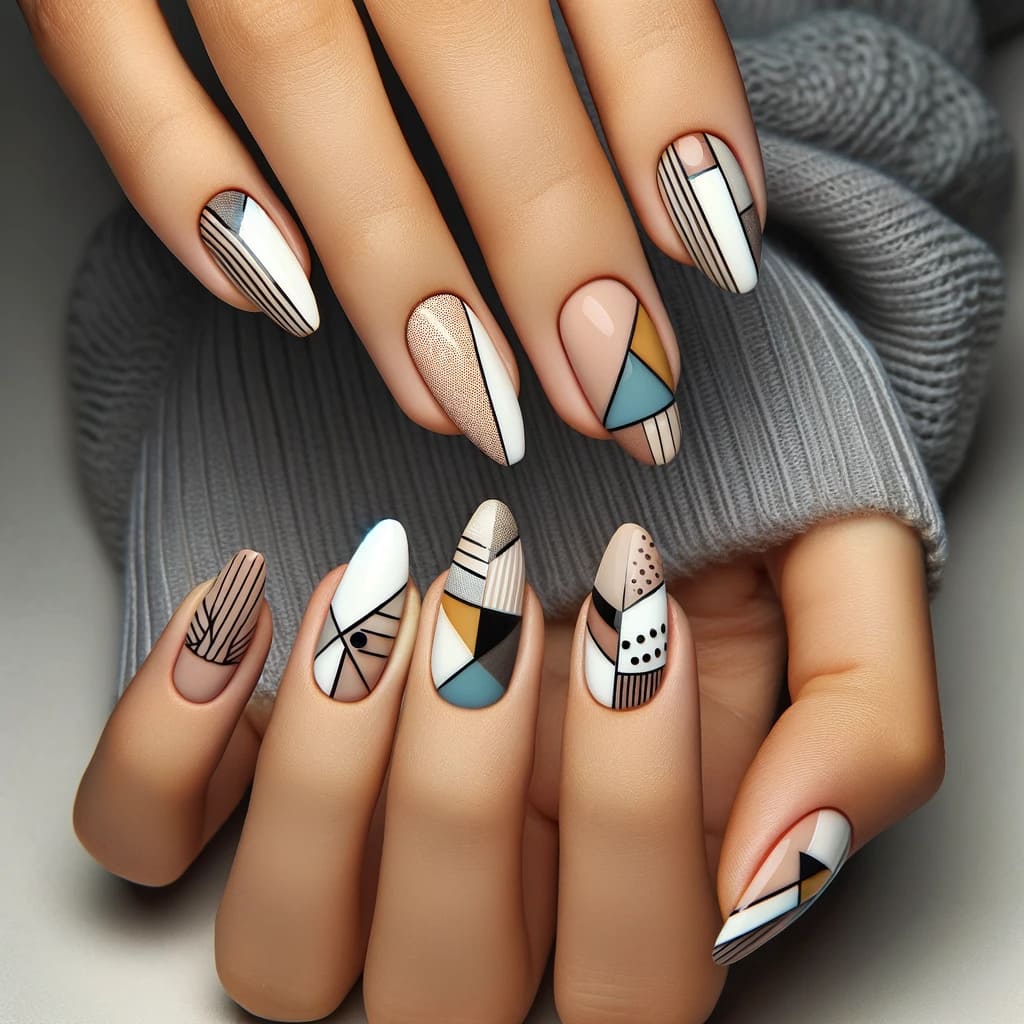
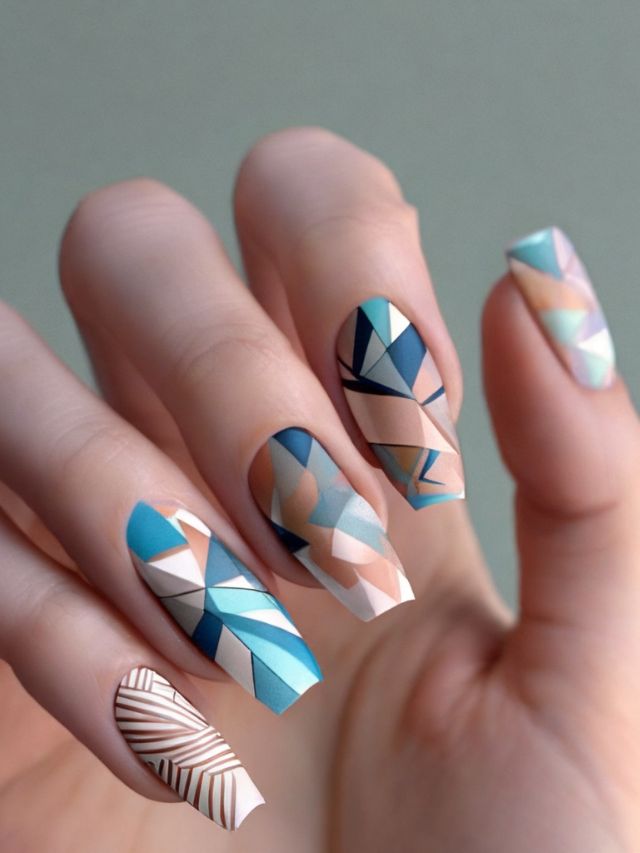
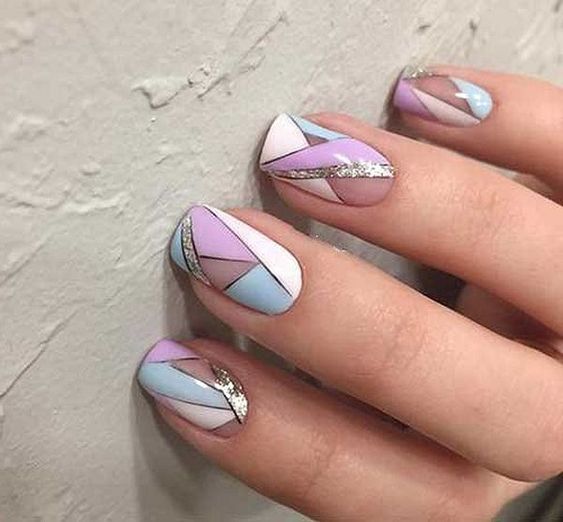
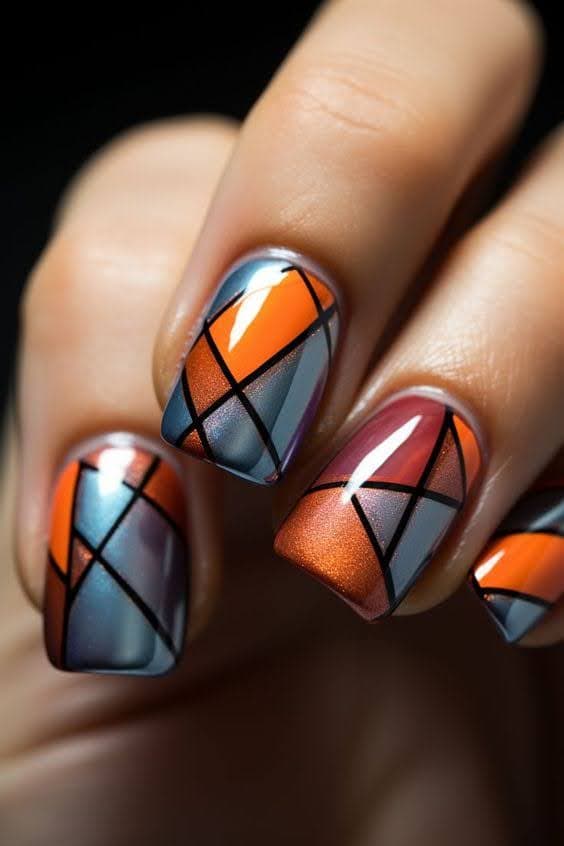
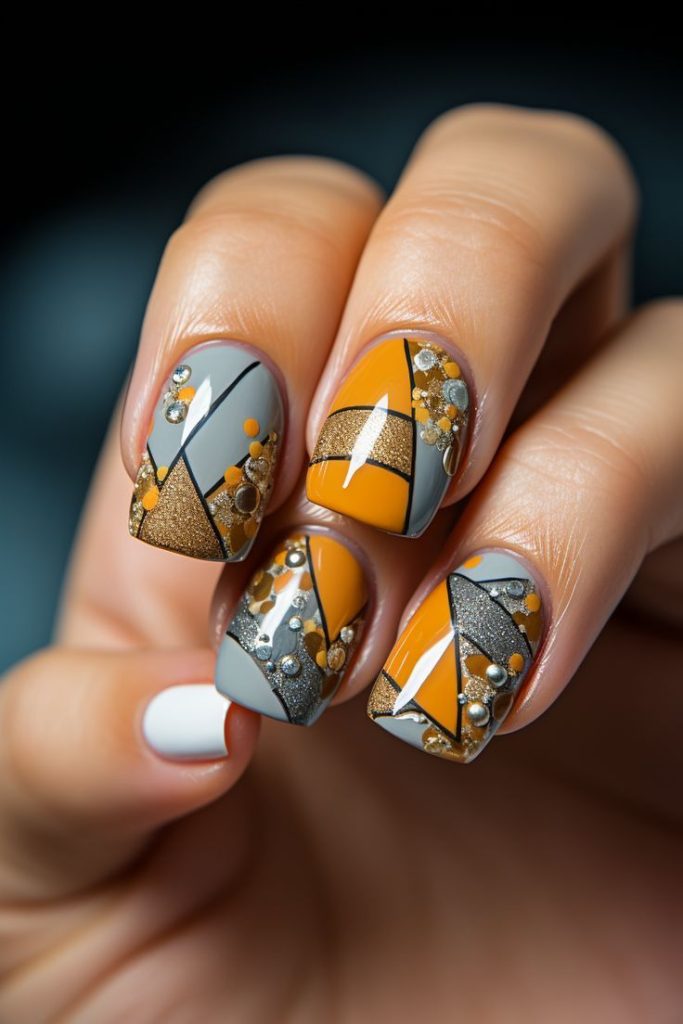
Geometric shapes are all about precision and creativity. They can transform your nails into stunning works of art.
Easy Geometric Patterns
Triangles, rectangles, and dots are simple yet striking patterns. For geometric nails, I love starting with a neutral base. Adding thin black lines to form triangles or rectangles brings a sophisticated look quickly. Sometimes, using metallic polish adds an extra flair. Another fun idea is creating a dotted grid—super cute and minimal effort!
Tools Needed for Precision
Achieving perfect geometric shapes requires the right tools. A striping brush is my go-to for drawing lines. Dotting tools are great for creating consistent circles. Scotch tape becomes your best friend when blocking off areas for sharp, clean lines. Don’t forget a high-quality topcoat to seal your designs and keep them looking fresh.
Seasonal Themes

Summer Designs
I adore summer-themed nail designs. Bright colors like coral, aqua, and sunny yellow perfectly capture that beach vibe. Think fun parts or components—tiny palm trees and cute pineapples add a playful or fanciful touch. Use a white base coat to make those lively or energetic colors pop. I recommend experimenting with nautical stripes in red, white, and blue for a sailor-inspired look. For a more tropical feel, try painting hibiscus flowers or flamingos. Adding a glossy topcoat will make the designs shine like the summer sun.
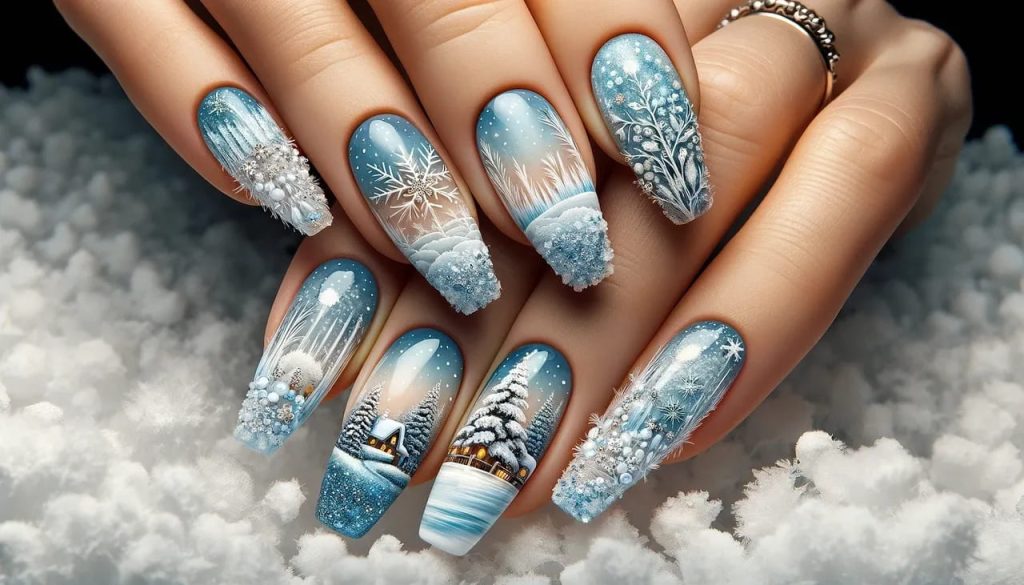
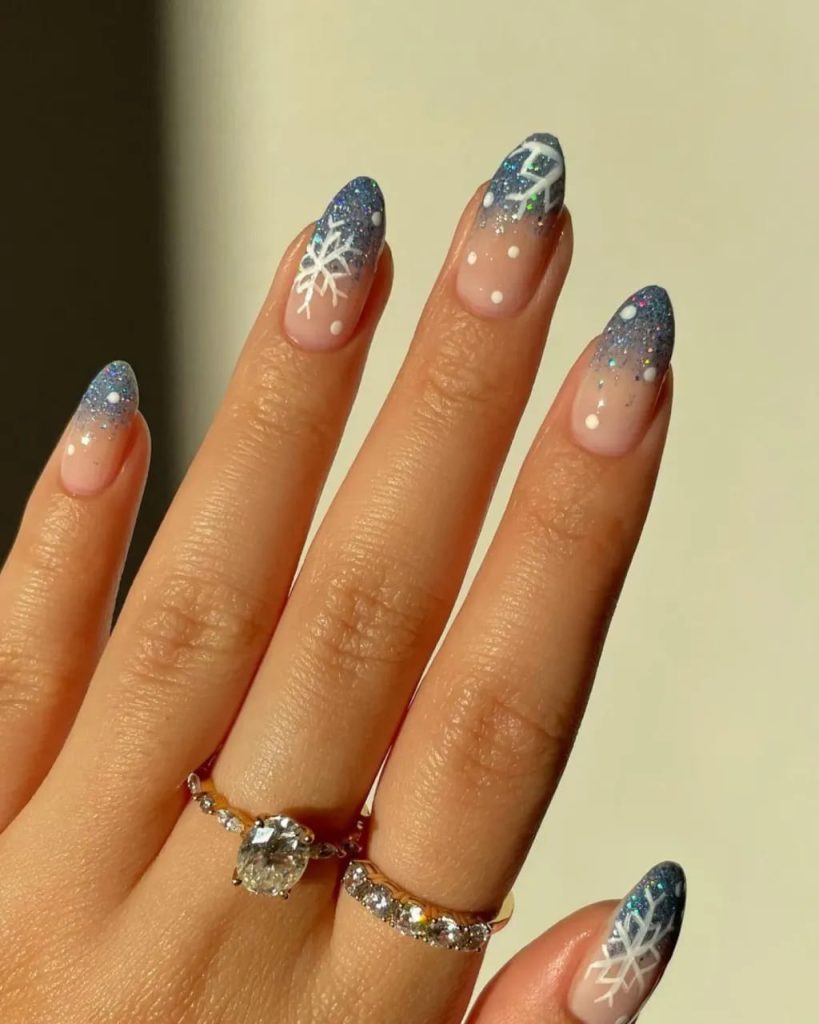
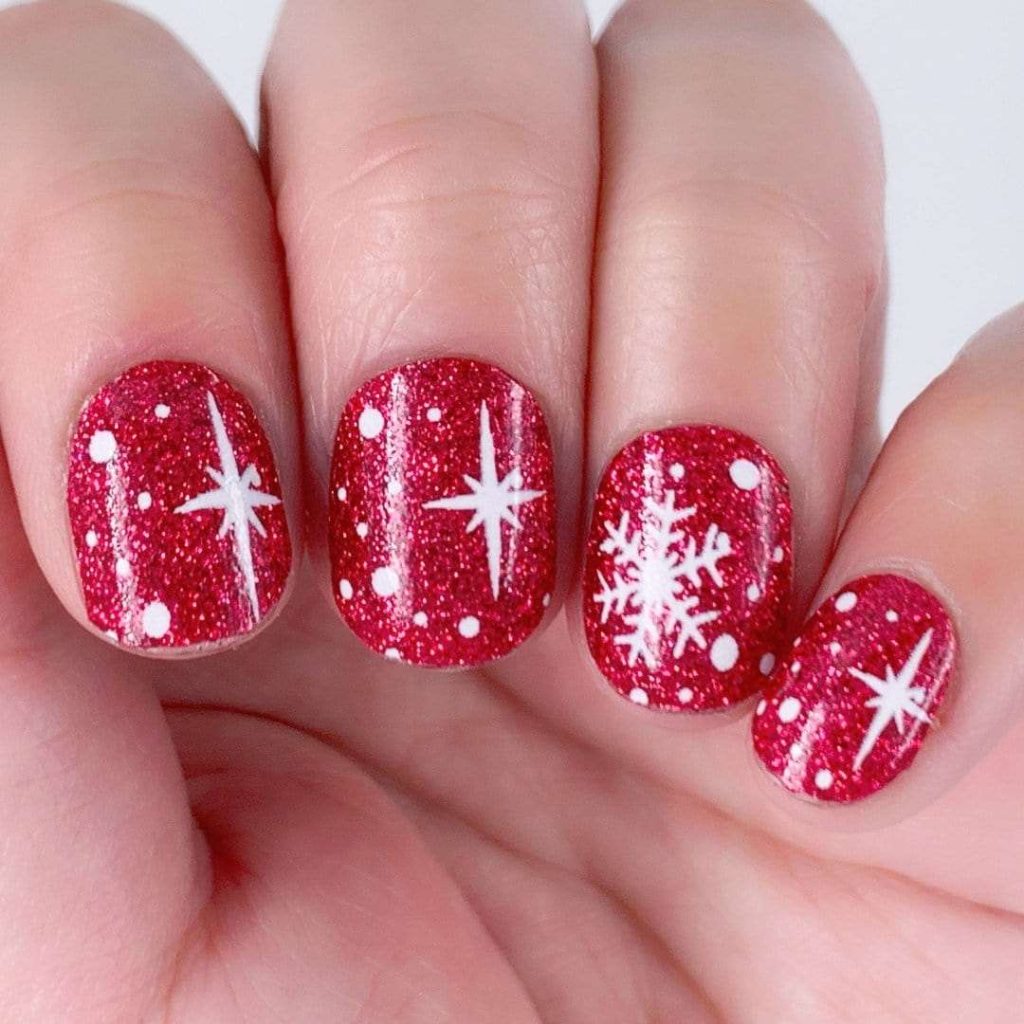
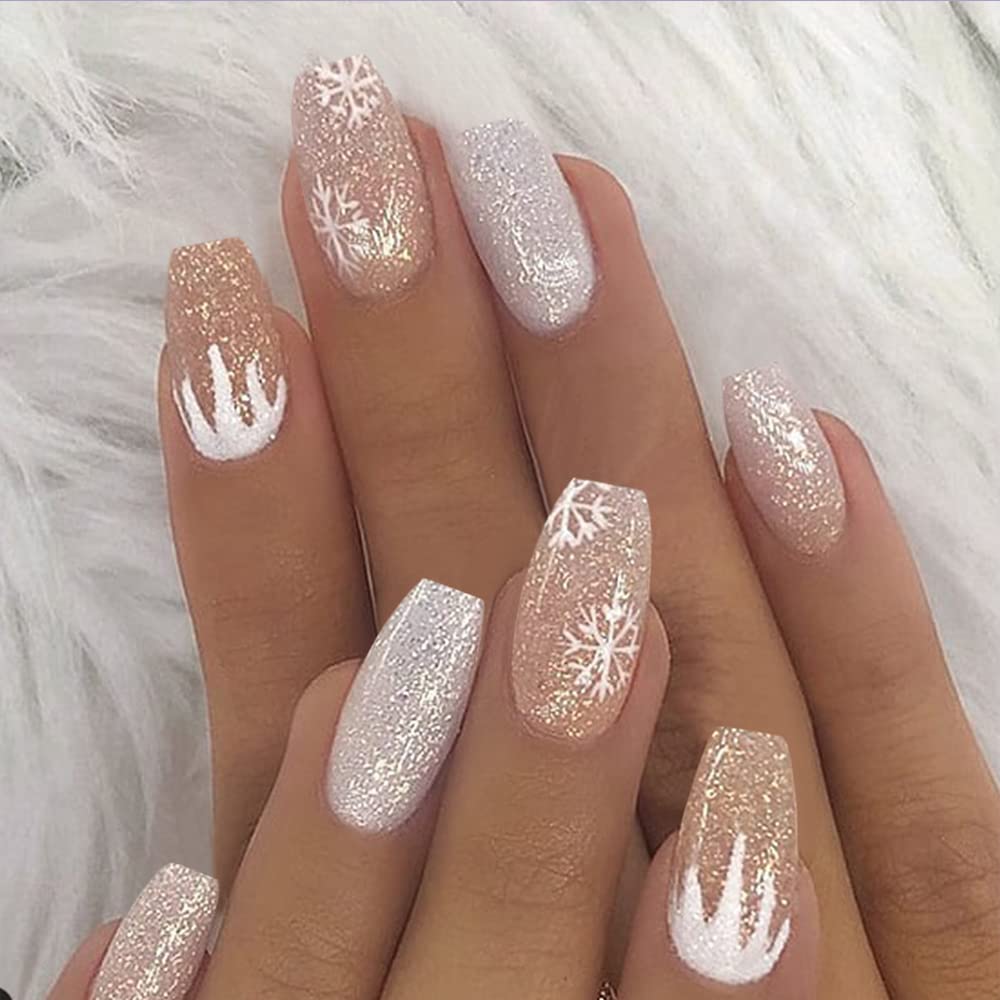
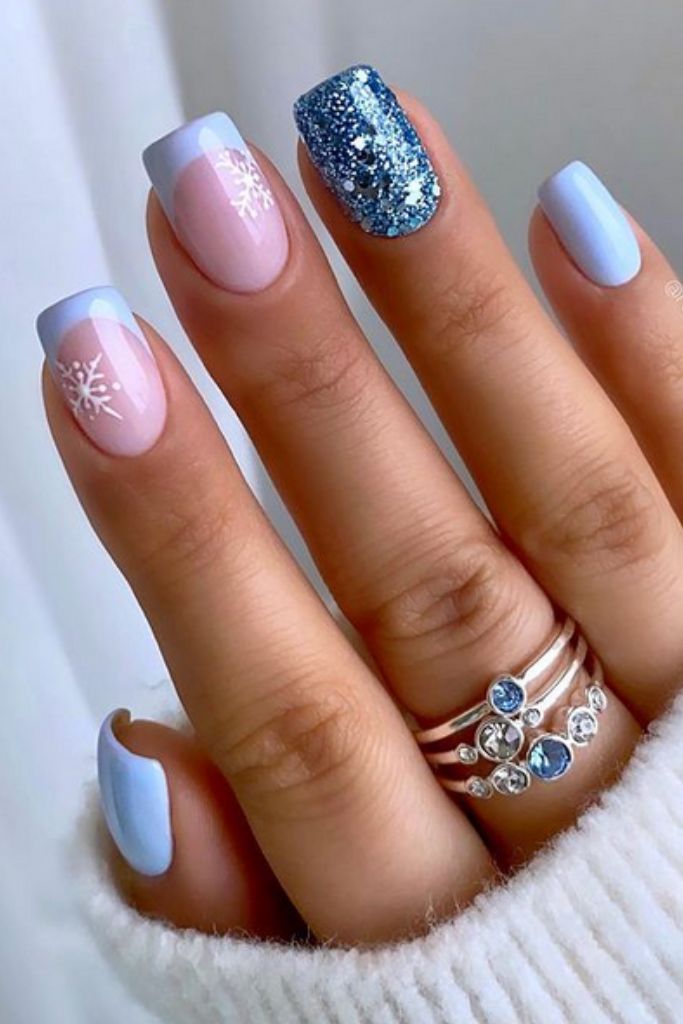
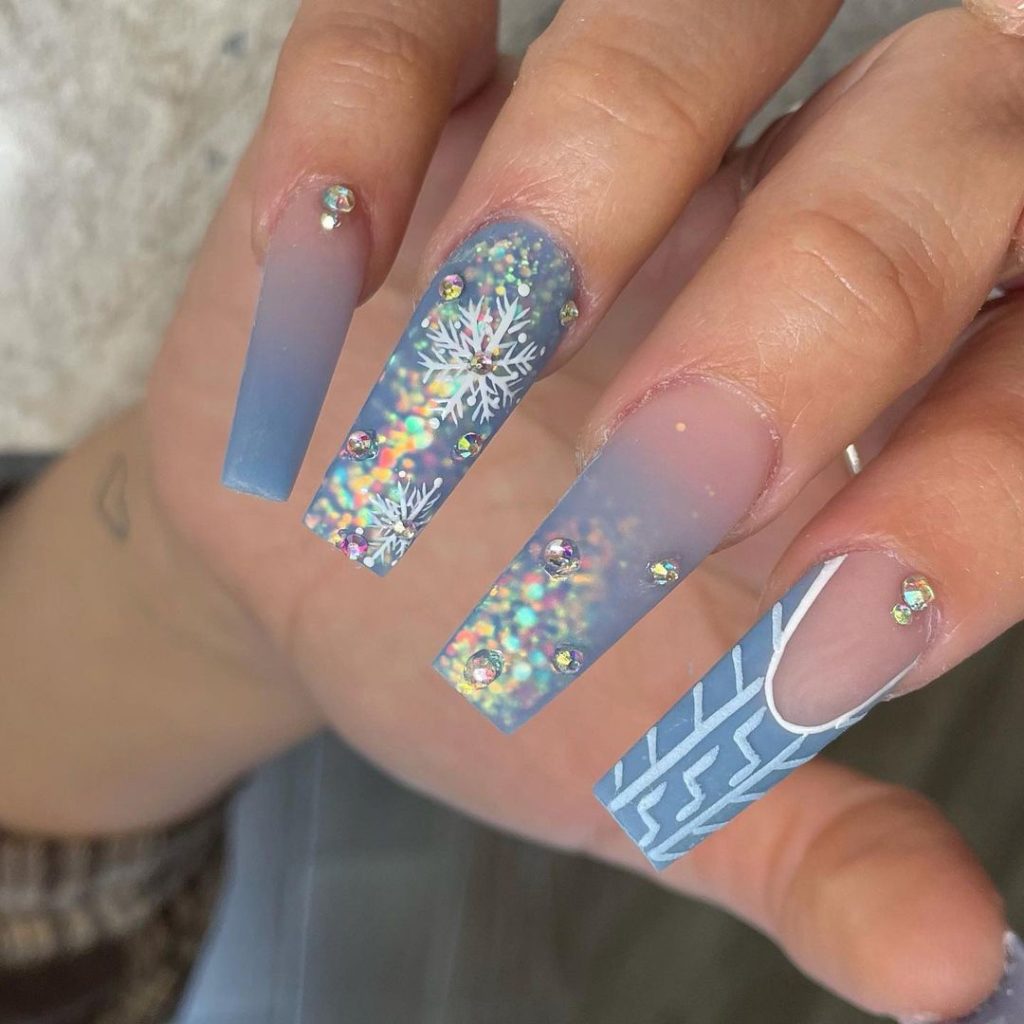
Winter Wonderland Nails
Winter nails can reflect the magic of the season. I often go for cool shades like icy blue, snow white, and shimmering silver. These colors evoke the frosty winter landscape. Snowflakes and icicles are classic winter motifs; I love how intricate they can be. Use a fine brush or nail stamp for precision. Glittery accents resemble sparkling snow and add a touch of elegance. You can even try a plaid pattern using thorough or in-depth reds and greens for a festive holiday look. Make sure to finish with a matte or glossy topcoat to protect your winter wonderland designs.
Minimalist Art
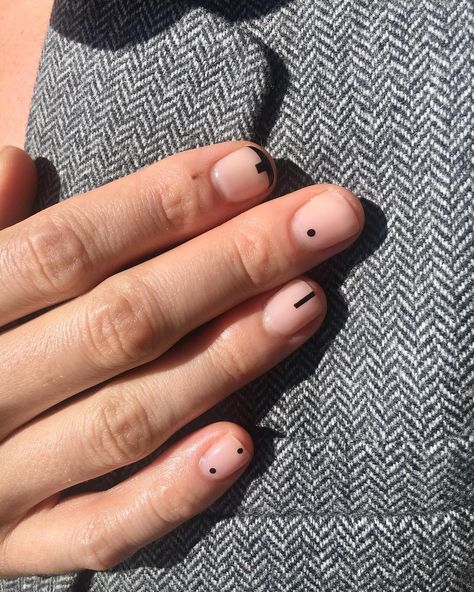
Minimalist nail designs are perfect for a chic, understated look.
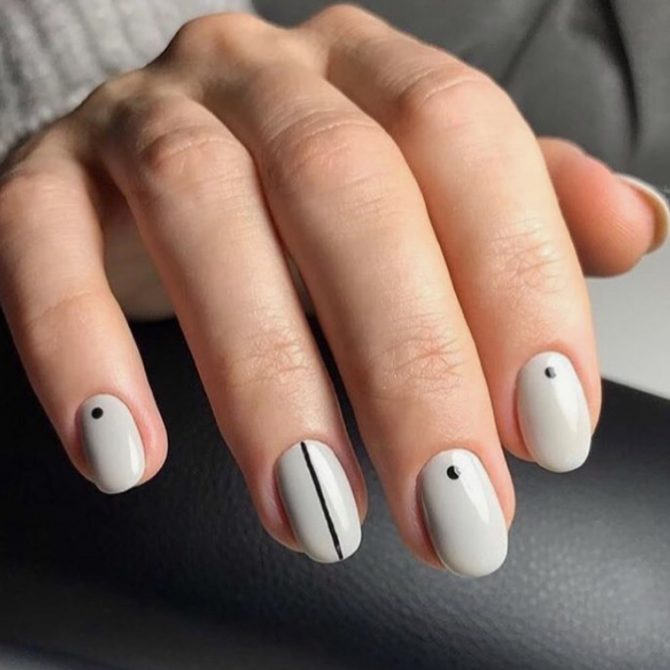
Simple Line Designs
Simple line designs can transform your nails into a work of art with minimal effort. Thin, delicate lines add sophistication and elegance. For example, a single vertical line down the center of each nail creates a sleek and modern appearance. Some people prefer diagonal lines for a changing or fluid feel. If you love symmetry, parallel lines on either side of the nail can be mesmerizing. Try alternating short and long lines for added interest. Using white or black polish for the lines provides a stark contrast against any base color.
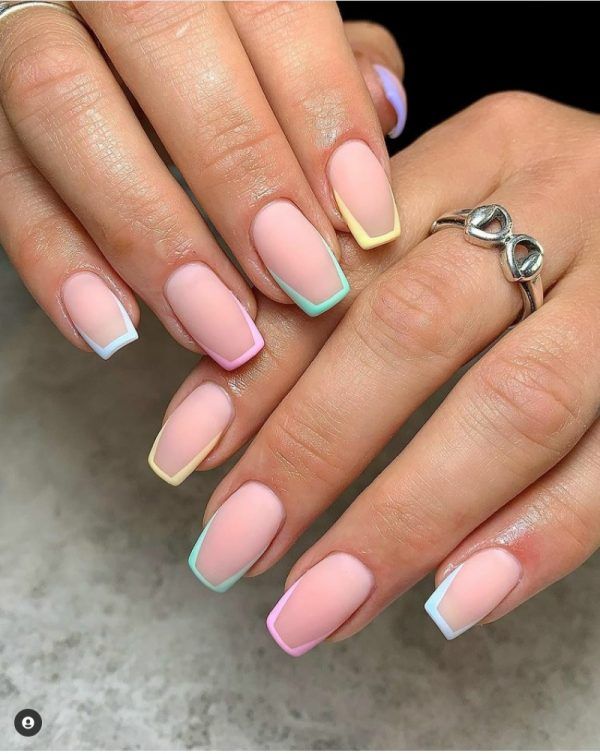
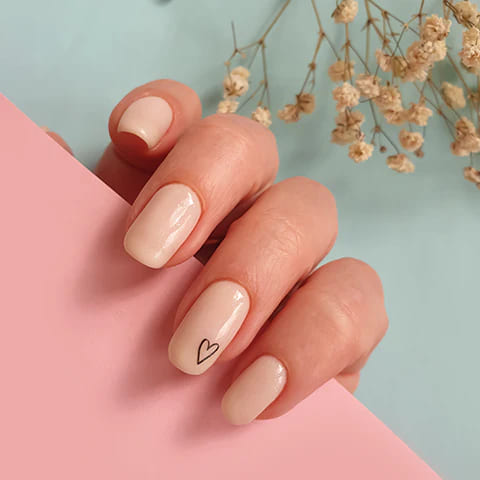
Elegant Negative Space
Elegant negative space designs let your natural nail shine through. Empty spaces within the design create a captivating effect. A half-moon shape at the base of the nail is a classic negative space look. Stripes are another option, with sections of the nail left bare between colored stripes. Triangles and geometric shapes can also be used to great effect. Mixing matte and glossy finishes highlights the negative space even more. Keeping the generally or on the whole design simple ensures the negative space stands out beautifully.
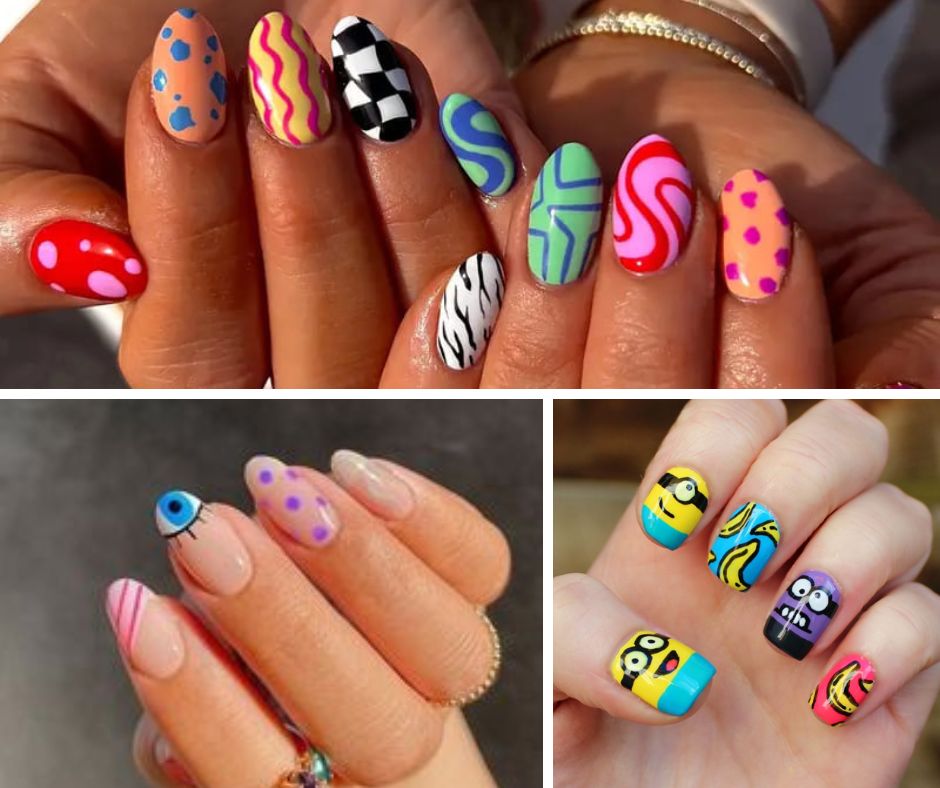
Cartoon Characters
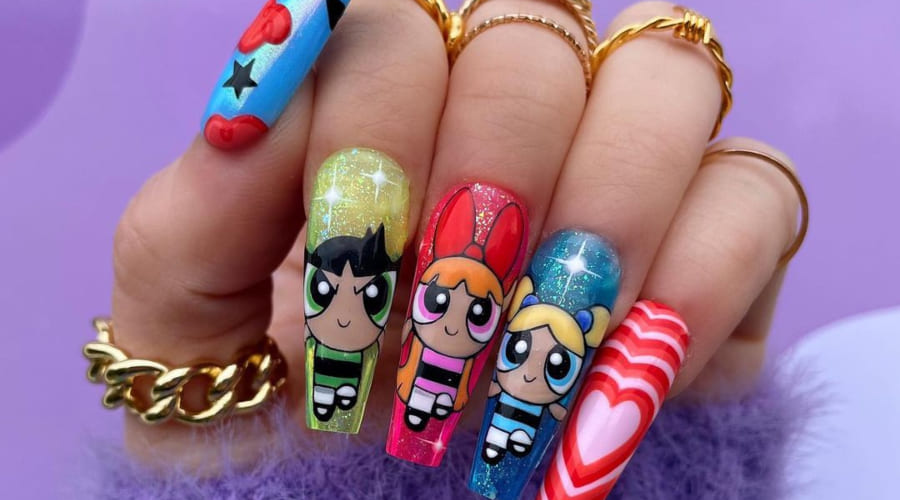
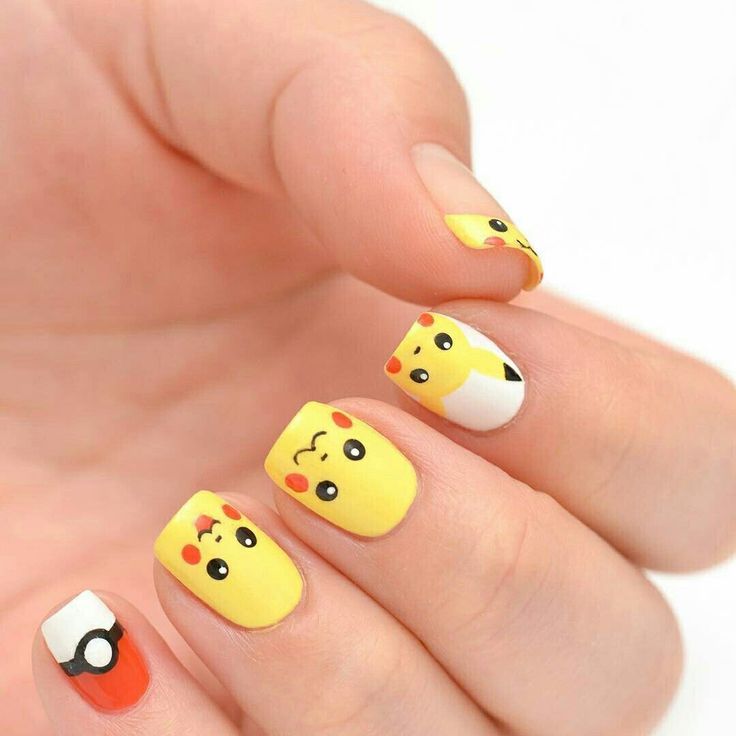
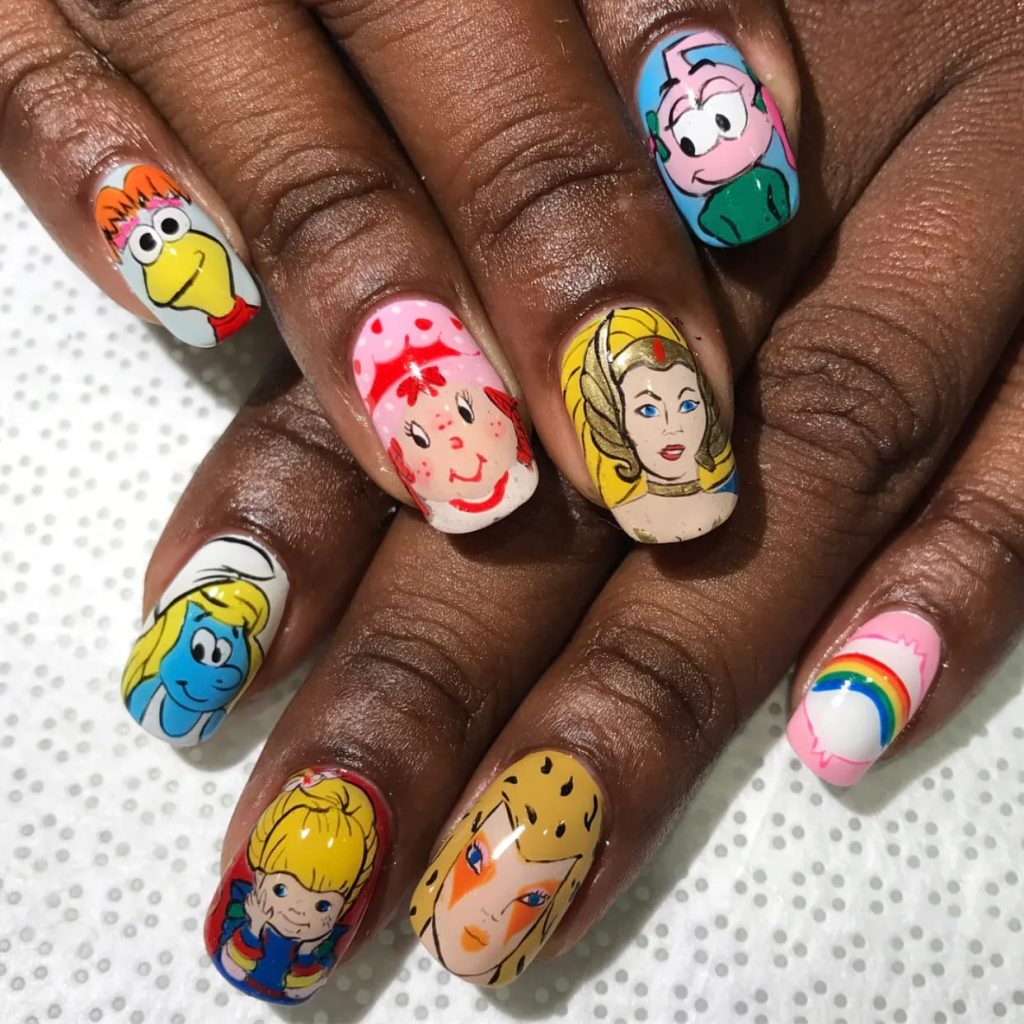
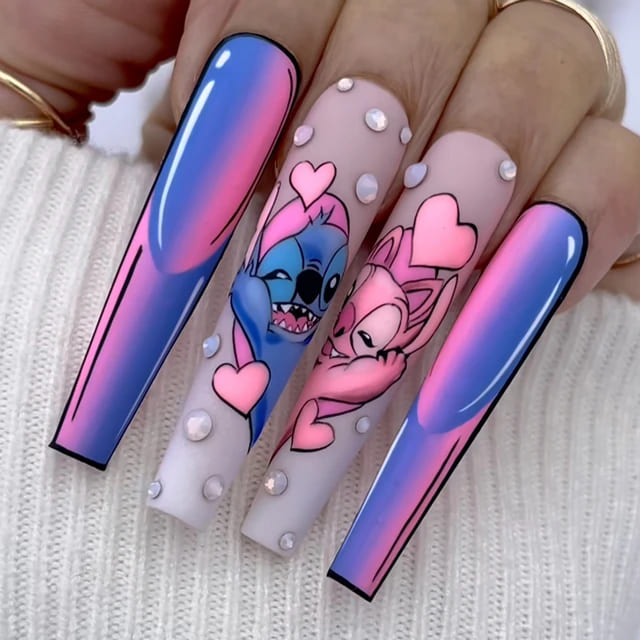
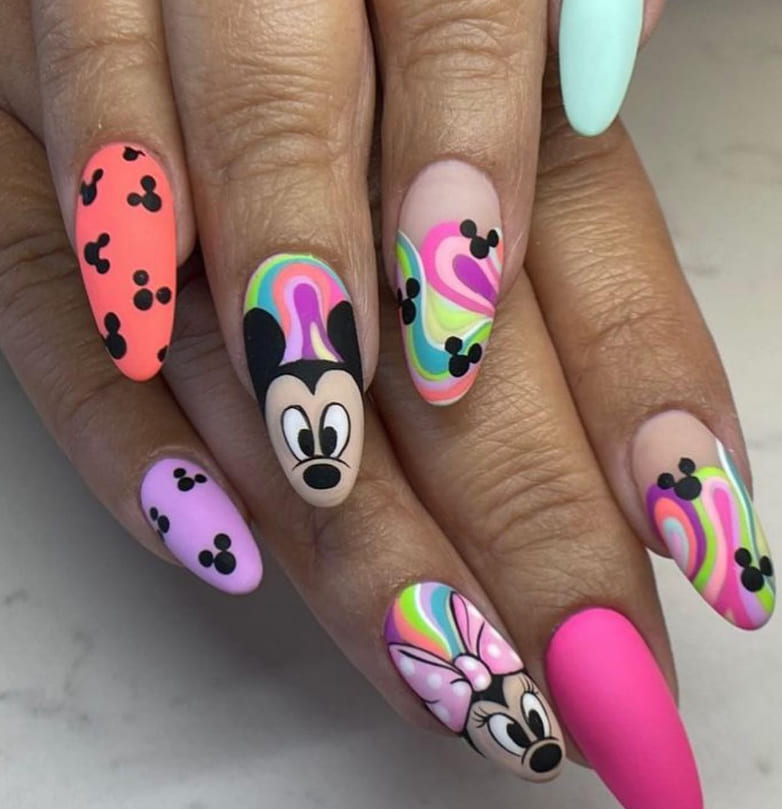
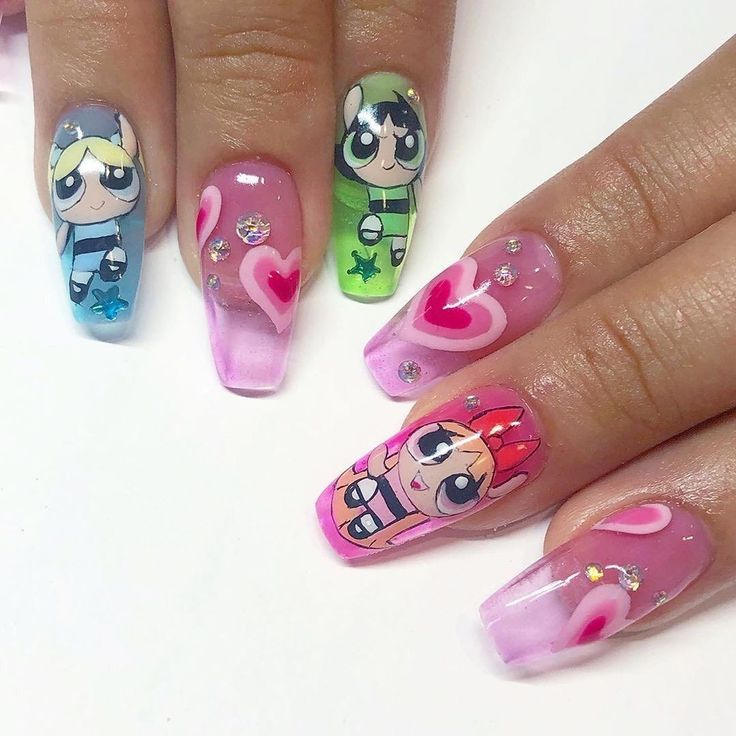
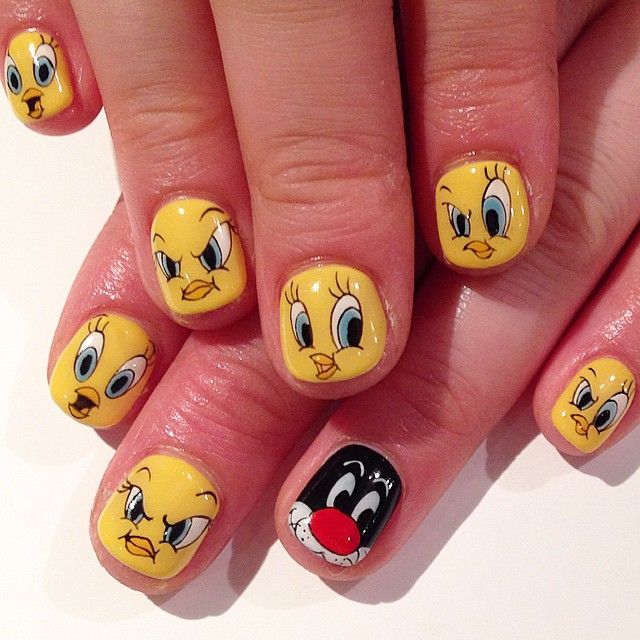
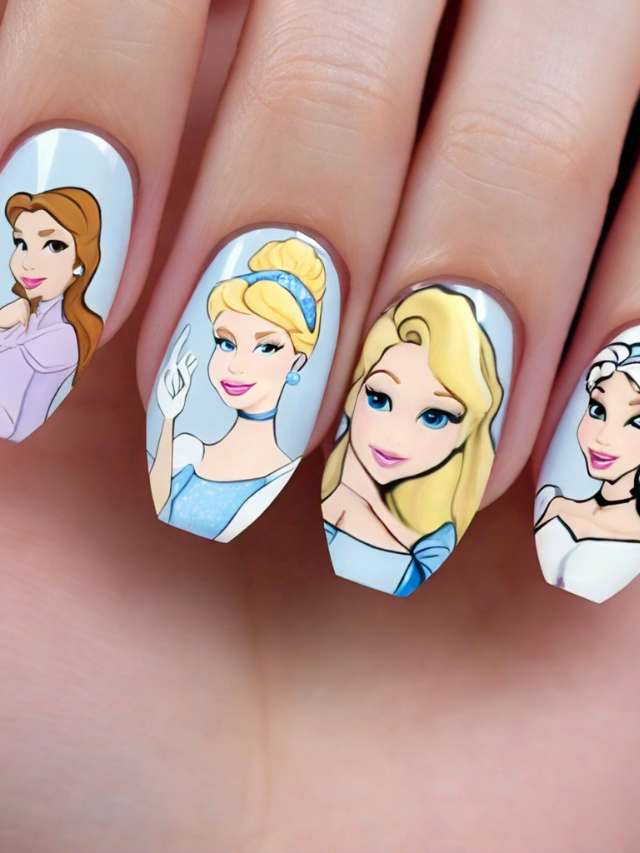
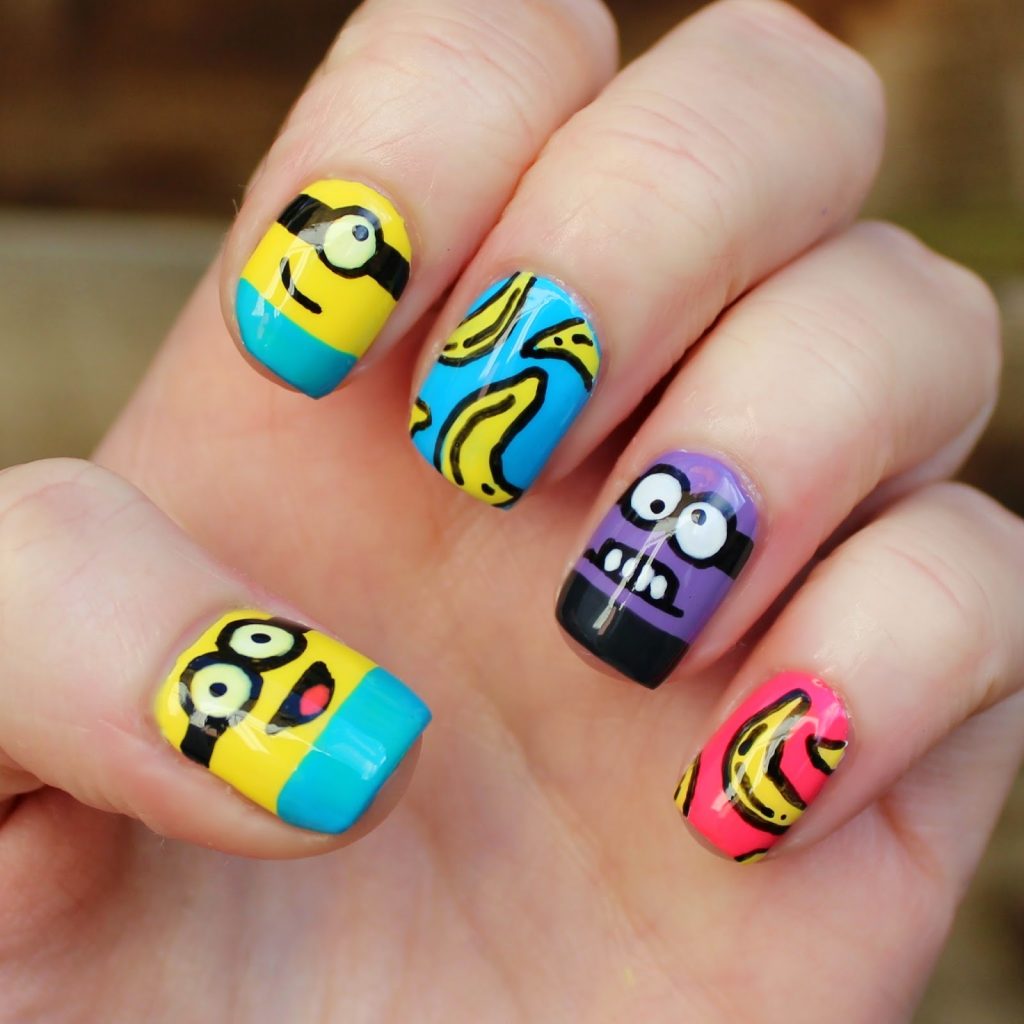
Cartoon characters on nails offer one of the cutest and most playful designs you can rock. Whether you’re a Disney fan or love classic cartoons, there’s something for everyone.
Popular Characters to Try
Mickey Mouse tops the list for many. His iconic ears and cheerful face make him a hit. Hellokitty is another favorite. Her simple yet adorable design fits perfectly on nails. Don’t overlook Minions from Despicable Me. Their bright yellow color and funny expressions are easy to recognize. For vintage fans, Betty Boop brings a nostalgic charm. Finally or in conclusion, who could forget the charm of Snoopy? His black and white figure is both simple and timeless.
Tips for Detailed Work
Use fine brushes for precision. It’s vital or critical to keep your lines clean, especially around small details. A magnifying glass can help with intricate parts. Practice makes perfect, so don’t be discouraged if your first attempt isn’t flawless. Base coats are essential, as they ensure smooth painting surfaces. Seal your masterpiece with a top coat to protect your design.
Conclusion
Exploring cute nail designs is a fantastic way to express creativity and personal style. From classic patterns to seasonal themes and minimalist art, there’s something for everyone. Whether you’re into playful cartoon characters or chic negative space designs, the possibilities are endless. Experiment with different techniques and don’t be afraid to mix finishes for a one-of-a-kind or distinctive look. Remember the tips I’ve shared to achieve professional-quality results at home. Happy nail designing!