15 Trendy Spring Nail Designs: Pastels, Minimalist, Nature-Inspired & French Tips
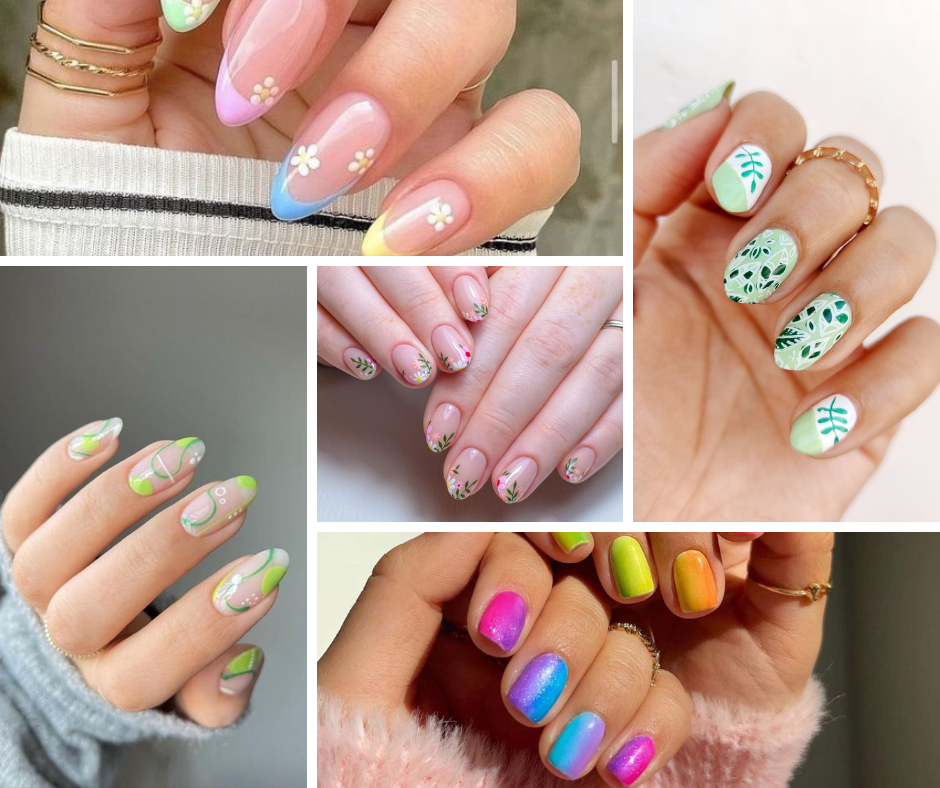
Spring has sprung, and it’s time to let your nails blossom! Forget the winter blues and accept or adopt the lively or energetic colors and playful patterns that come with the season. I’m talking florals, pastels, and maybe even a dash of glitter—because who says your nails can’t shine brighter than the sun?
Pastel Perfection: Soft and Elegant
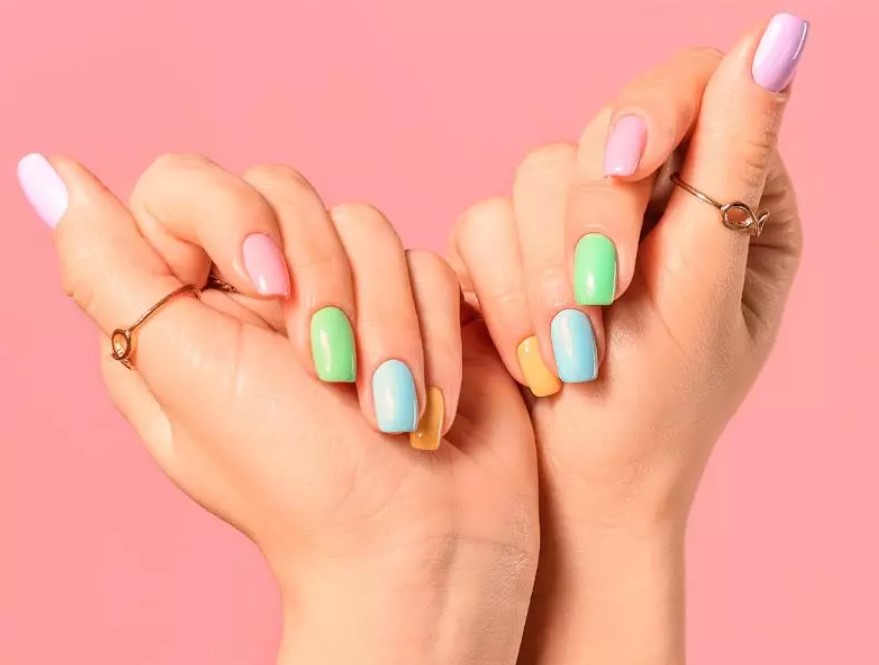
Spring is the perfect time to freshen up your nails with gentle pastel hues that exude the essence of the season.
Trending Pastel Shades
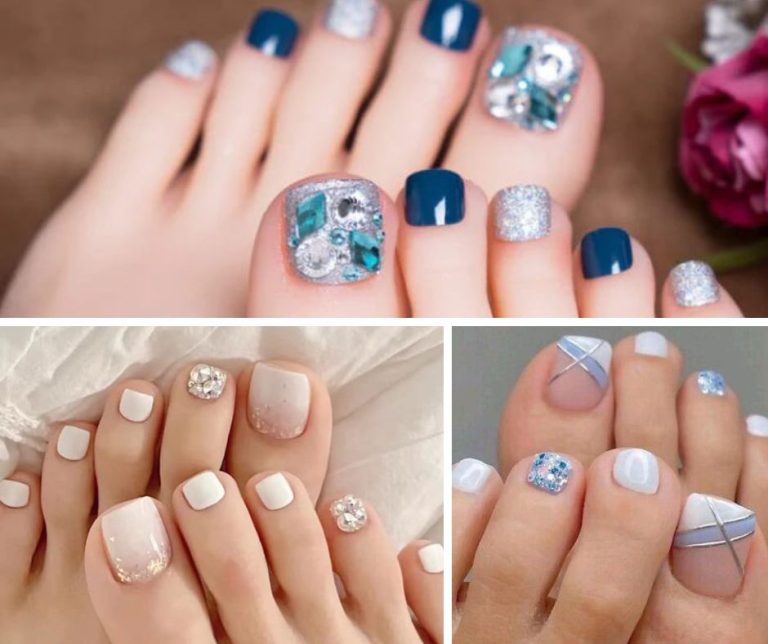
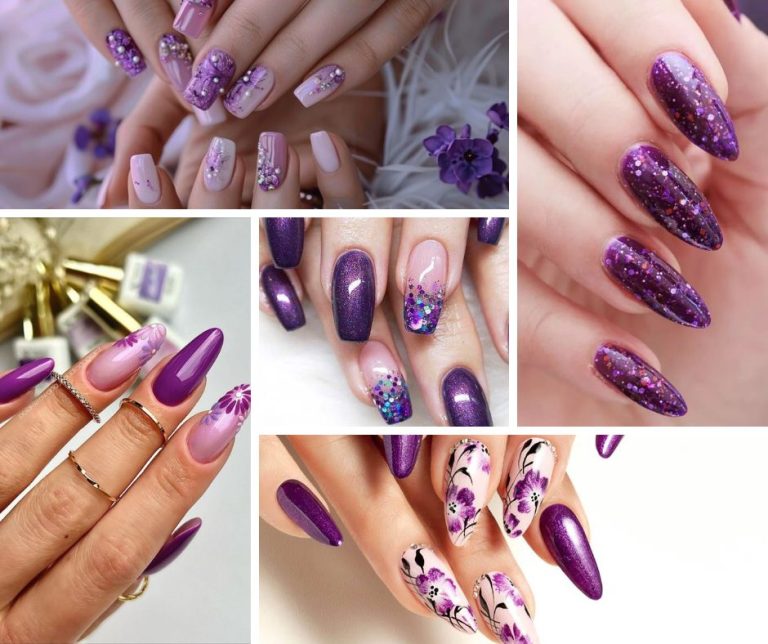
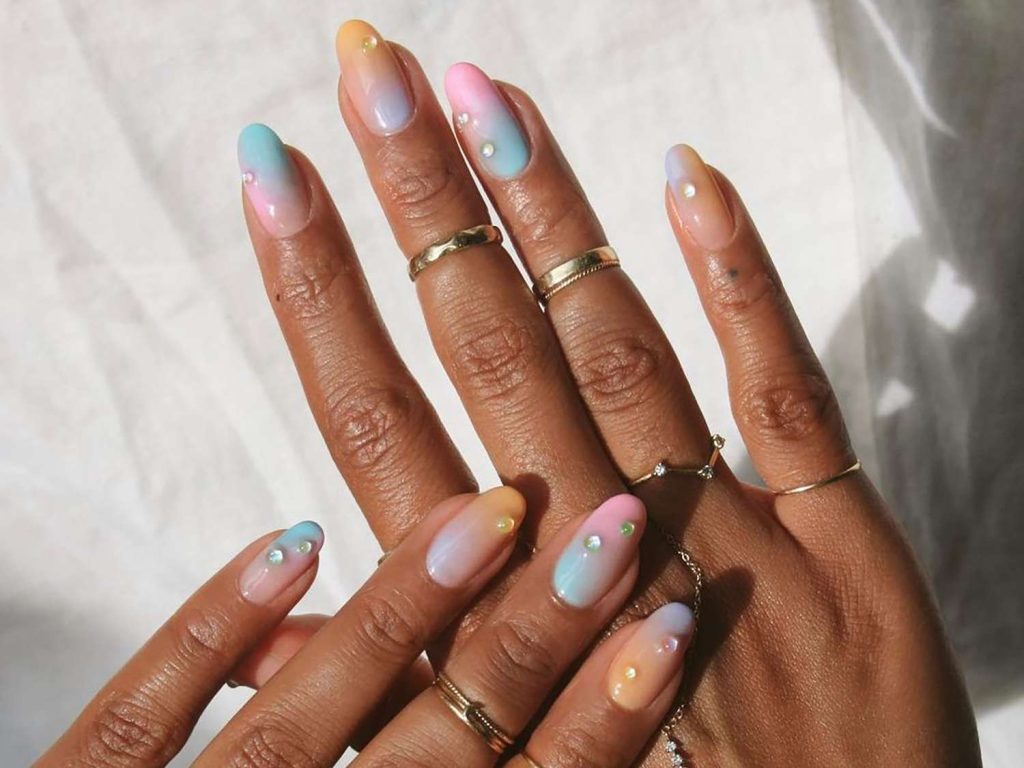
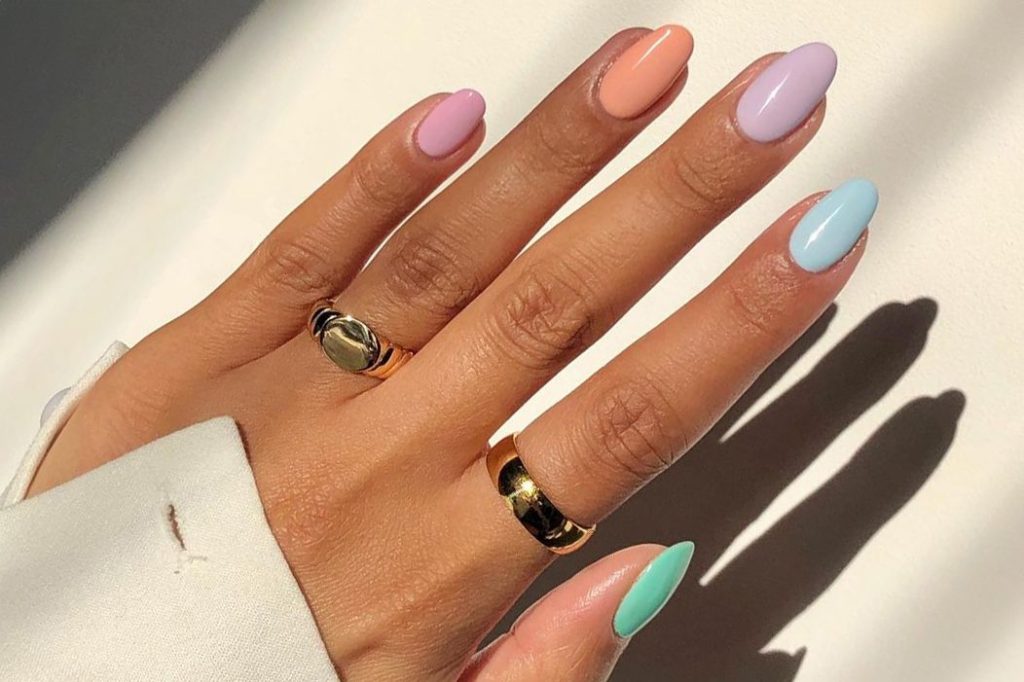
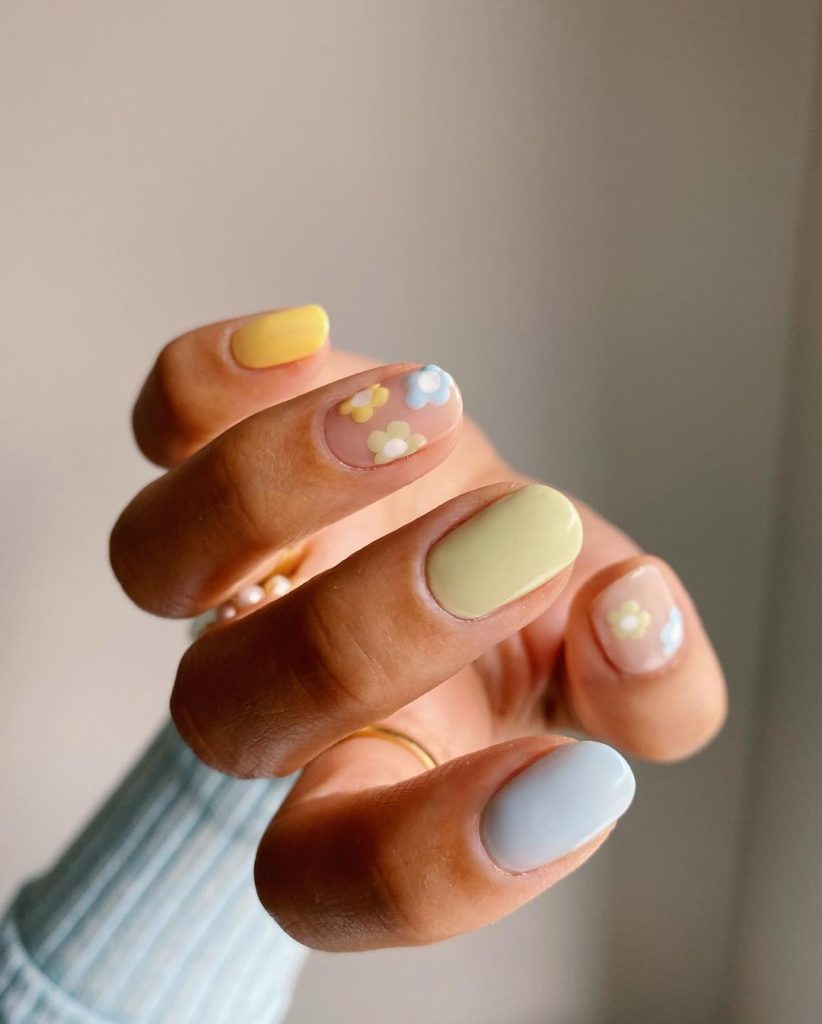
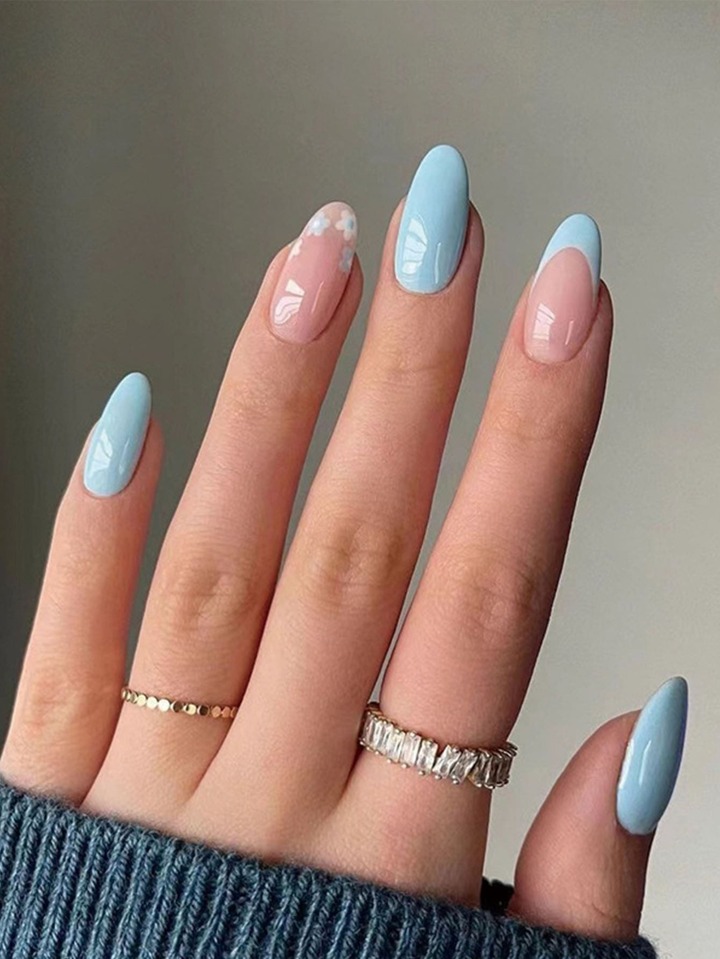
Lavender shades are making a huge splash this spring. They’re soft yet stand out. Mint green is another favorite, providing a refreshing look that’s both cool and stylish. Baby blue nails are calm and classic, perfect for any outfit. Light pink continues to remain a timeless choice, exuding femininity and grace. Peachy tones are also earning their place, offering a warm and inviting feel.
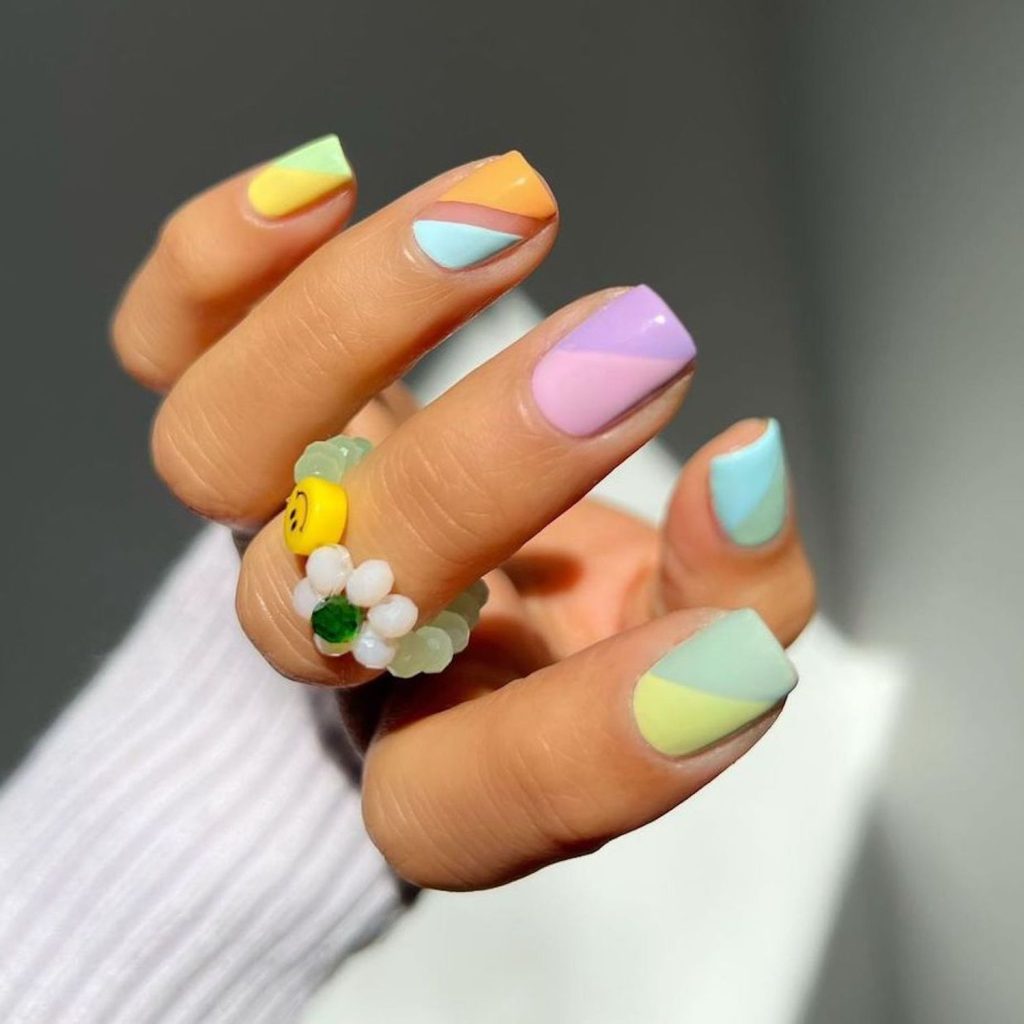
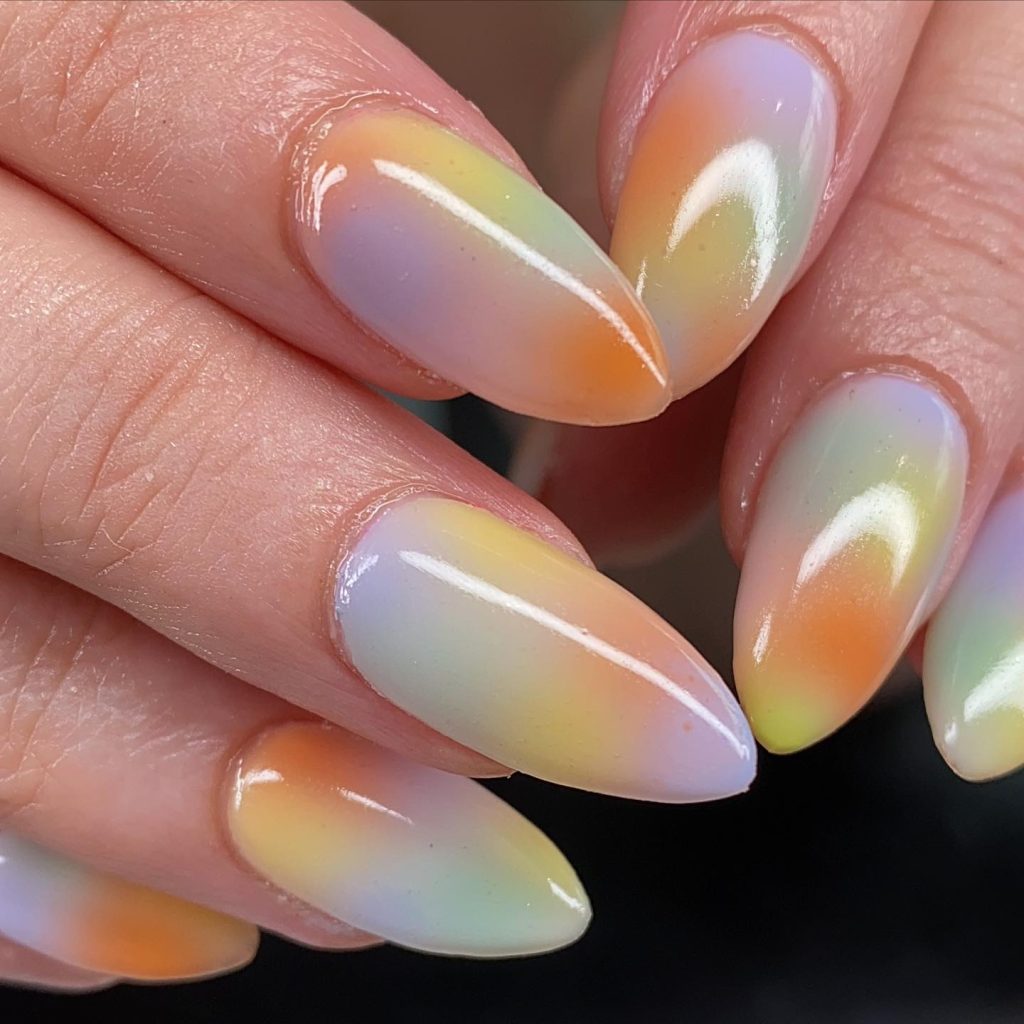
Popular Pastel Nail Art Techniques
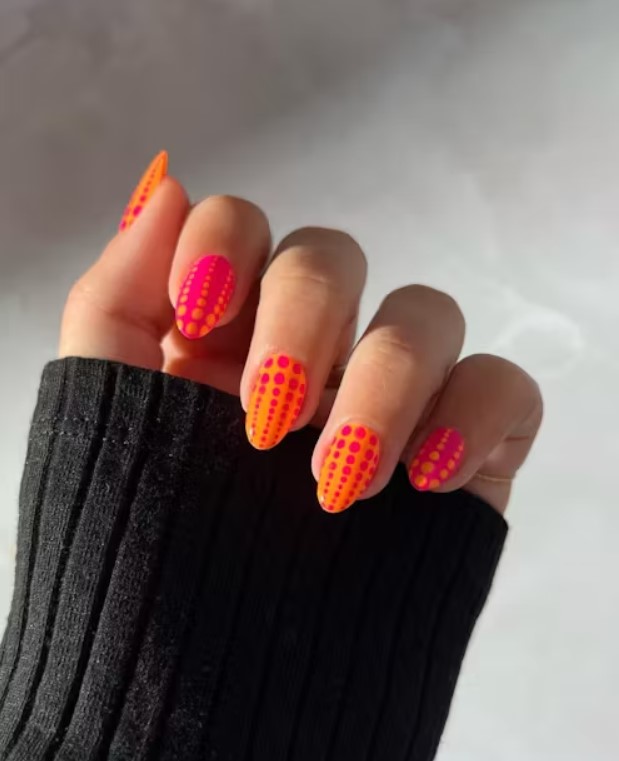
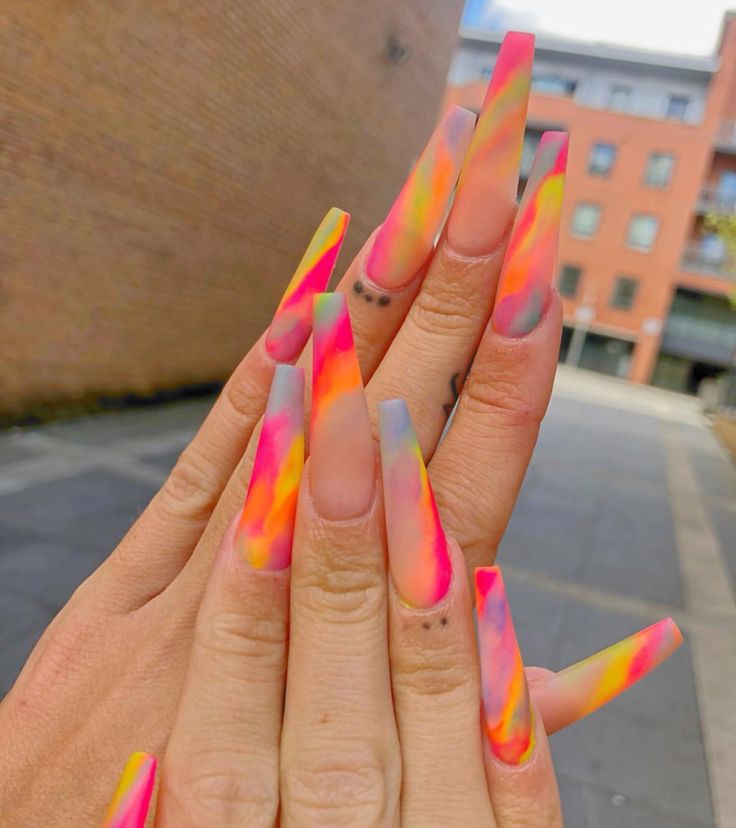
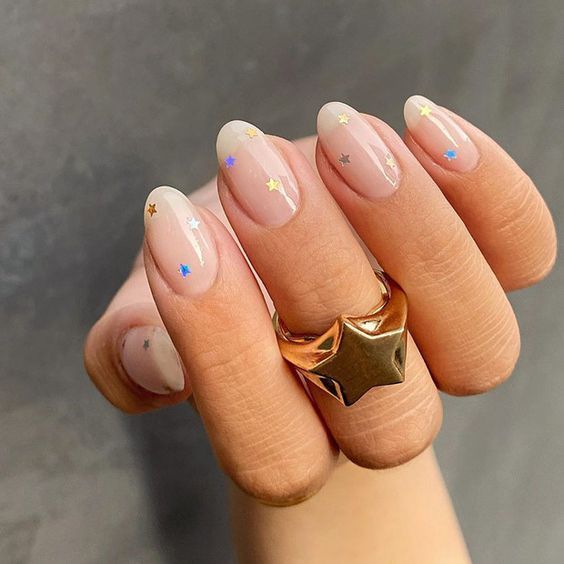
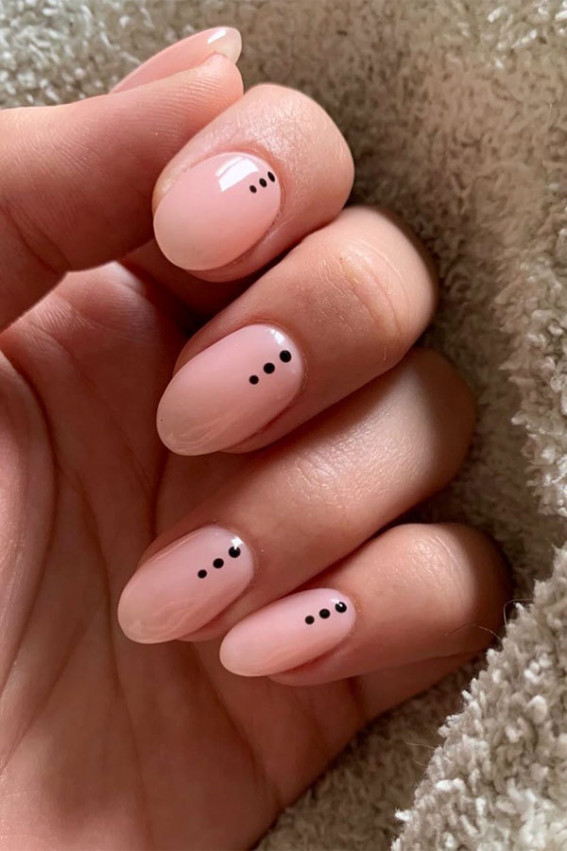
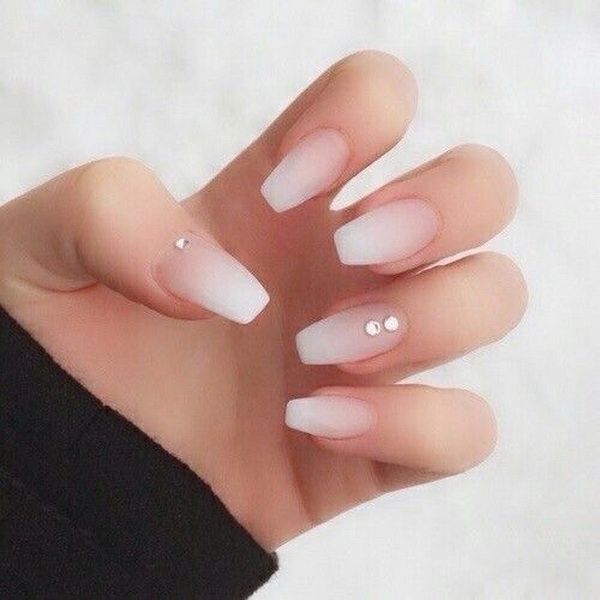
Ombre fades give a dreamy effect. I particularly love how they blend two or more pastel colors seamlessly. Polka dots can add a playful touch, especially with contrasting pastel dots on a neutral base. French tips are getting an update with pastel colors instead of the traditional white. Floral designs, incorporating tiny pastel flowers, add a springtime charm to any nail set. Don’t forget pastel geometric patterns for a modern twist. They look stylish and are perfect for someone wanting a contemporary look.
Pastel Perfection: Blooms on Your Nails

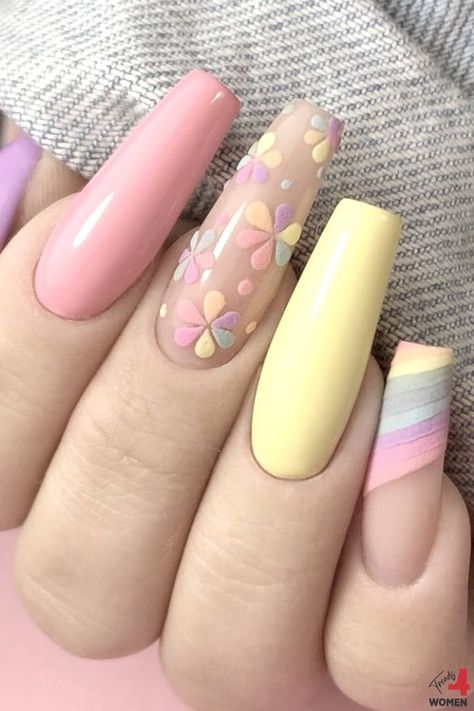
Spring nail designs often feature blooms, capturing the fresh and lively or energetic essence of the season. Let’s explore or investigate into the world of floral patterns and how to achieve them on your nails with ease.
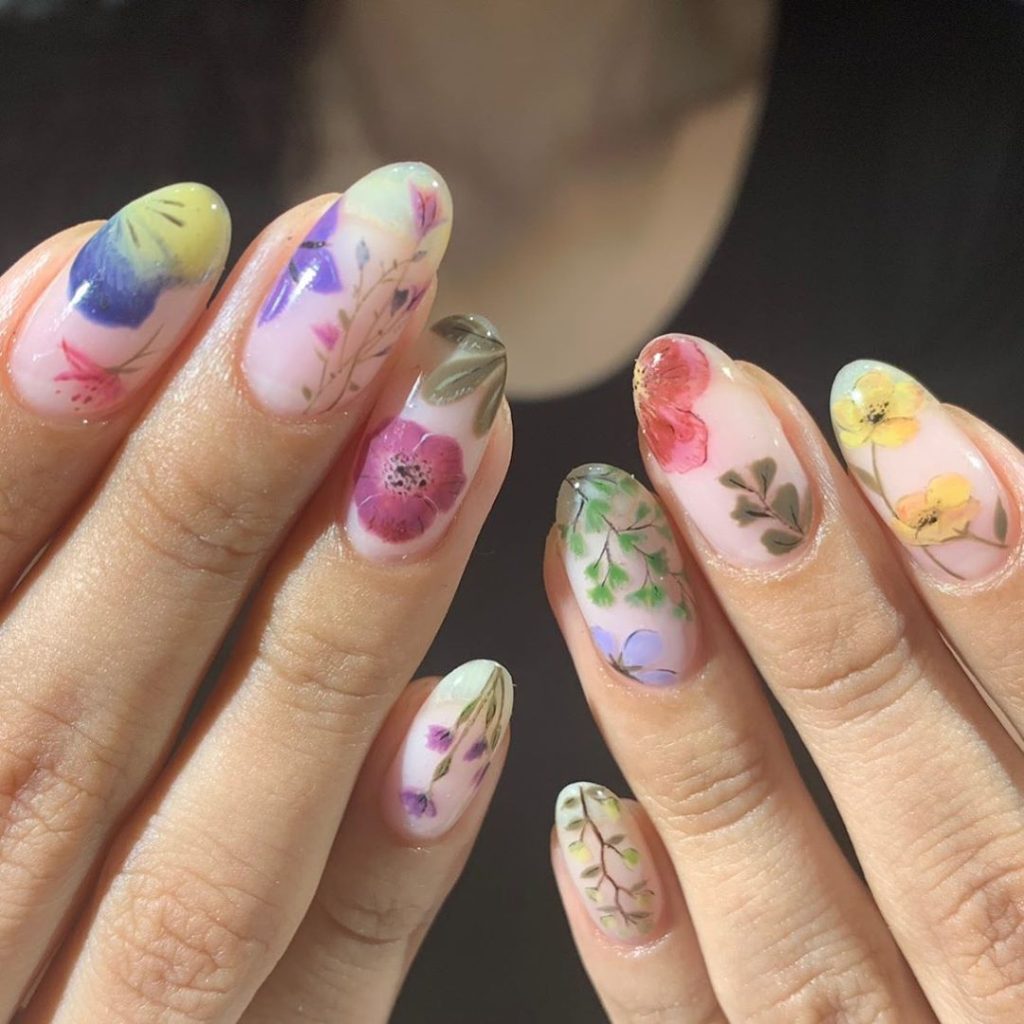
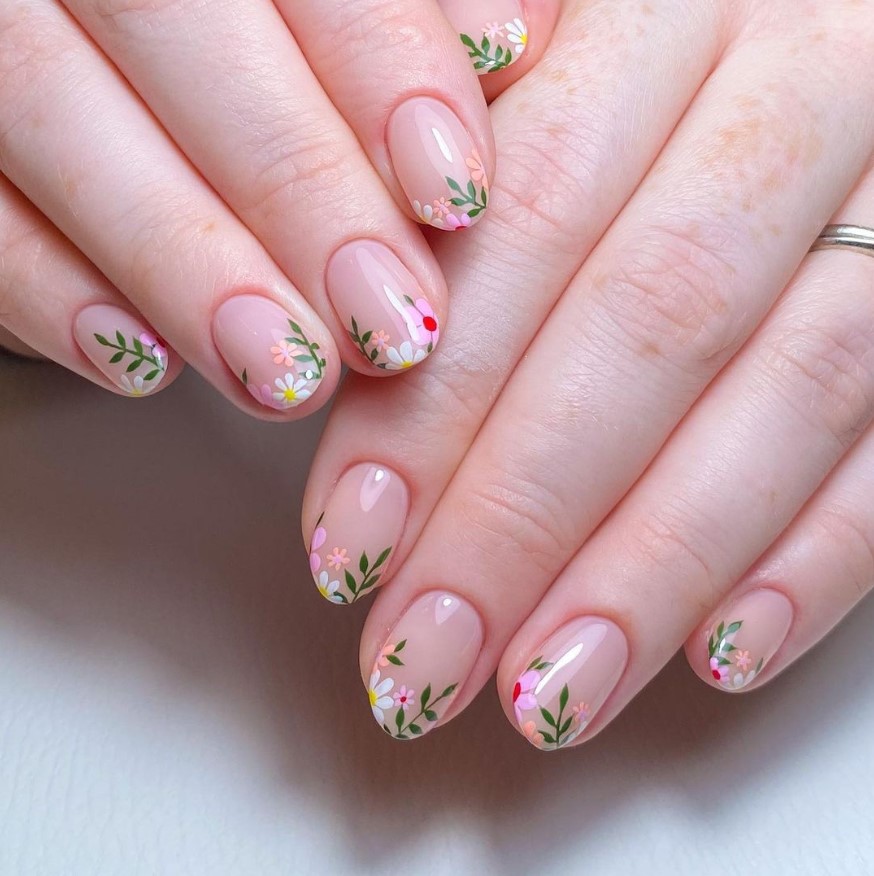
Essential Floral Patterns
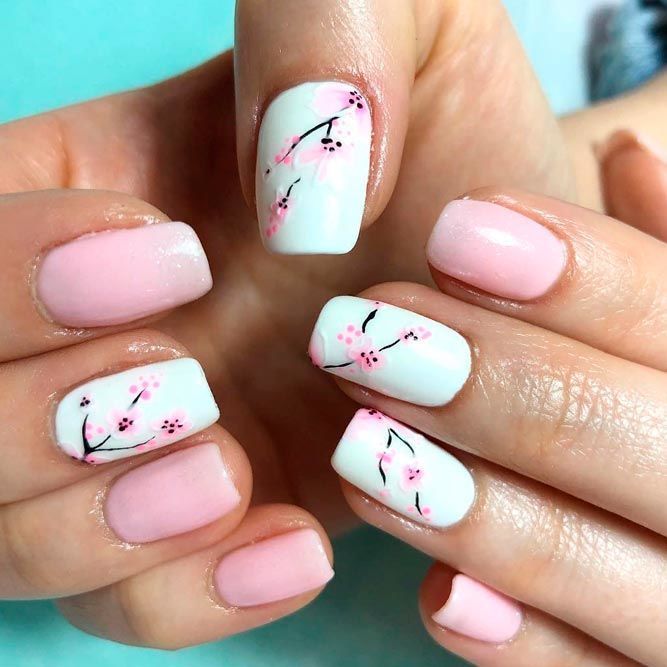
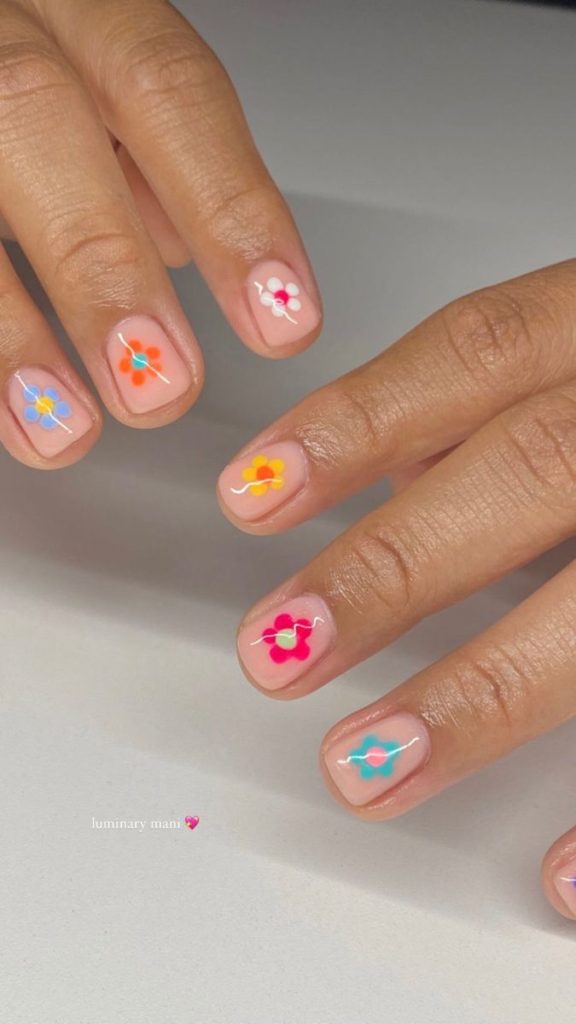
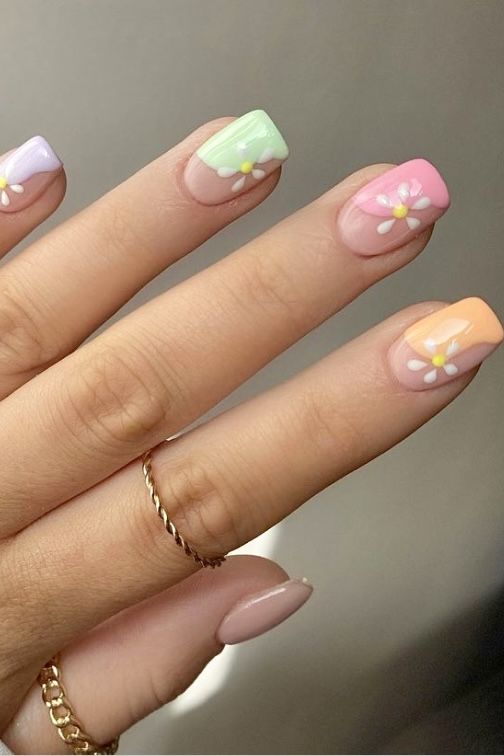
Roses add a classic, romantic touch to any manicure. Their layered petals create a timeless look. Daisies provide a simpler, playful vibe, often with a bright yellow center. Tulips offer an elegant alternative with their distinct shape, adding sophistication. Sunflowers stand out with their bold colors and large petals, perfect for a sunny look. Cherry blossoms bring a touch of Asian inspiration with delicate, tiny petals and branches.
Step-by-Step Floral Nail Art
First, prep your nails with a base coat to protect and smooth the surface. Choose your base color; light pastel shades work well. Next, using a fine nail art brush, start painting the flowers. For roses, start with spirals and add petals around. For daisies, paint a yellow dot and add white petals around it. Use a dotting tool for precise centers. Add leaves and stems with green polish for a realistic touch. Seal your artwork with a clear top coat to make it last. Accept or adopt the season with beautiful, bloom-covered nails.
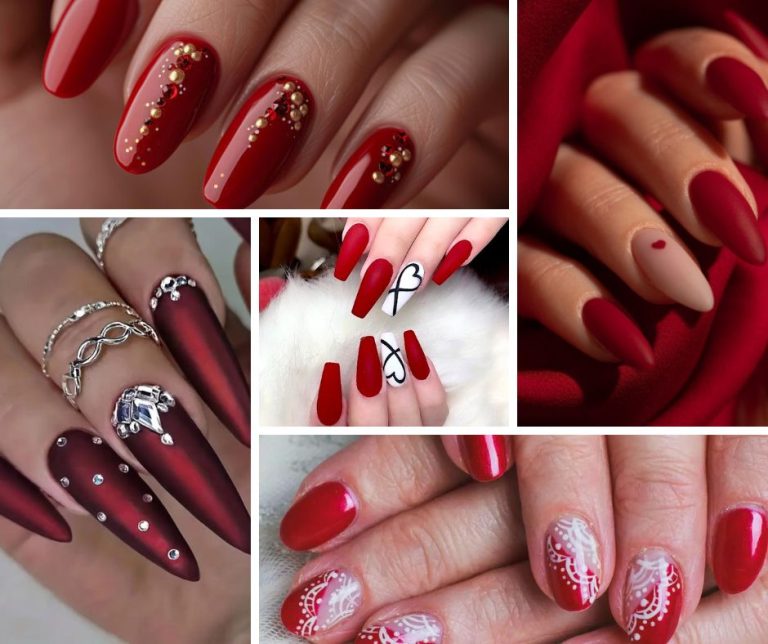
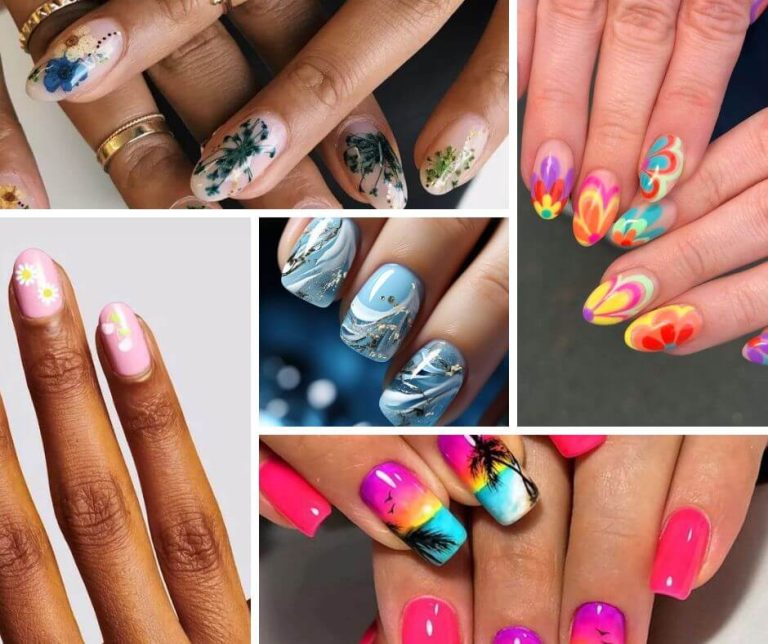
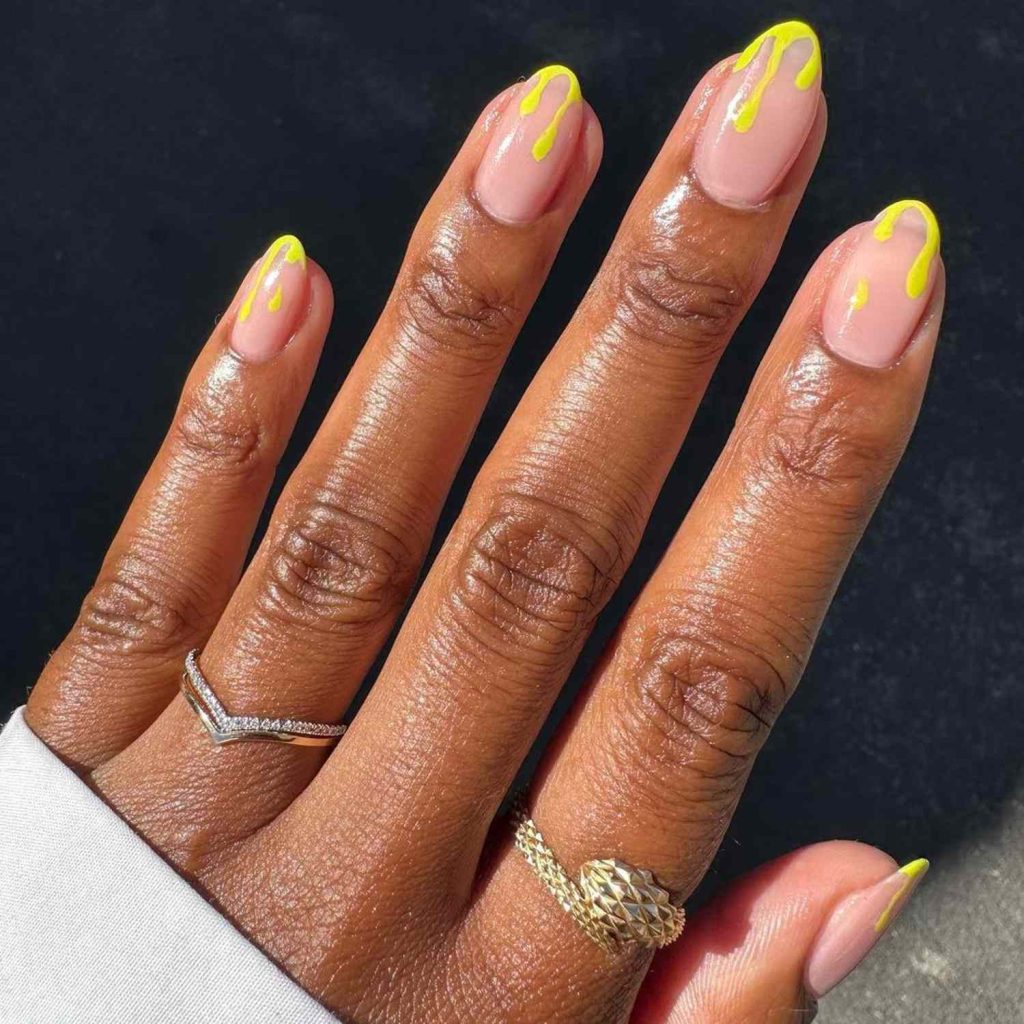
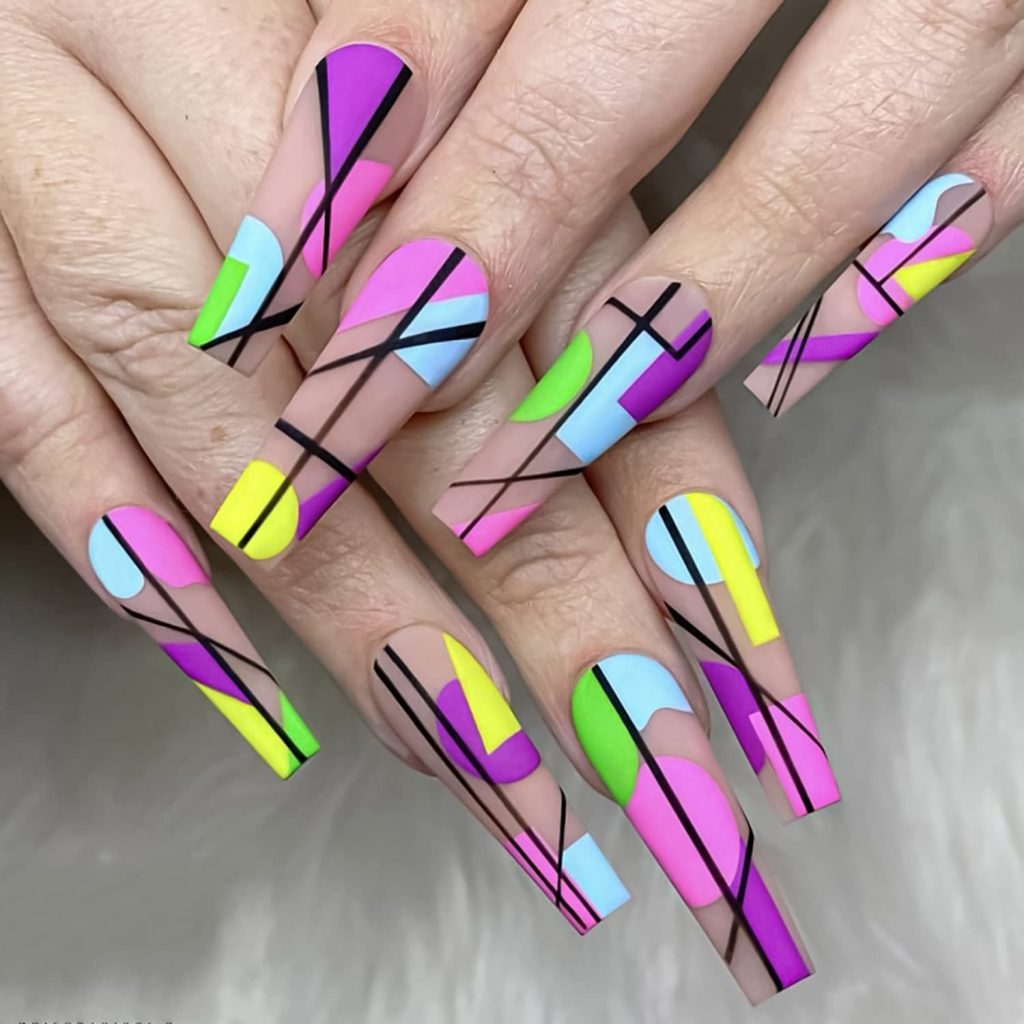
Vibrant Colors: Bright and Bold
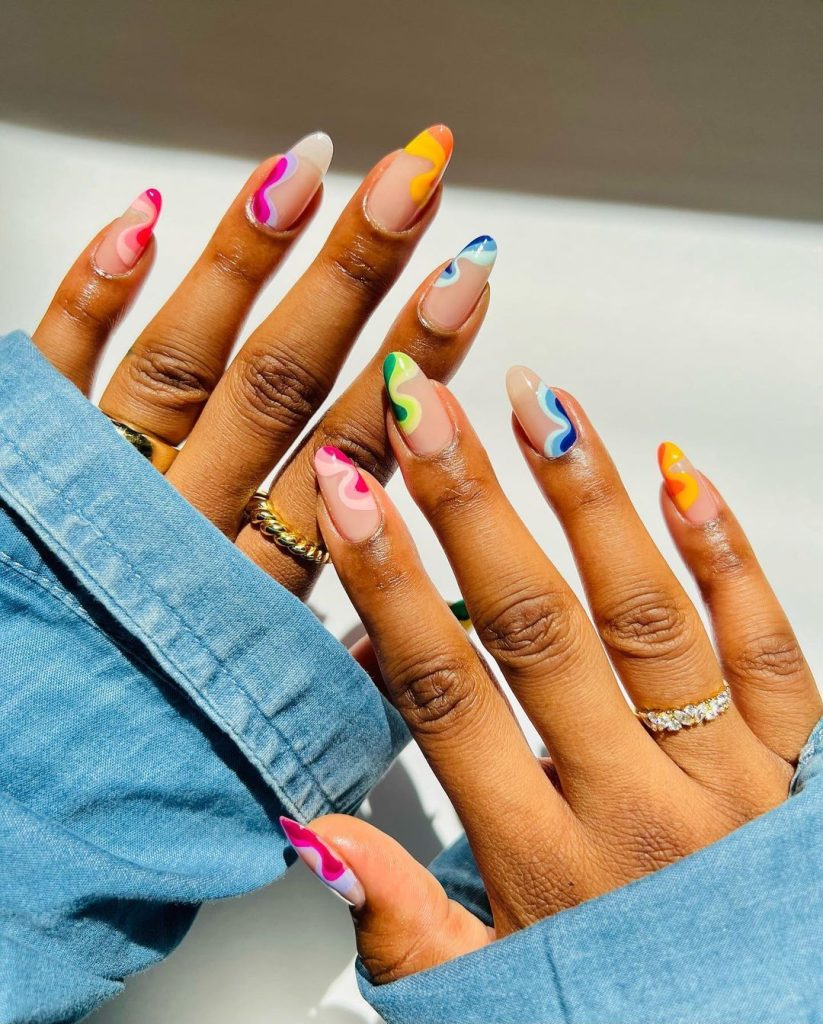

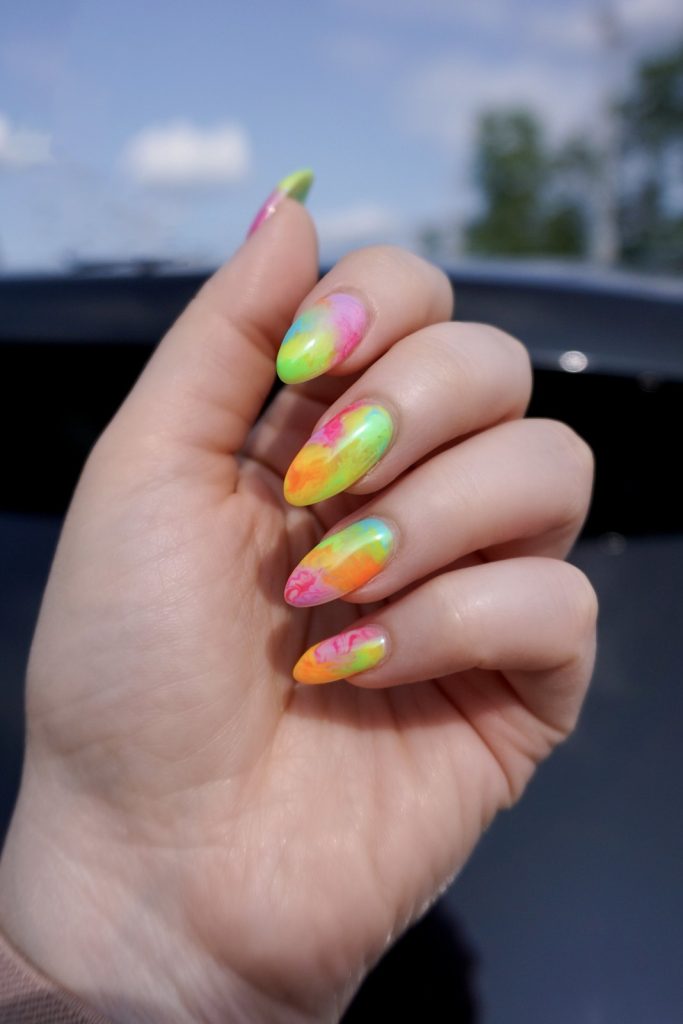
Spring is the perfect time to experiment with bright and bold nail colors. Vivid hues can add a pop to your look and reflect the lively or energetic energy of the season.
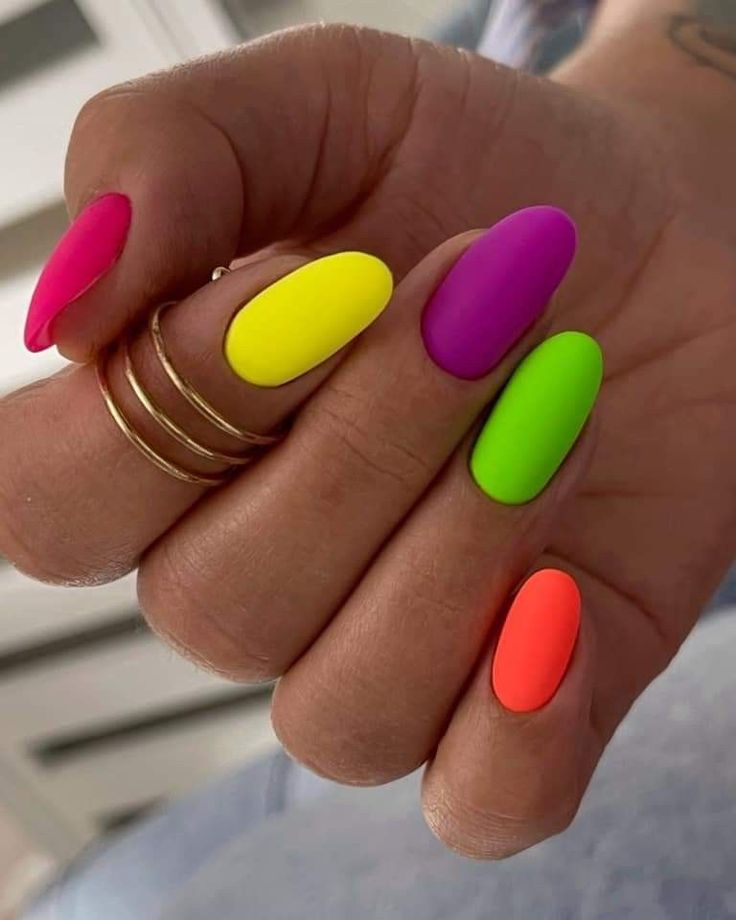
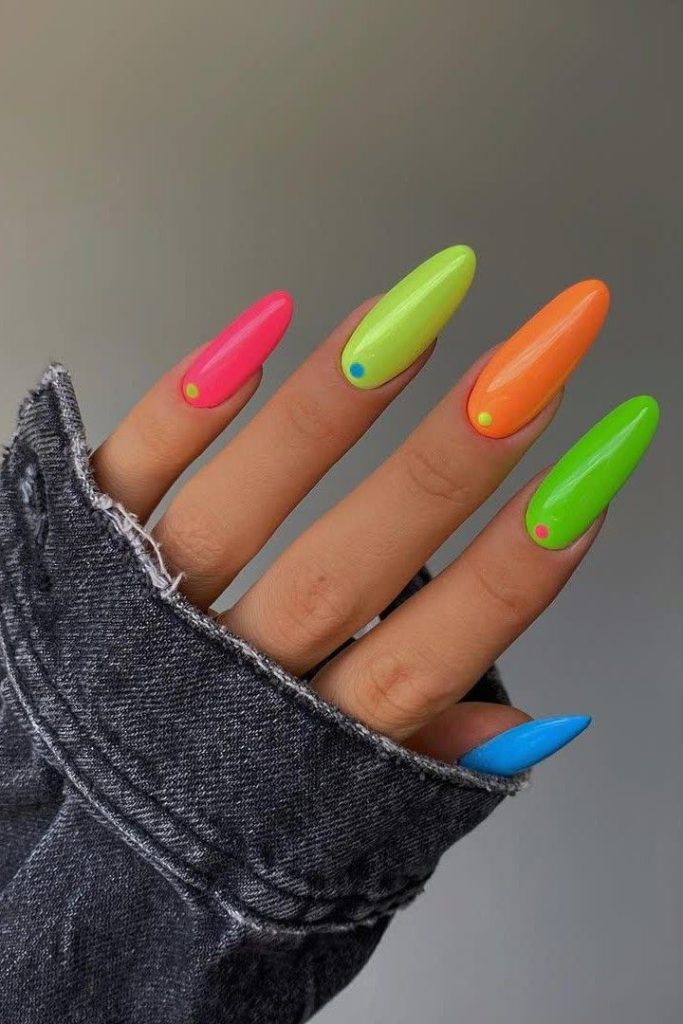
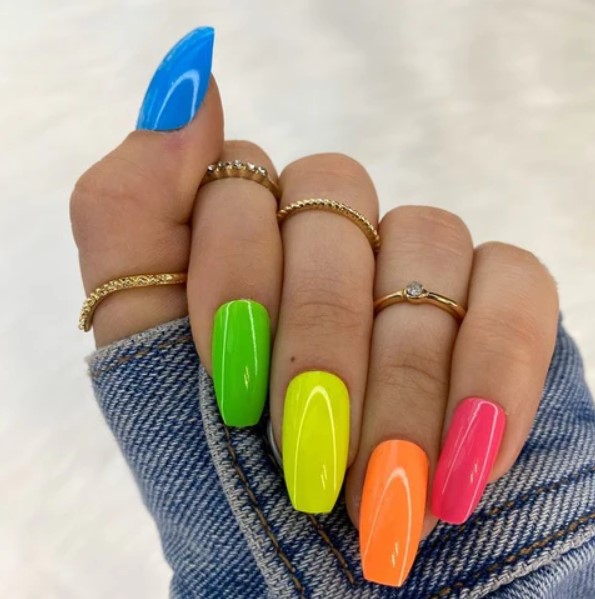
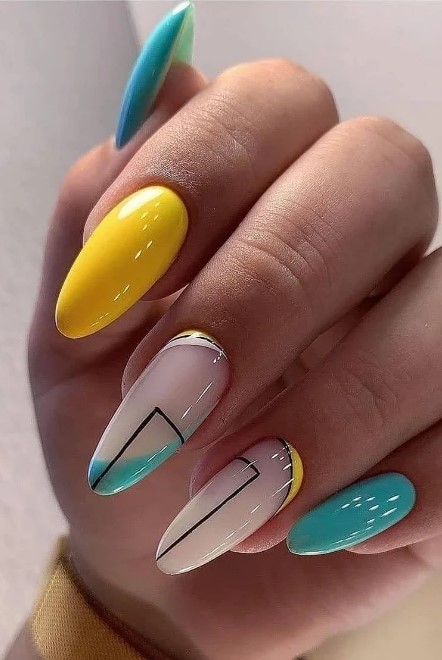
Best Bright Nail Polish Colors
Red captures attention like nothing else. Choose a fiery red to make a striking statement. Fluorescent pink is another fantastic option, channeling a fun, playful vibe. For those who love cool tones, electric blue works wonders. Lively or energetic and eye-catching, it’s great for daytime outings. Don’t forget about sunny yellow. It’s the epitome of spring, symbolizing bright days ahead.
Tips for Long-Lasting Lively or energetic Nails
Preparation is key. Start by cleaning your nails thoroughly, making sure or guaranteeing they’re free of oils. Always apply a base coat. This creates a smooth canvas and prevents staining. Once you’ve applied your bright polish, use thin layers. Thick coats can chip easily. Seal everything in with a high-quality top coat. Remember, touching up every few days keeps your nails looking fresh longer.
Accept or adopt the season with these colors, and you’ll notice the difference it makes in your generally or on the whole style.
Minimalist Magic: Less is More
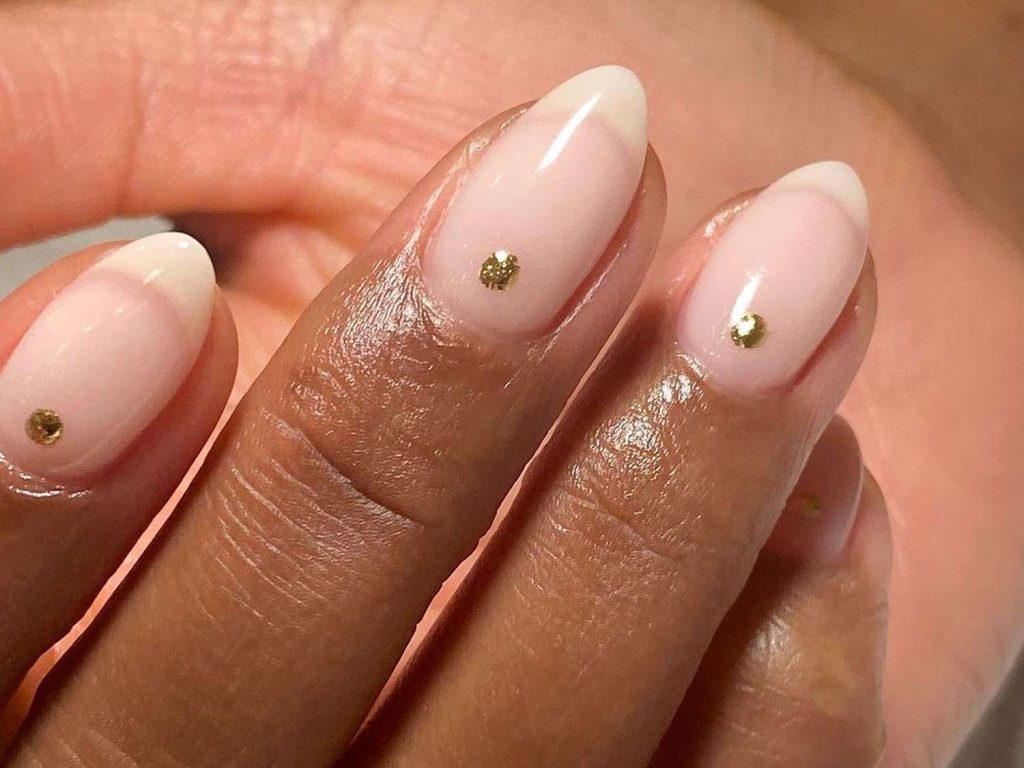

For spring, minimalist nail designs are making a big comeback. These styles are all about subtle elegance and understated beauty.
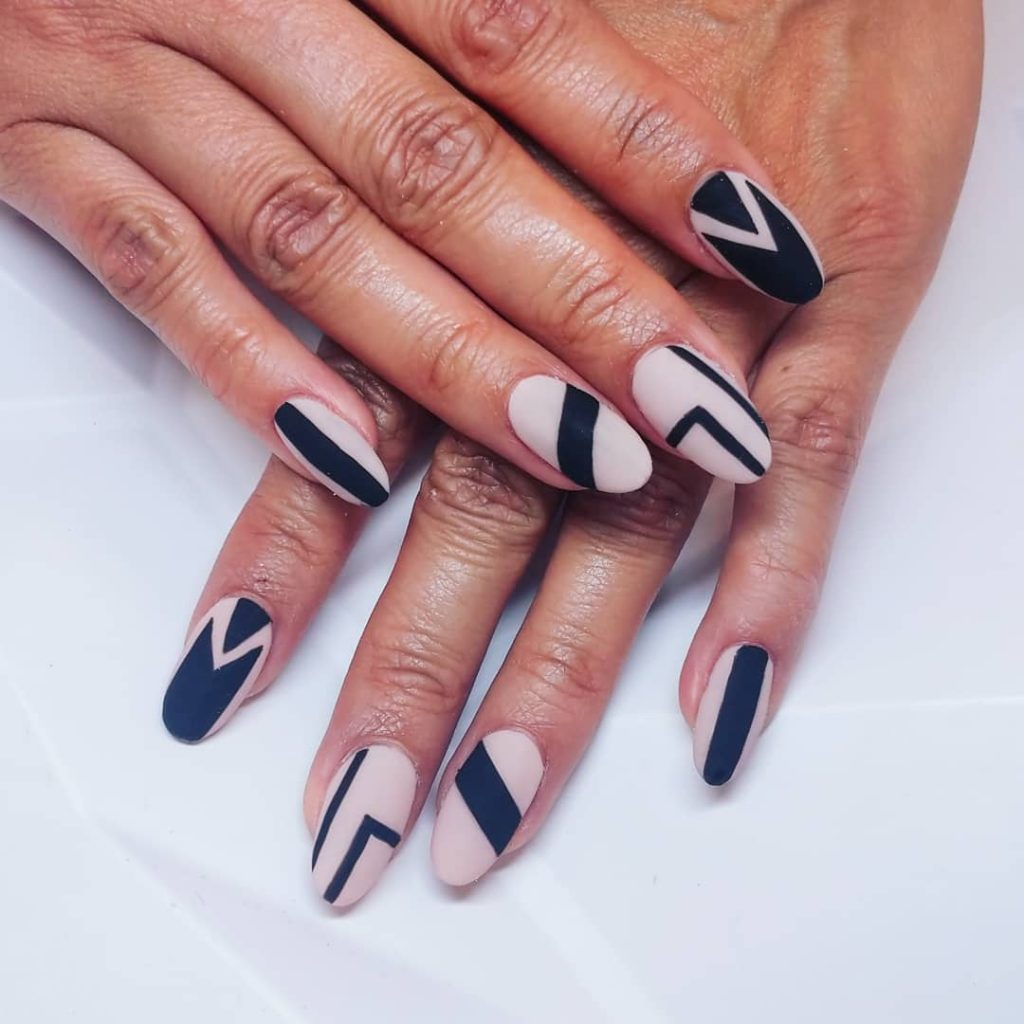
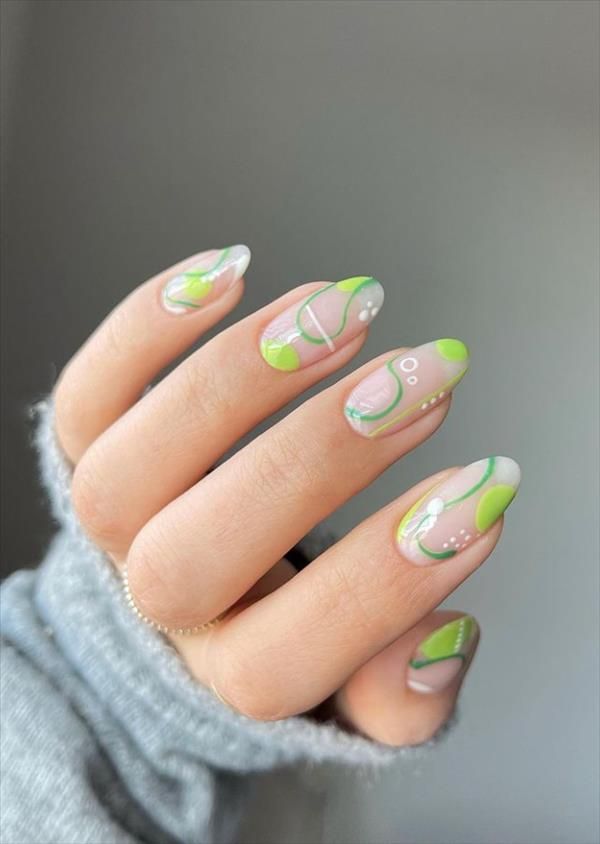
Simple Yet Stylish Designs
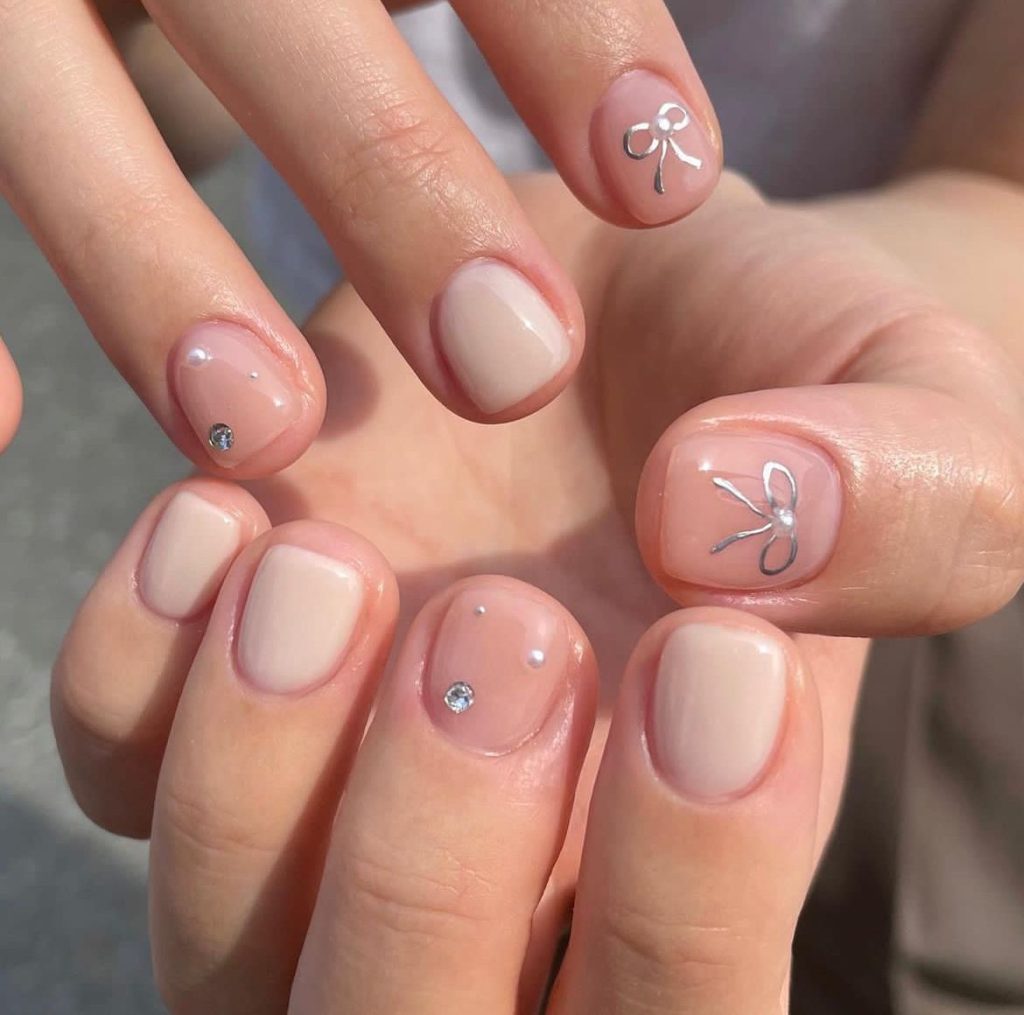
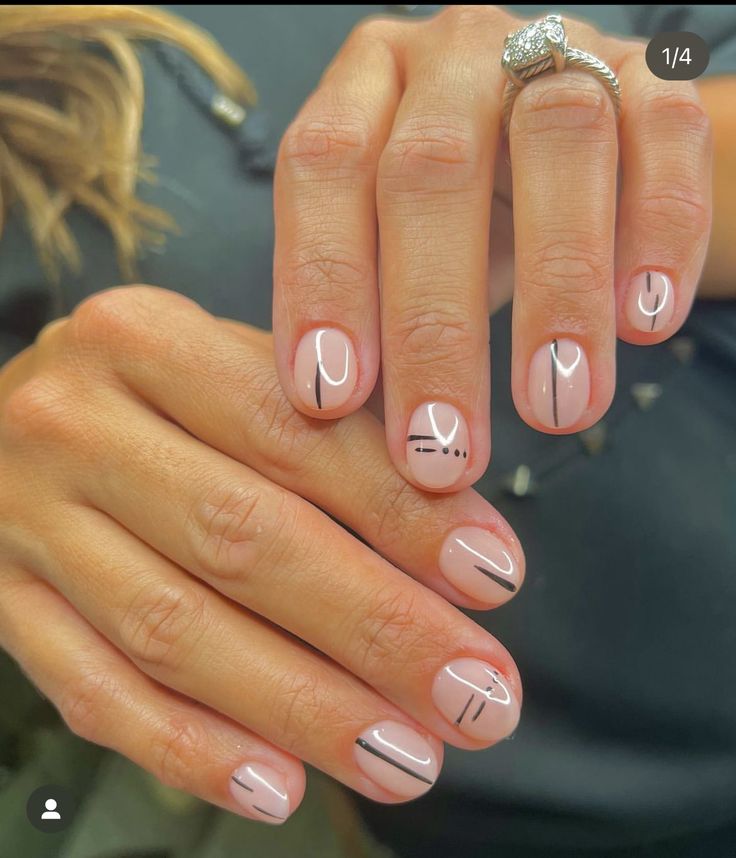
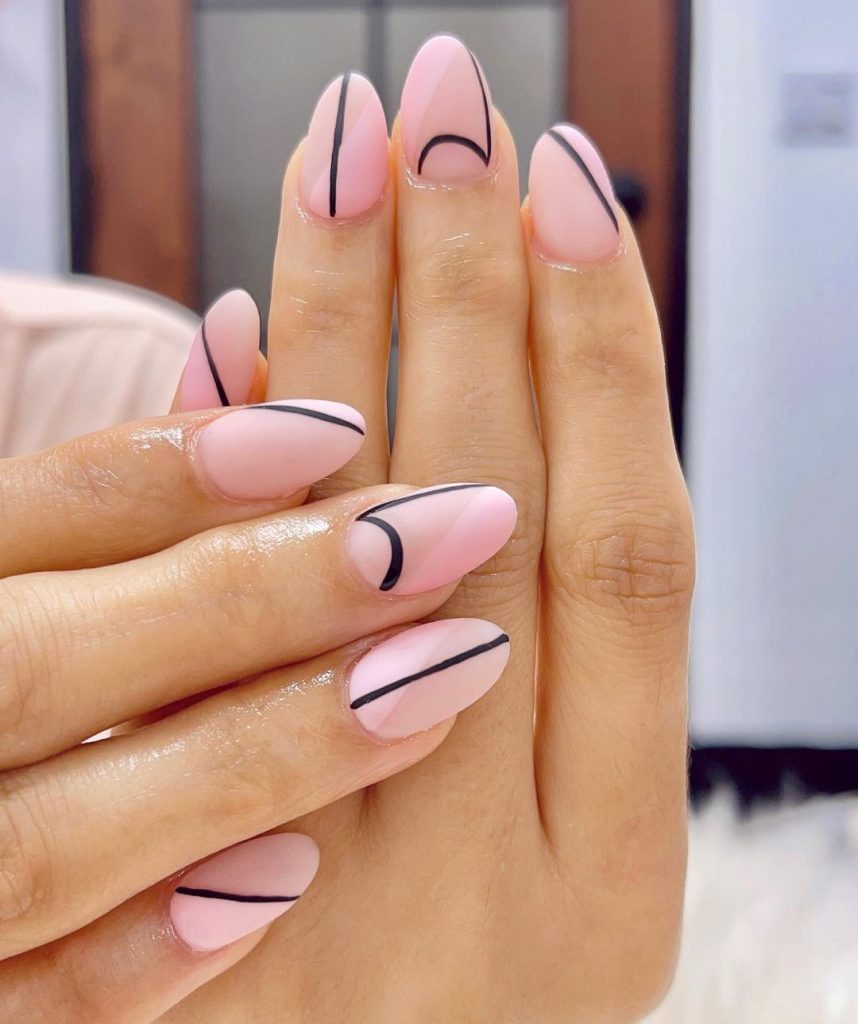
Dainty lines and dots can transform nails into chic masterpieces. Negative space manicures let part of your natural nail show through, creating a clean, modern look. Another favorite of mine is the single-color nude look, which offers elegance with minimal effort. Glitter accents on a neutral base add just the right amount of sparkle without overwhelming the design.
Minimalist Nail Art Tools
Invest in a quality fine-tipped brush for precise details. Dotting tools come in handy for those small, perfect circles. I also recommend striping tape to achieve those straight, crisp lines. Don’t forget a durable, high-shine top coat to protect your minimalist designs. Having the right tools makes creating sleek, simple nail art a breeze.
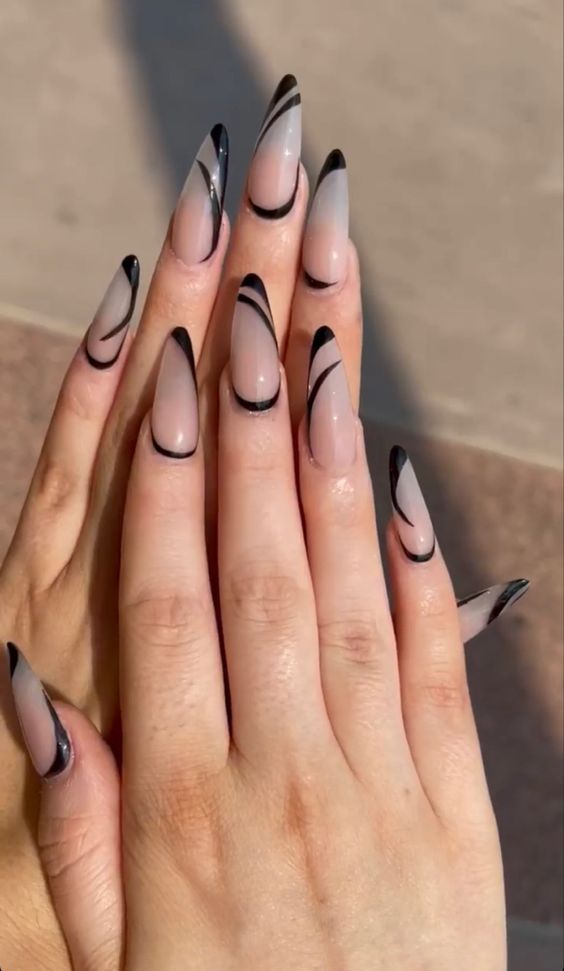
Geometric Glam: Shapes and Lines
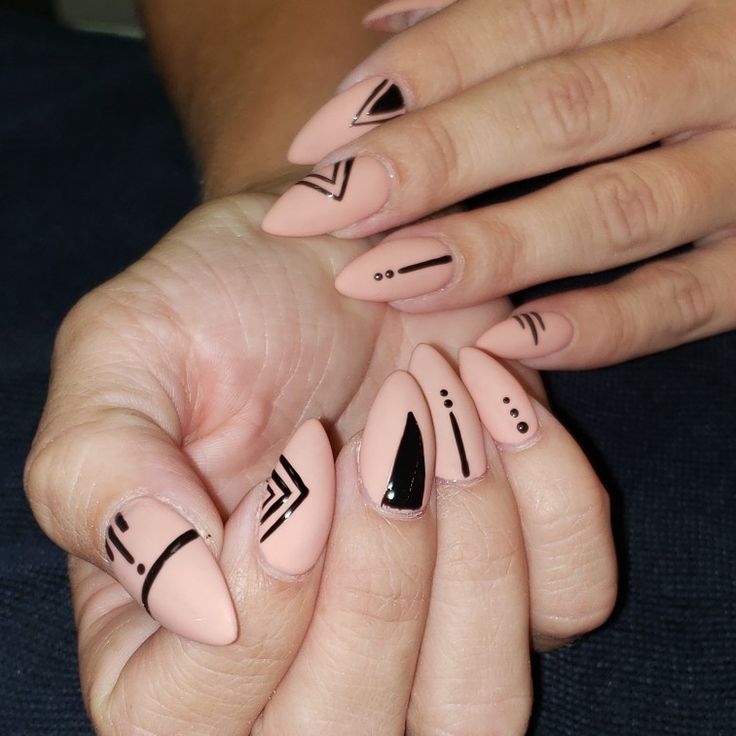
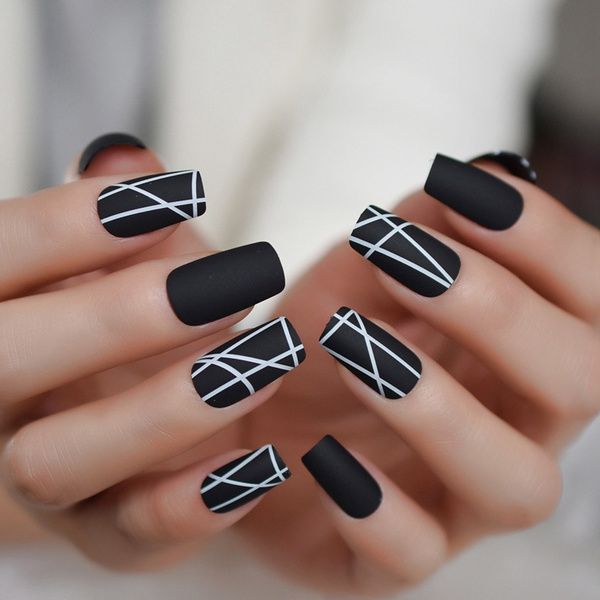
Spring is the perfect time to add some geometric flair to your nails. It’s a modern twist that can make your manicure stand out.
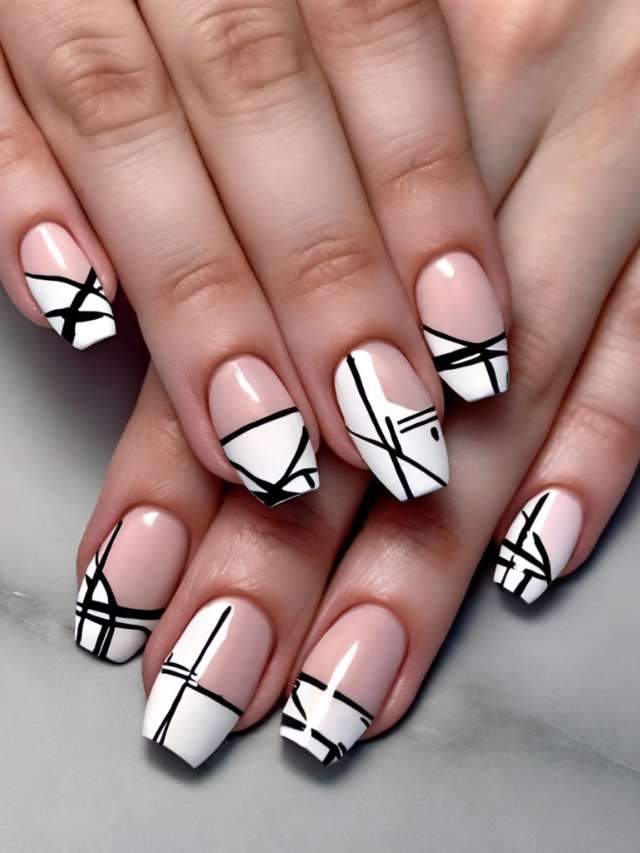
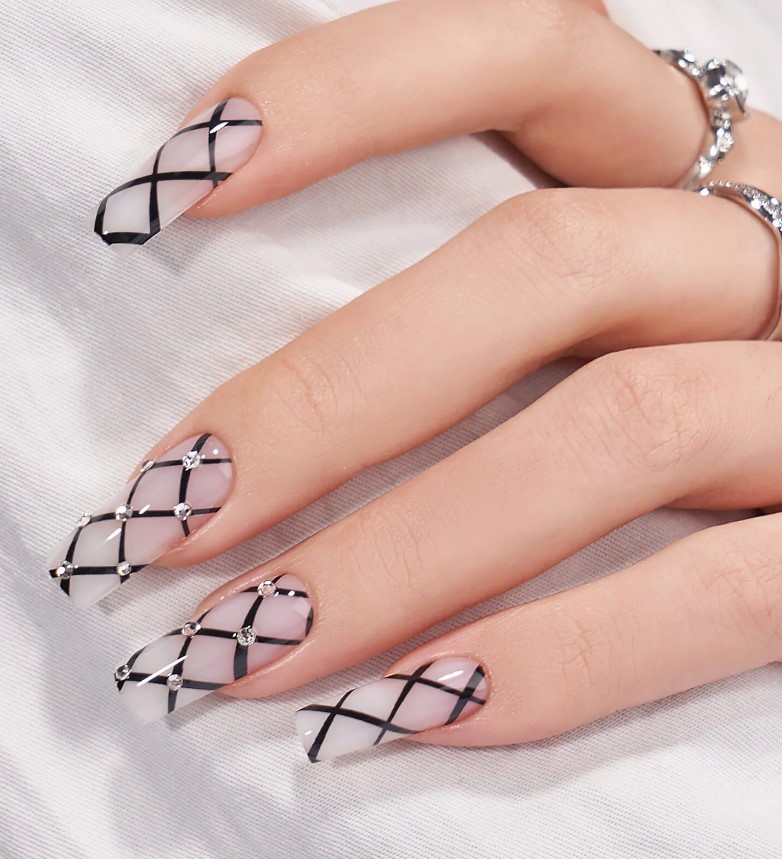
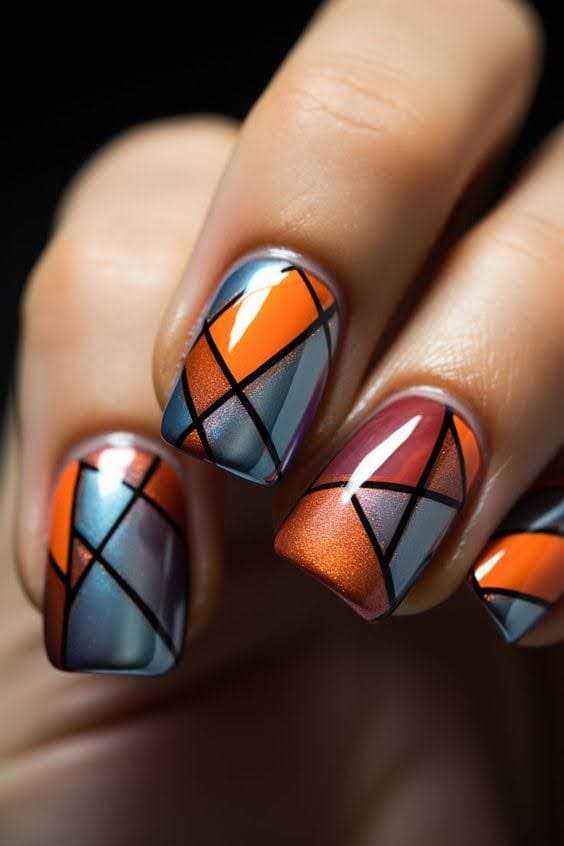
Must-Try Geometric Patterns
Triangles? They’re a classic. You can arrange them in a variety of layouts for a changing or fluid look. Diamonds, on the other hand, offer a touch of elegance. Pair them with metallic shades for extra glam. Lines, especially intricate ones, add depth and movement. Combine thick and thin lines to create a one-of-a-kind or distinctive visual. Squares and rectangles can bring a sleek, architectural feel to your nails. Varied shapes keep things interesting and eye-catching.
Creating Geometric Nail Art at Home
First, begin with a clean base. Use a clear or nude polish. Next, outline your design with nail tape or stencils for precision. Use fine-tipped brushes for detailed work. Gradually, fill in shapes with contrasting colors. Don’t forget to let each layer dry completely. A steady hand helps, but practice makes perfect. Finally, seal your design with a top coat for shine and protection. Enjoy your chic, self-made geometric masterpiece!
Incorporating geometric patterns into your spring nail designs couldn’t be easier. With a bit of practice, some essential tools, and a creative spirit, you’ll have an eye-catching manicure in no time.
Nature-Inspired Themes: Earthy and Refreshing

Spring is all about reconnecting with nature. Let’s bring that refreshing vibe to your nails with earthy and nature-inspired themes.
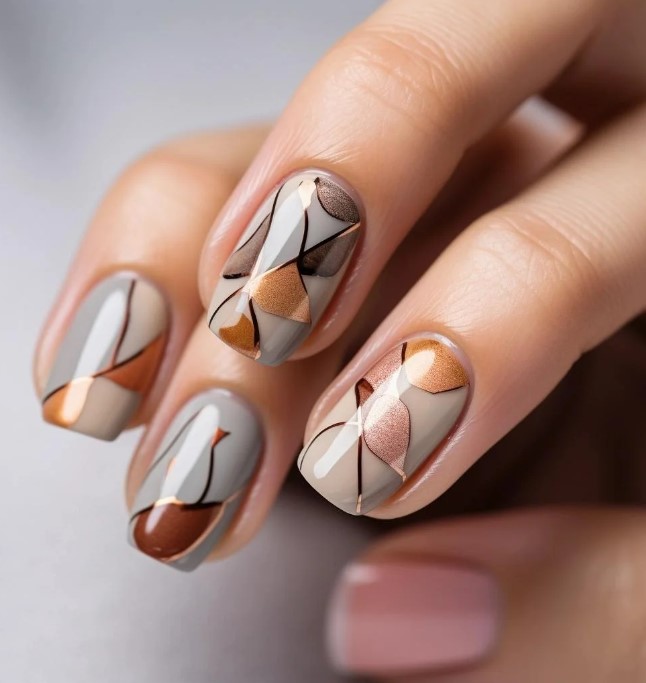
Top Nature-Inspired Colors and Patterns
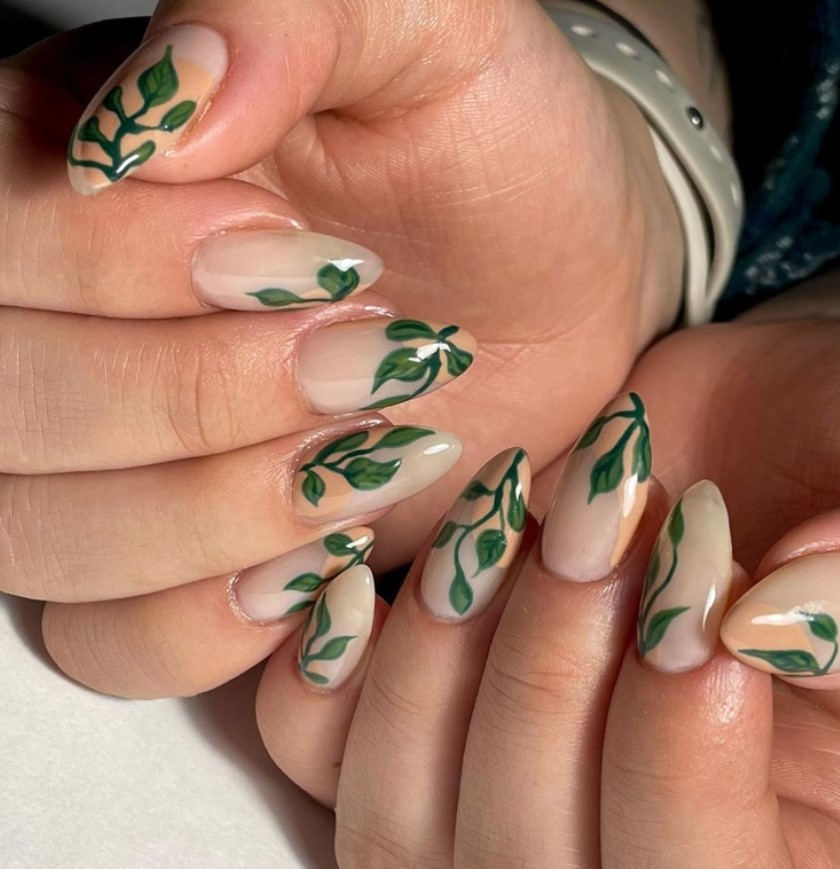
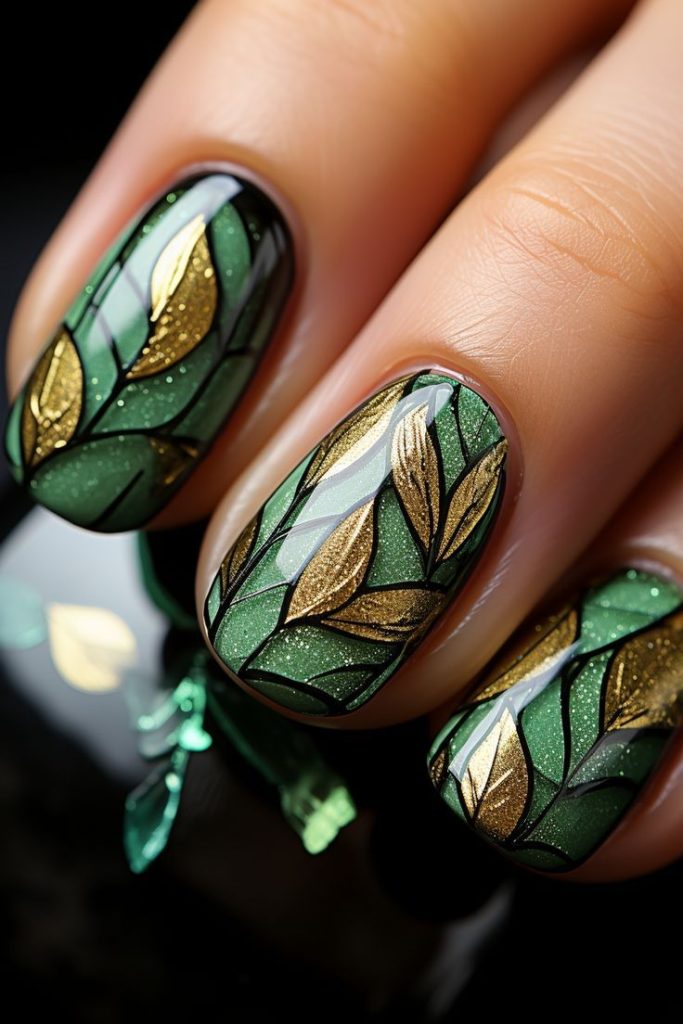
Picking the right colors can make all the difference. Greens like sage and eucalyptus perfectly mimic the freshness of spring foliage. Brown tones, similar to rich soil, add warmth and depth. Blues that echo the sky and ocean can be incredibly soothing.
Patterns, on the other hand, make your nails truly pop. Think about delicate leaf motifs, detailed floral designs, or even branch patterns. You can try sunsets blending various colors or mountains with snow-capped peaks for a more artistic approach.
Application Tips for Nature Themes
Apply these nails designs correctly to turn heads. Always start with a good base coat; it maintains the longevity of your manicure. Layer your colors in thin coats for an even application. A fine-tipped brush will be your best friend for detailed designs like leaves or flowers.
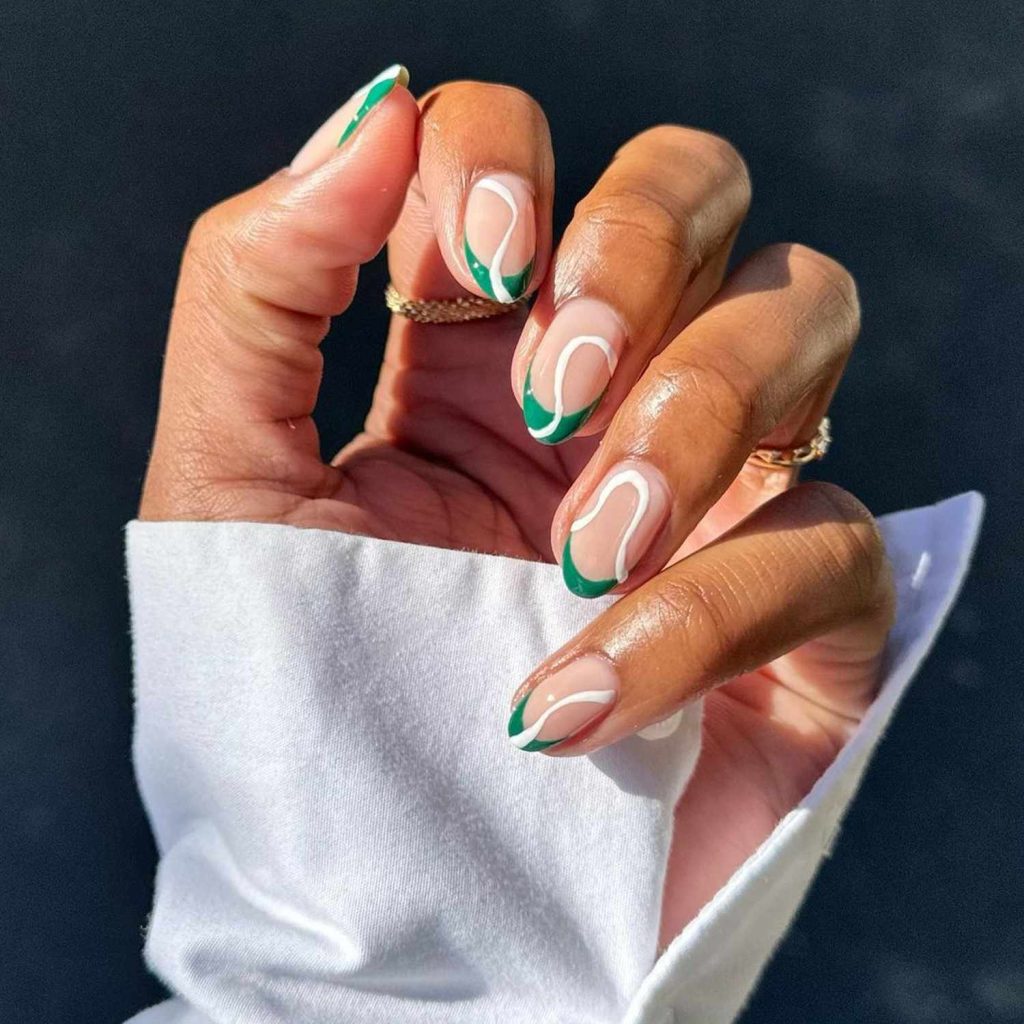
Classic French Manicure: Spring Twist
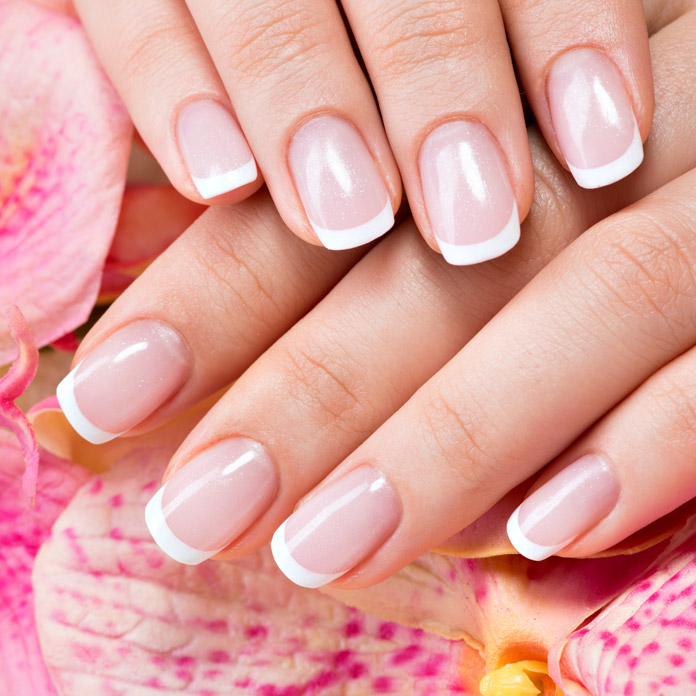
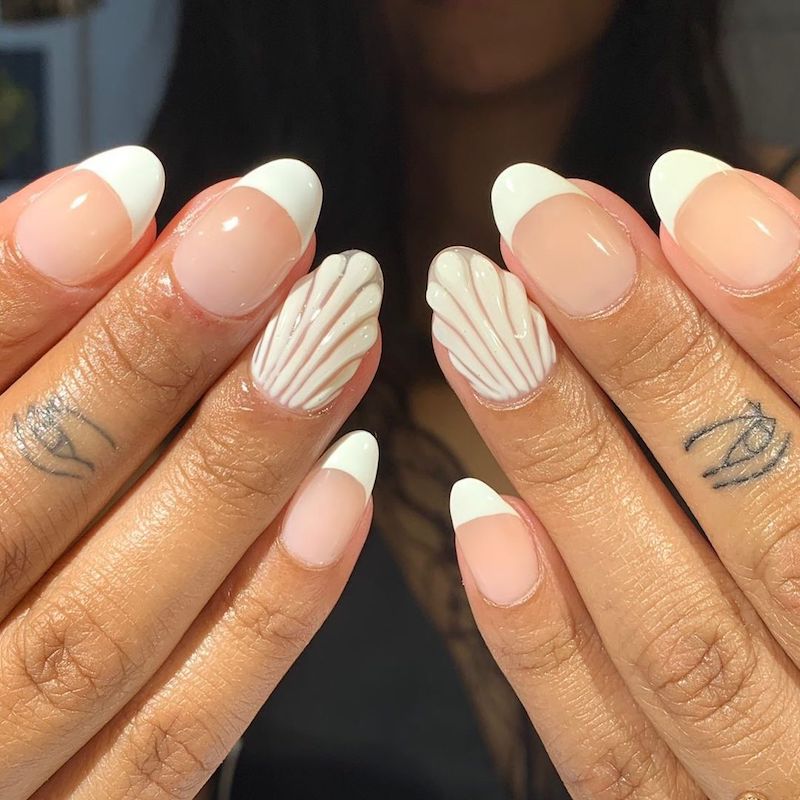

Want to refresh your classic French manicure for spring? Let’s explore or examine into some innovative ideas to give this timeless design a seasonal update.
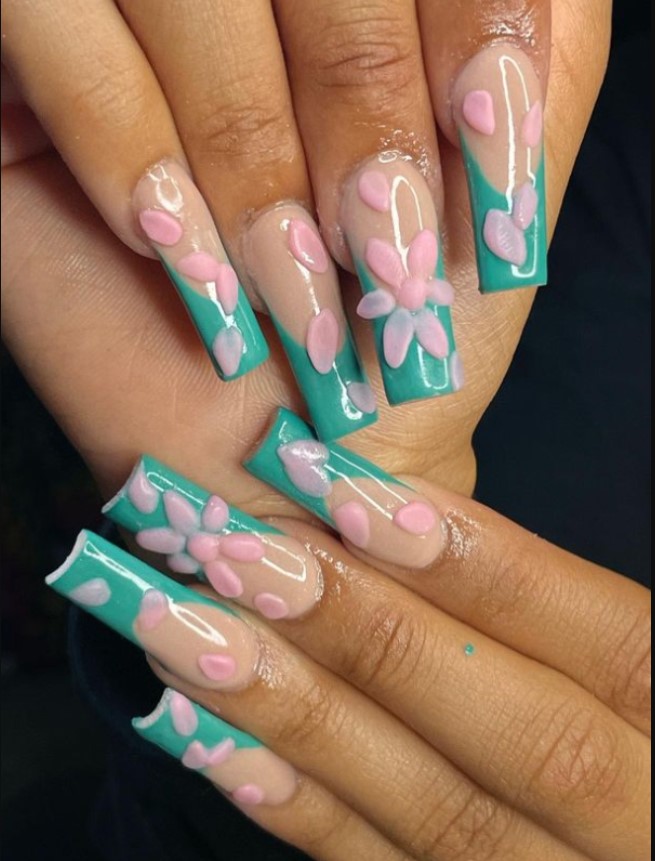
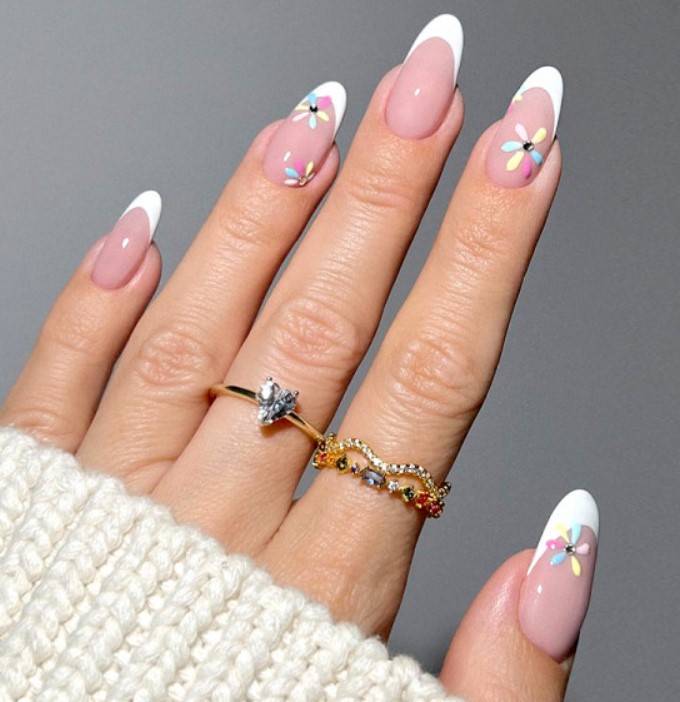
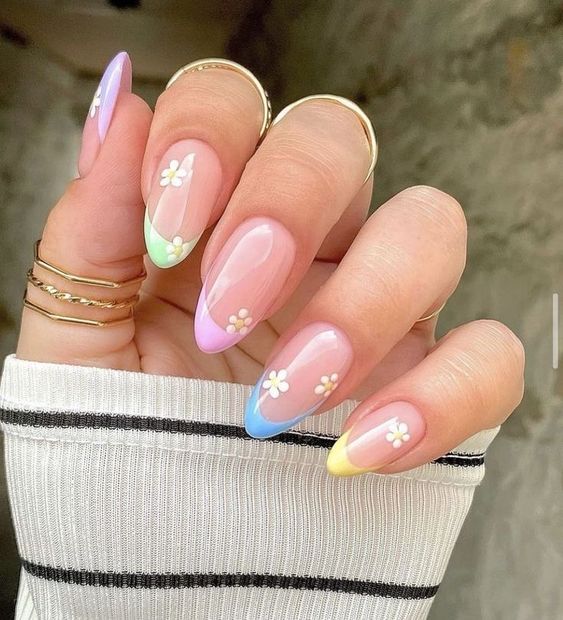
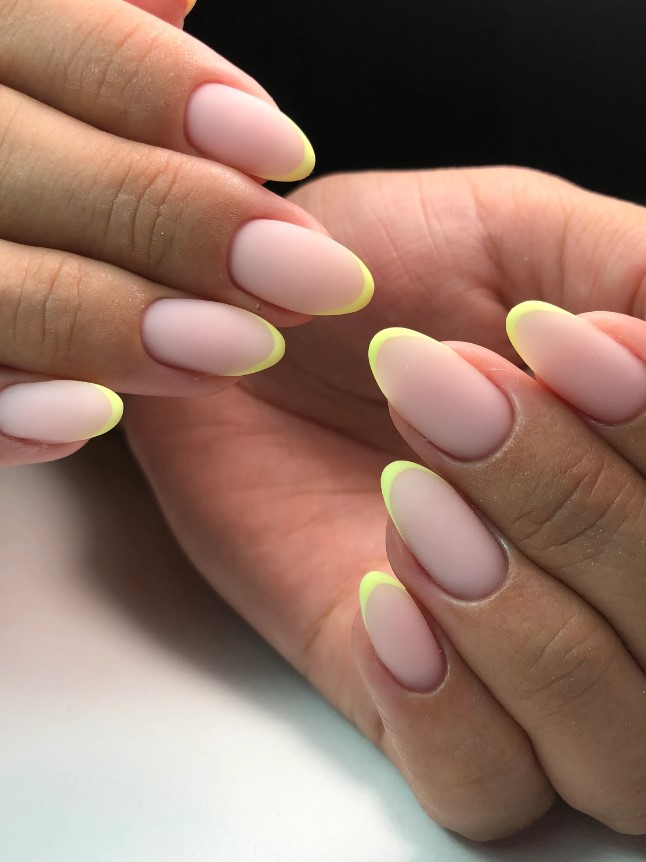
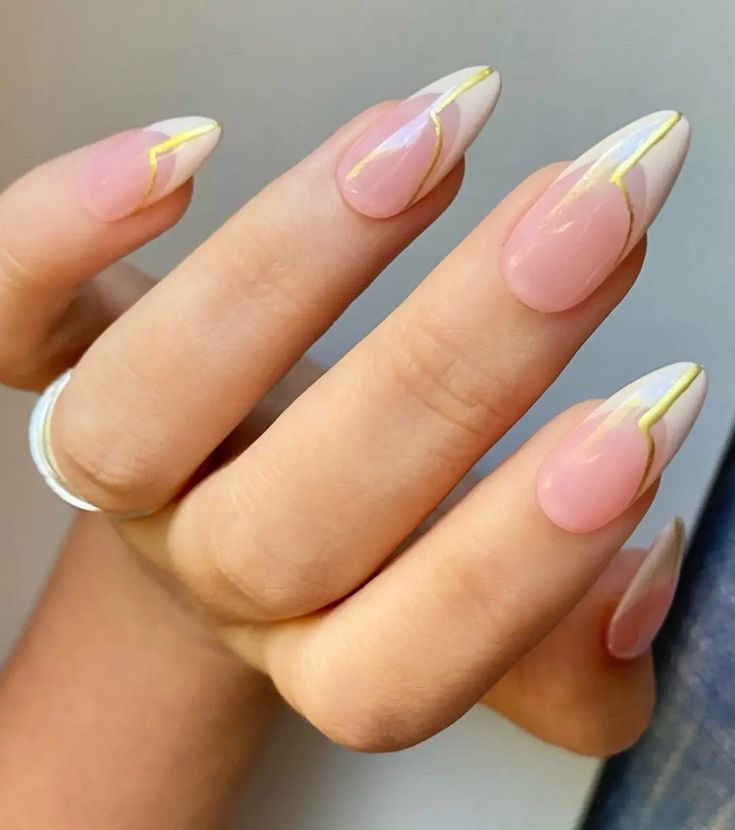
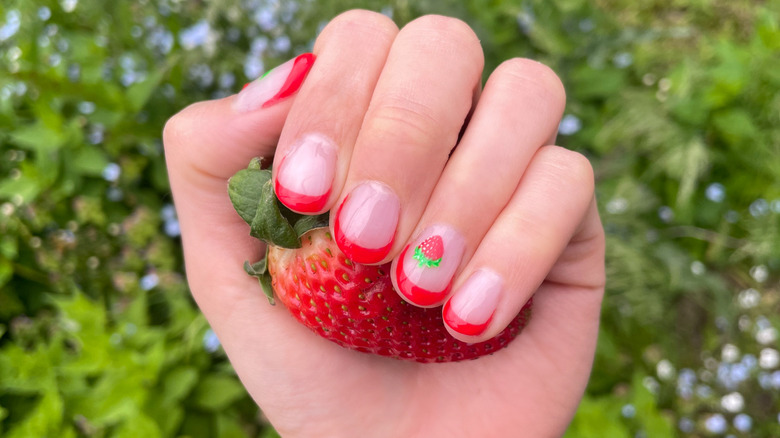
One-of-a-kind or distinctive Takes on French Manicure
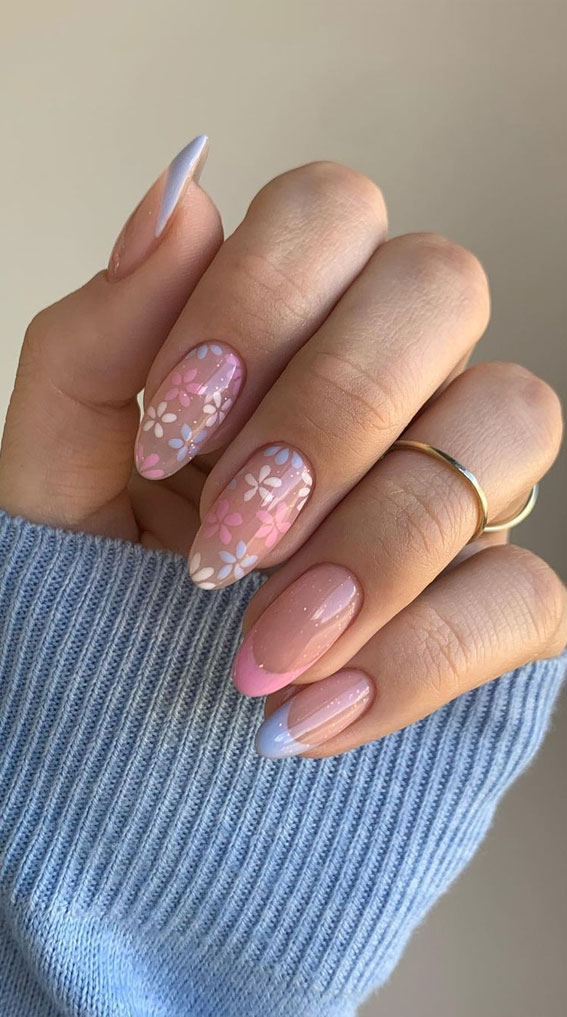
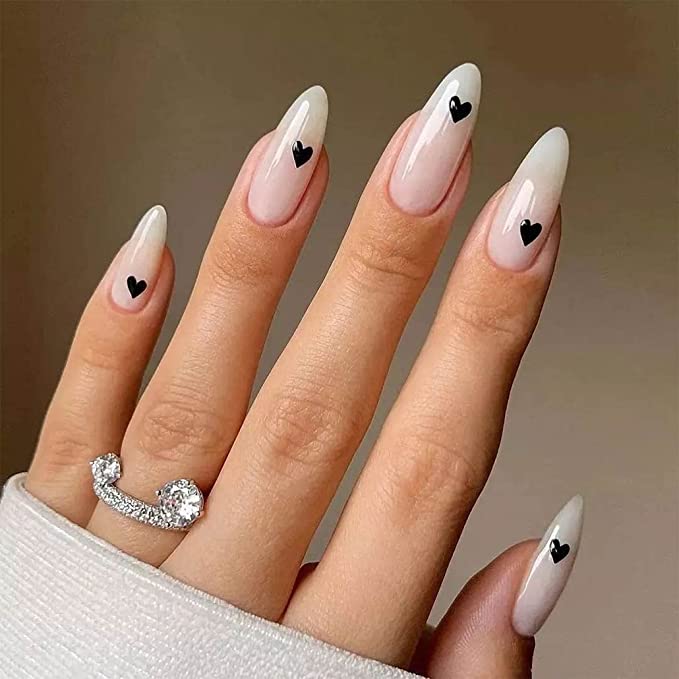
Floral French tips add a delicate touch. Picture tiny flowers replacing the traditional white tips. Pastel shades can transform the basic look into something playful. How about lavender tips on a nude base? That’s a spring statement! Gradient French nails are another trendy choice. Blend shades like soft pink and mint green for a fresh ombre effect. You can mix it up with glitter. Using a shimmery polish for the tips brings a touch of glam to the classic look.
DIY French Manicure Tips
Start by prepping your nails. Clean, trim, and shape them to your desired length. Use tape or nail guides to get those perfect tips. These tools help keep the lines crisp and neat. Choose your base color first. Apply it thinly and let it dry completely before working on the tips. Patience is key for a flawless finish. Paint the tips with a steady hand. If you’re feeling adventurous, try freehanding the designs! Finish with a top coat. This seals in your design, making sure or guaranteeing it lasts longer and shines brilliantly.
Conclusion
Spring nail designs offer endless possibilities to express creativity and accept or adopt the season’s beauty. From lively or energetic colors to minimalist elegance and nature-inspired themes, there’s something for everyone. Investing in quality tools and following proper application techniques ensures stunning and long-lasting results. Whether you’re experimenting with pastel French tips or intricate floral patterns, spring is the perfect time to refresh your nail game. So grab your favorite shades and get ready to showcase some fabulous spring nails!