How To Build Your Own Pond: Tips To a Beautiful Water Garden
Building a water garden is a wonderful hobby, but it can take several seasons to get the balance right to create the perfect atmosphere. Patience is the key to success.
If you are patient and willing to tweak your pond and grow with it, you will have a garden rich with frogs, dragonflies, fish and gorgeous water plants. The effect can be tranquil and breathtaking. Here are some tips as you start your pond journey:
Table of Contents
Buy a Test Kit
This test kit is essential to test for nitrates and ammonia levels in your pond. Just because a pond is not cloudy does not mean it is healthy. Fish prefer a cloudy pond! At the beginning, in the first few seasons, your pond is creating its own balance, and you will be there to help tweak it. Testing regularly for nitrates and ammonia is important.
Plant Water Plants
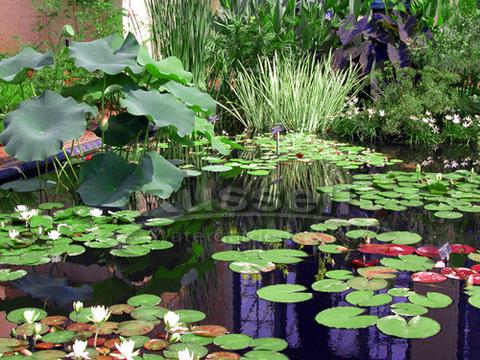
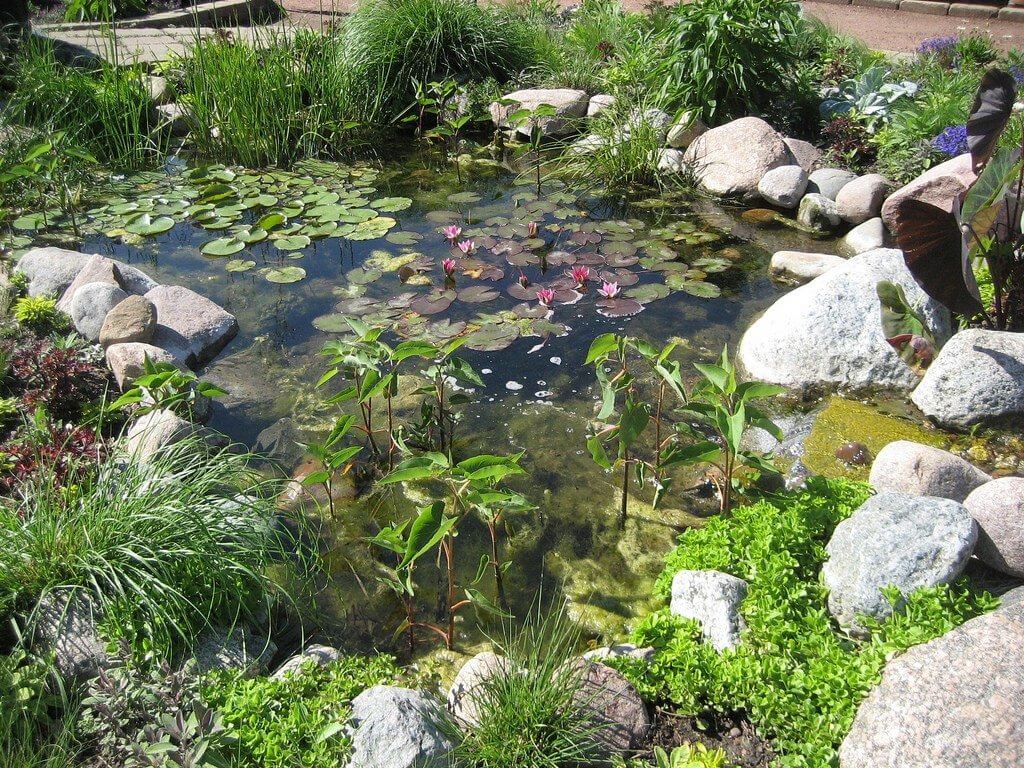
Water lilies are easy to plant and grow, so start with these. They are not only beautiful, they attract frogs to your pond and also help to regulate algae growth, since they eat the same nutrients that algae do.
Irises are another pond plant that are fairly easy to grow, and should be a staple of your pond. An overturned plastic crate, with the potted iris set on top, makes a wonderful stand for your plant, and also provides your fish (if you have them) with a safe spot to hide from predators.
Good Choices for Pond Plants
- Water Hyacinth: Koi will nibble at the roots, but otherwise this is a good choice. They will help to filter your water, and are easy to care for.
- Water Lily: These will grow year after year and are easy to care for. However, koi will try to uproot them, so start them in shallow water, covering them with about 1/4 inch of gravel. Also, keep them far from the waterfall, since water on their leaves will weaken them.
- Water Lotus: You koi will hide underneath these lovely plants. They will grow year after year once established, and make an excellent frog habitat.
- Bog Plants: Cattails, irises, and grasses and reeds make good plants for the border of your pond. They generally don’t require much maintenance once established.
Partial Water Change
By doing a test for nitrate and ammonia levels, you can be sure that your pond water is indeed at safe levels for your fish. If you have over 50 ppm of nitrate, you need to act to change your water. Anything between 25 ppm and 50ppm, though, is a good indication that it is time to change your water. If you decide to change your water, vacuum out 10 to 20% of the pond water, then add back filtered water to the pond. This should restore appropriate nitrate levels to the pond.
All in all, your pond is an artificial eco-system that needs your supervision to stay healthy. With proper maintenance your pond will evolve, attracting frogs, butterflies and birds to your garden and adding to the beauty of your home.
How To Make a Garden Pond
Do you want to spice up your plain garden with a new centerpiece? Garden ponds are the perfect fun, easy, and budget-friendly projects to do by yourself. This will not only add a new stunning piece in your garden, but it will also attract new friends, from birds to hedgehogs, and more. Enjoy your day with the view of nature and your self-made masterpiece. We will discuss a step-by-step guide on how to make a garden pond, let’s start!
Materials/Equipment Needed
Prepare the materials or equipment you need to build your garden pond beforehand to avoid conflict.
- A location to build your pond on – a big patch of the garden.
- Wooden pegs, decking planks or a plank of wood – Determine what type of wood you need and how much you need.
- Butyl pond liner – A pond liner that’s made of butyl rubber.
- Various pond plants – Decide beforehand what type of plants you want to add in your garden pond.
- Stones – Find large rocks, these can improve your garden pond’s aesthetic appeal drastically.
- Spirit Level – To help you show if the surface is balanced.
- Drill
- And more materials that you may deem necessary.
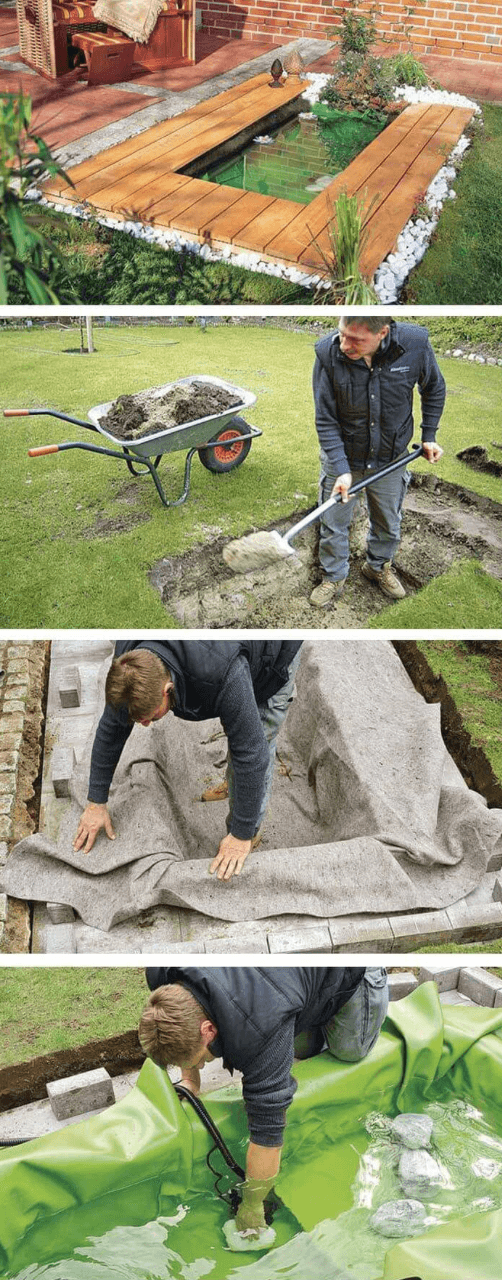
Step-by-Step guide on how to make a garden pond
1. Mark the outline of the garden pond in the spot of your choice
Before starting your garden pond endeavoring, make sure to pick a decent spot in your garden that’s in a better view or a sunny area to emphasize its beauty. Mark out your desire pond shape or outline on the ground with the use of a rope, bamboo canes, hosepipe, etc. You can decide between a formal or natural look and it depends on which one you think will suit your garden better.
A poorly placed or sited pond will prove difficult later because it will require higher maintenance for it to look good.
2. Remove the sod and start digging
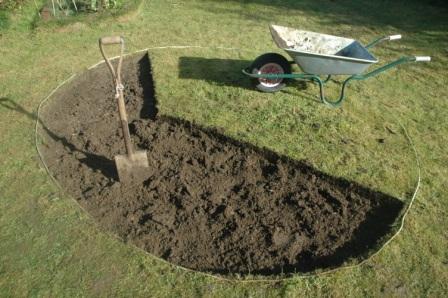
Start to dig out the sod and the area around but make sure that the sides are level as you dig, you can use a wooden plank with a spirit level on top to check this. You may use the removed sods to round the edge of your garden pond to secure its liner. When removing sod, it can make a cliff at the edge of the pond, raise the sod and remove half the soil of each sod to readjust the unwanted slope.
Remember to include shallow parts areas in the pond, because an ideal garden pond mostly has shallow water. You can dig down to 45 cm or 60 cm.
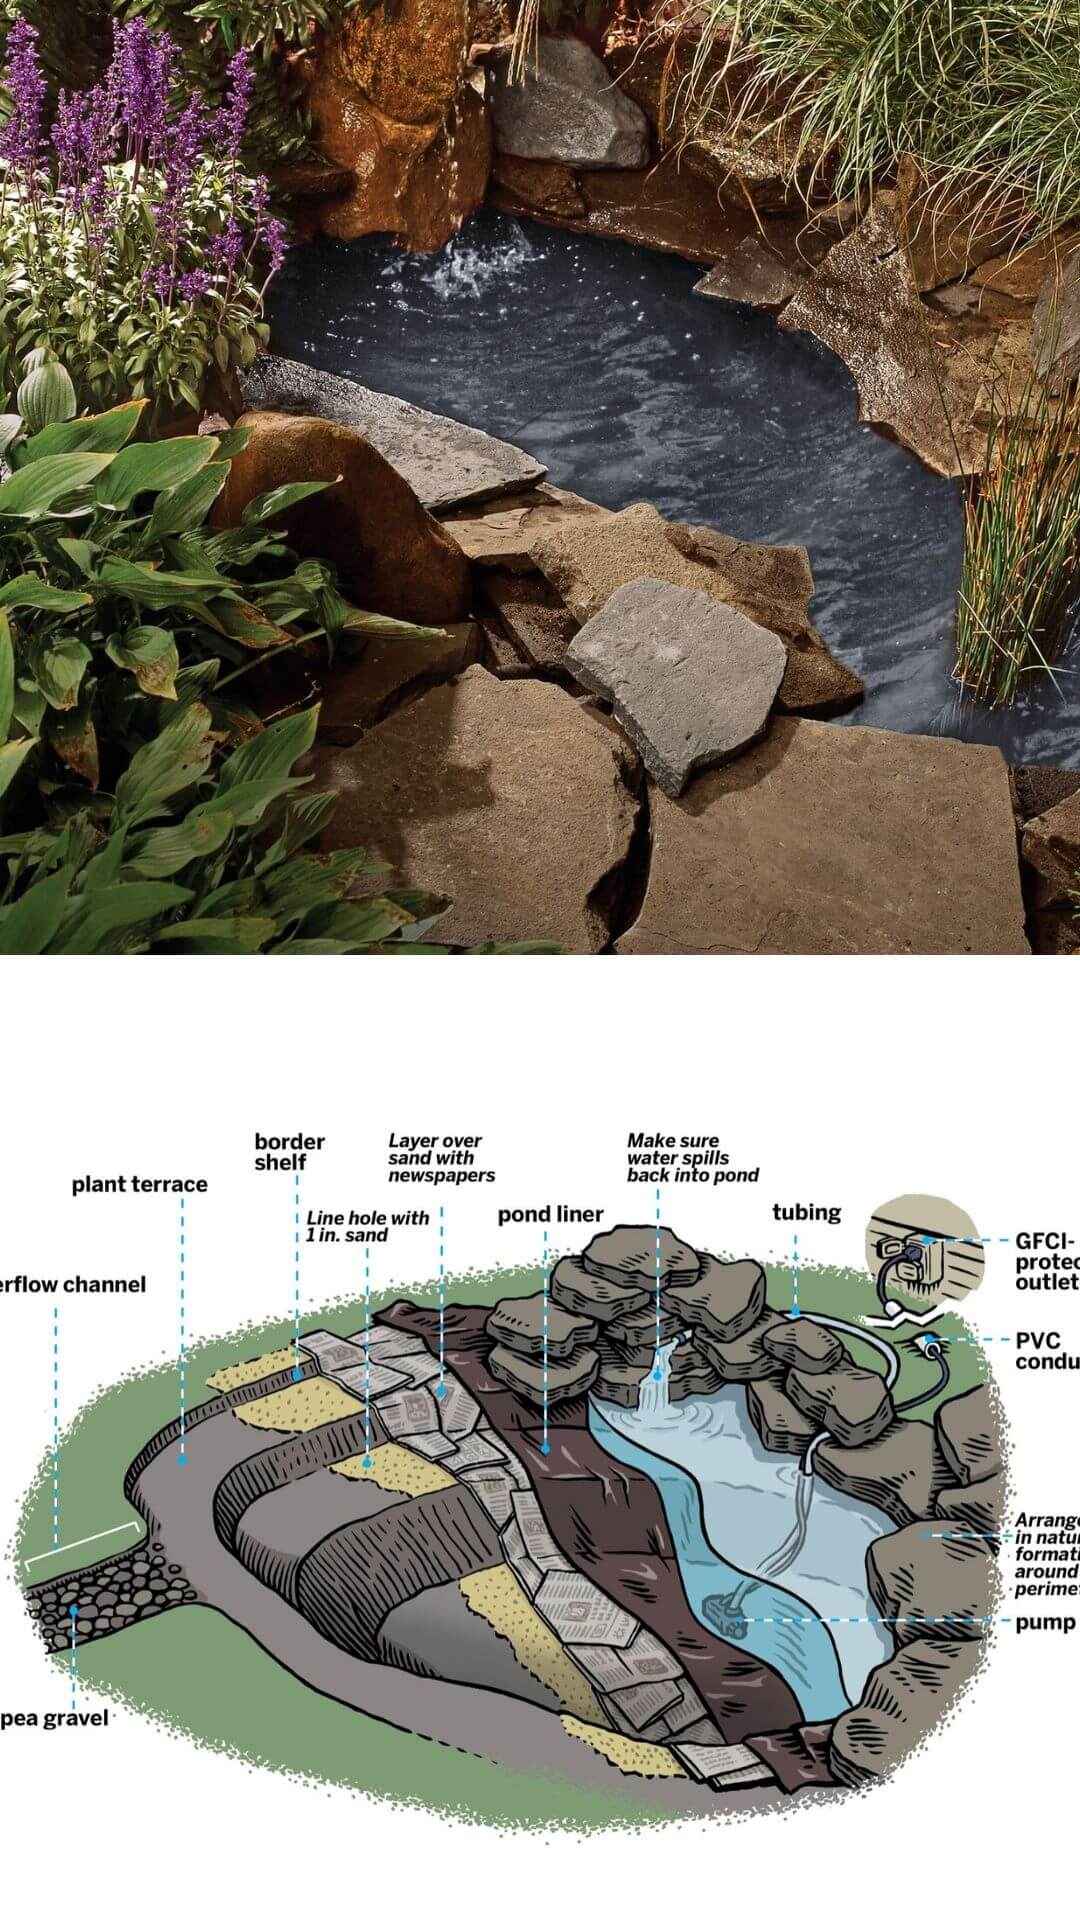
3. Remove sharp stones in the pond and place the productive underlay of your choice

Remove sharp stones from the soil at the bottom of the hole. Line the whole with the protective underlay of your choice such a geotextile liner, old carpet, newspapers, and more, we recommend sand since it’s sterile and will not harbor unwanted microbes.
4. Put pond liner and manage a shallow pond for better results
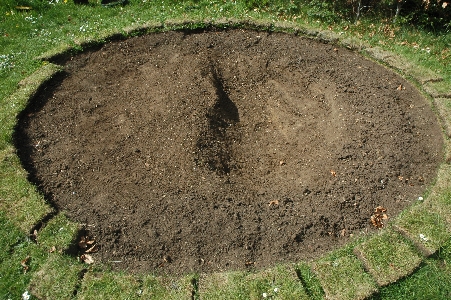
Continue to dig a trench around the edge of your pond for a place to put your pond liner into, excess of the pond liners can be removed with the use of scissors. Fill the bottom of the pond with the sand. Ideally, the pond bottom will be at the same level with the sod around the edge of the pond, to get shallow water in your garden pond you must have shallow basins.
Shallow garden ponds are ideal since it may attract more wildlife and it’s easier to maintain.
5. Check the pond’s level
Check your garden pond’s level before filling it with water. Use a long piece of wood or plank and place a spirit level on top of it and place it along the pond.
6. Fill your garden pond with water
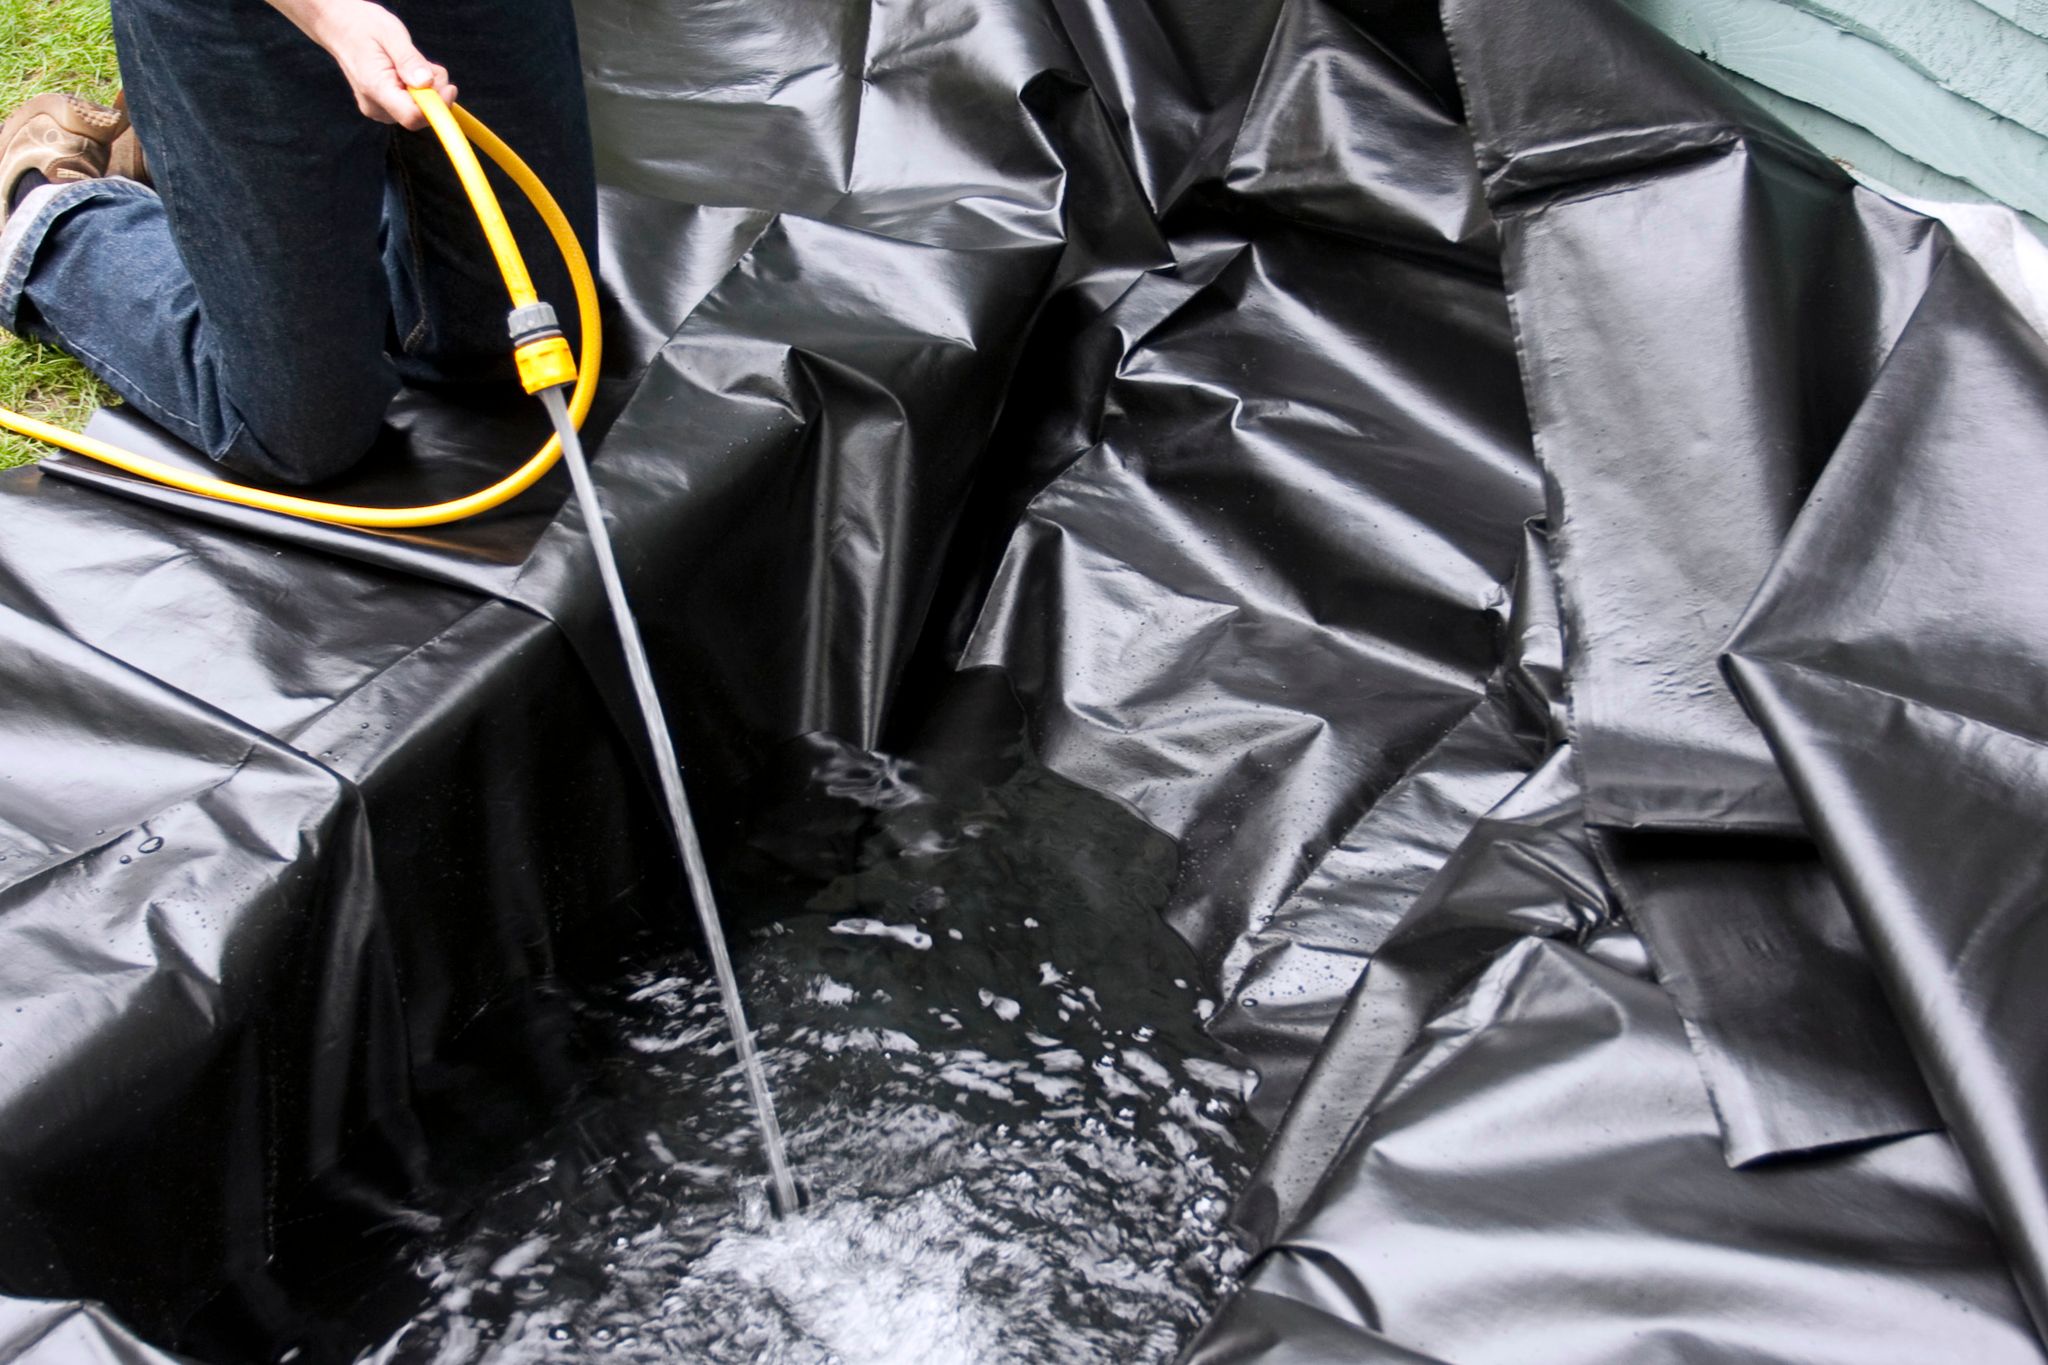
Now that you have made your garden pond’s structure it’s time to fill it up with water. The ideal type of water to fill your pond with is rainwater, however, if you don’t have access to that or don’t have the patient for the next rainy season to come you may use fill from the tap with a hose although tap water isn’t recommended because it’s full of nutrients and it may turn your garden pond water green.
If you used sand as your protective underlayer, to stop it from dispersing you may rest the nozzle of the hose on a plastic bag. If you still have exposed liners make use of the removed sods from earlier to cover these.
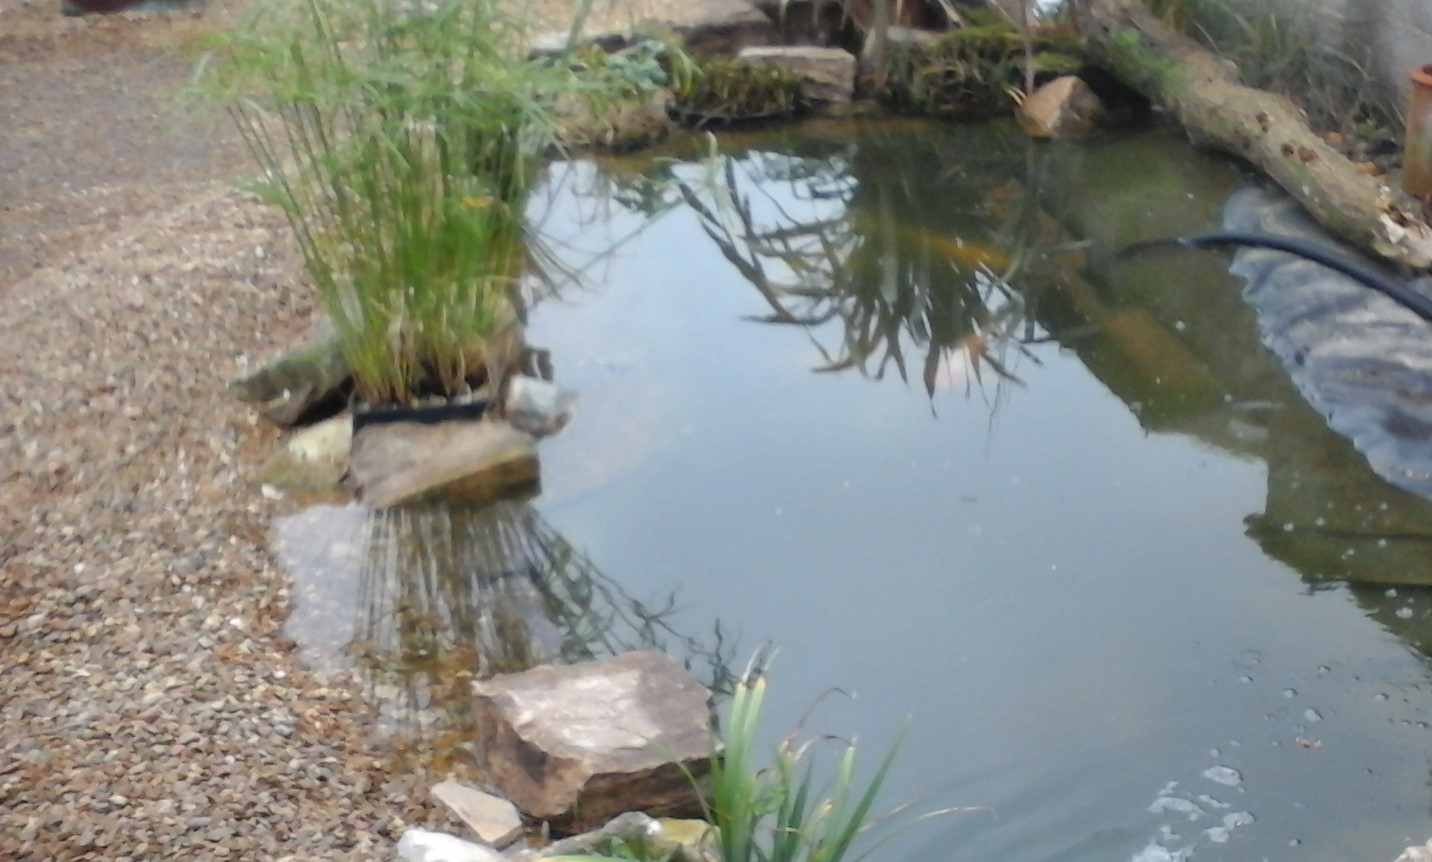
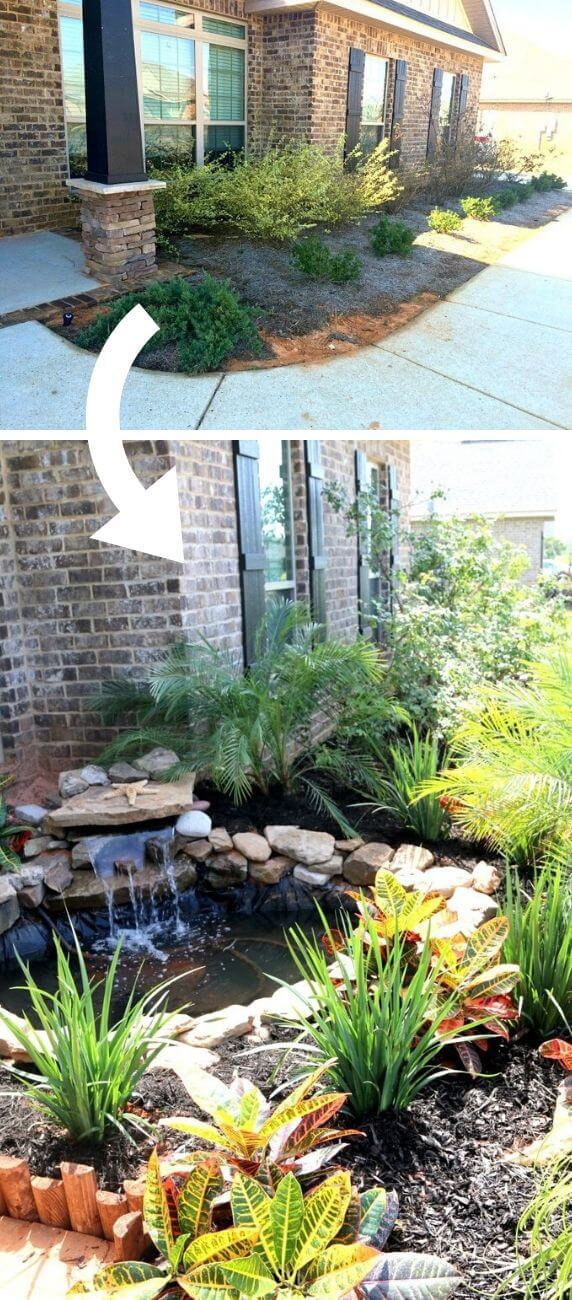
7. Decorate your garden pond
Add logs, stones, and plants around your garden pond for added aesthetic and to attract more wildlife visitors. If you want to add plants to your garden pond, you can add in your desired pond plants after 1 to 2 weeks after filling it with water.
There you have it! We hope this step-by-step guide on how to make a garden pond helped you in your pond building journey. If the pond’s ecological state is balanced, maintenance isn’t needed often. Be sure to keep a lookout for encroaching vegetation and dead organic matter to keep your garden pond clean and safe.
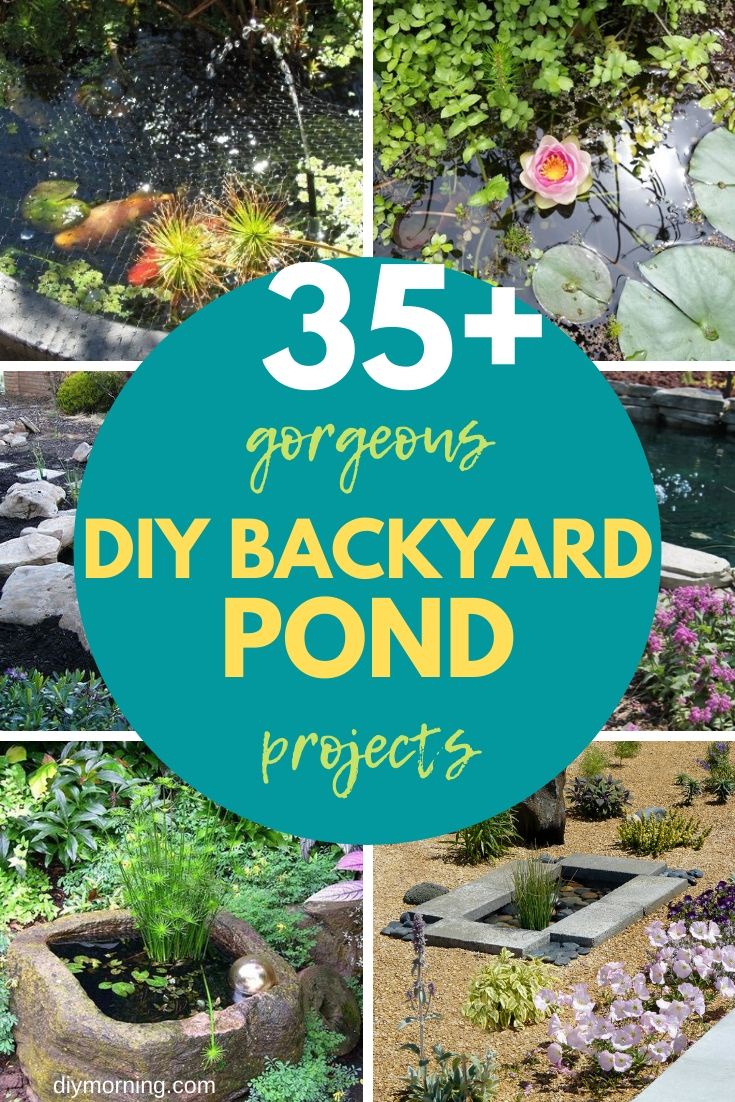
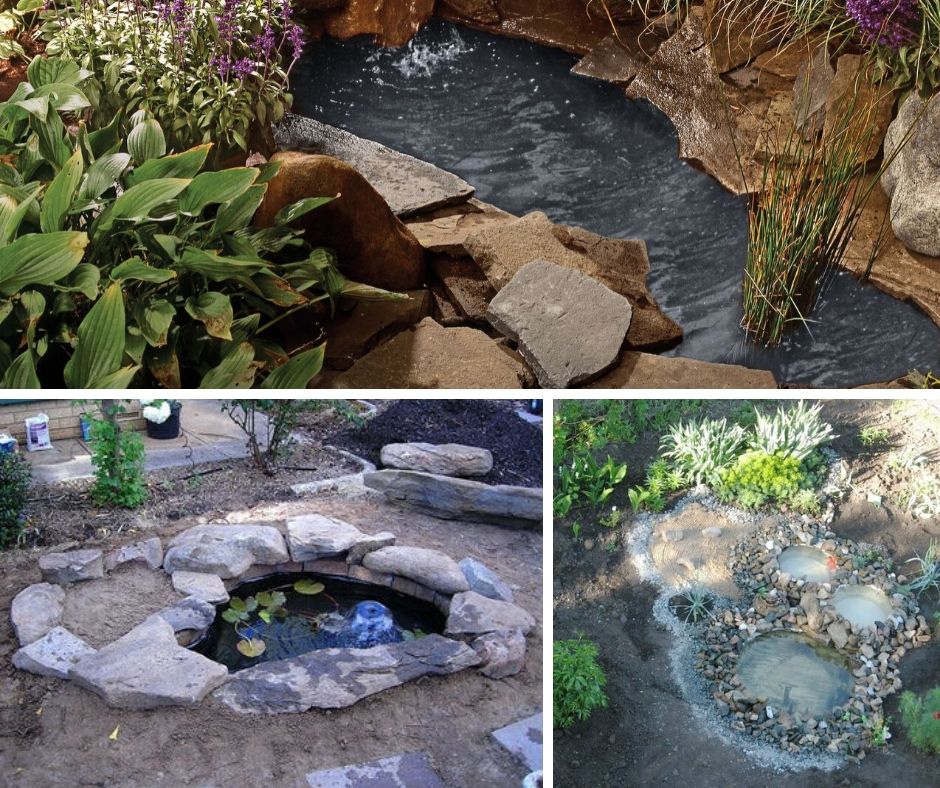
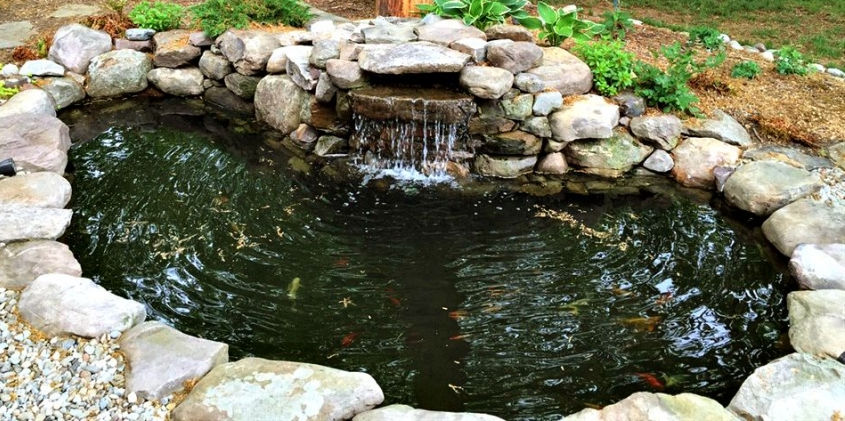
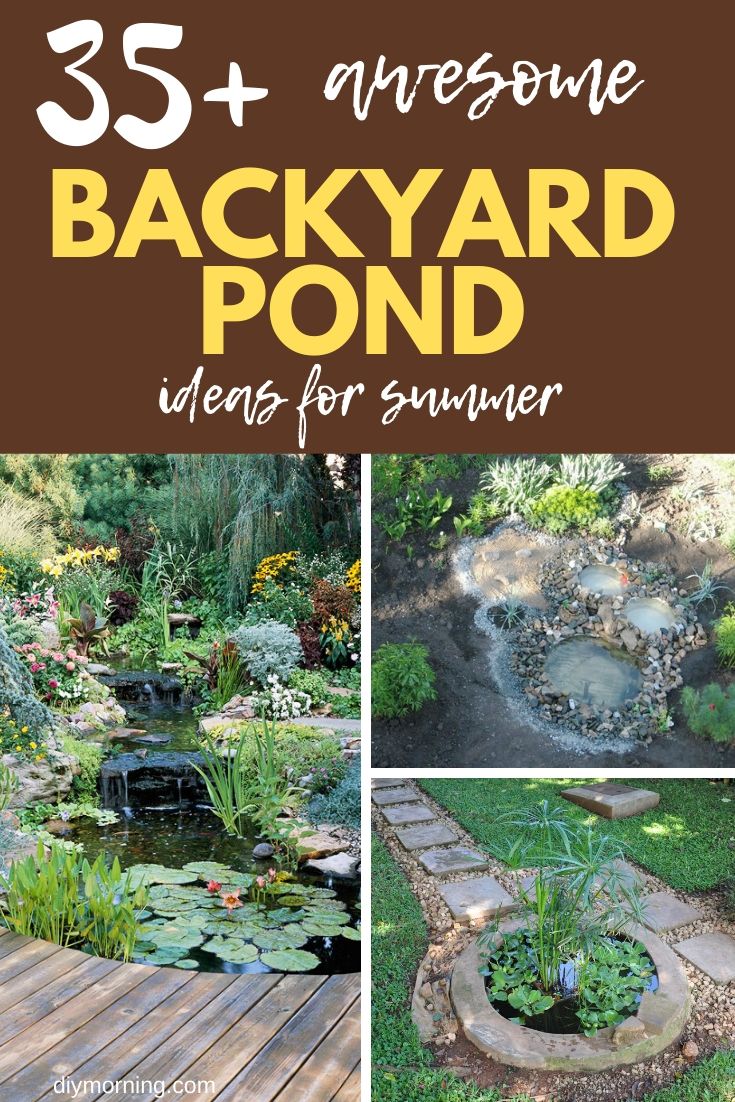
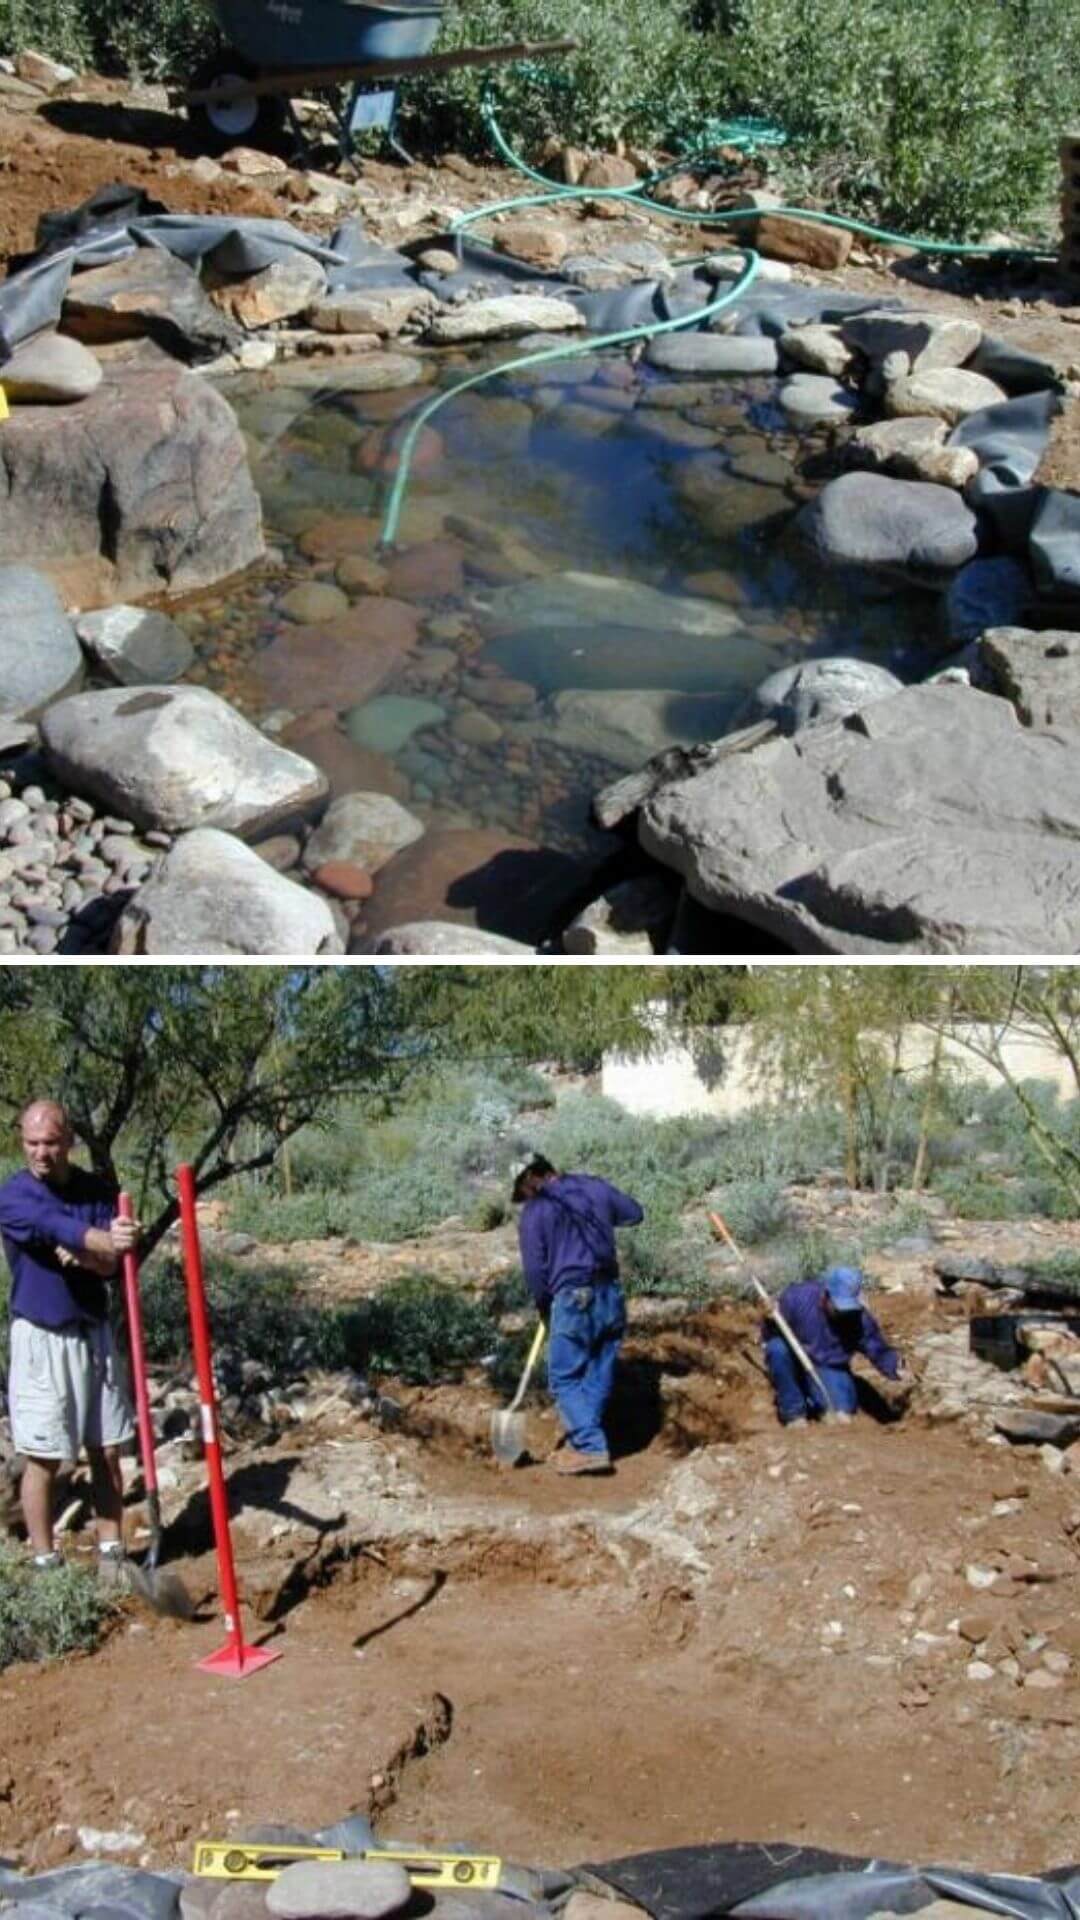
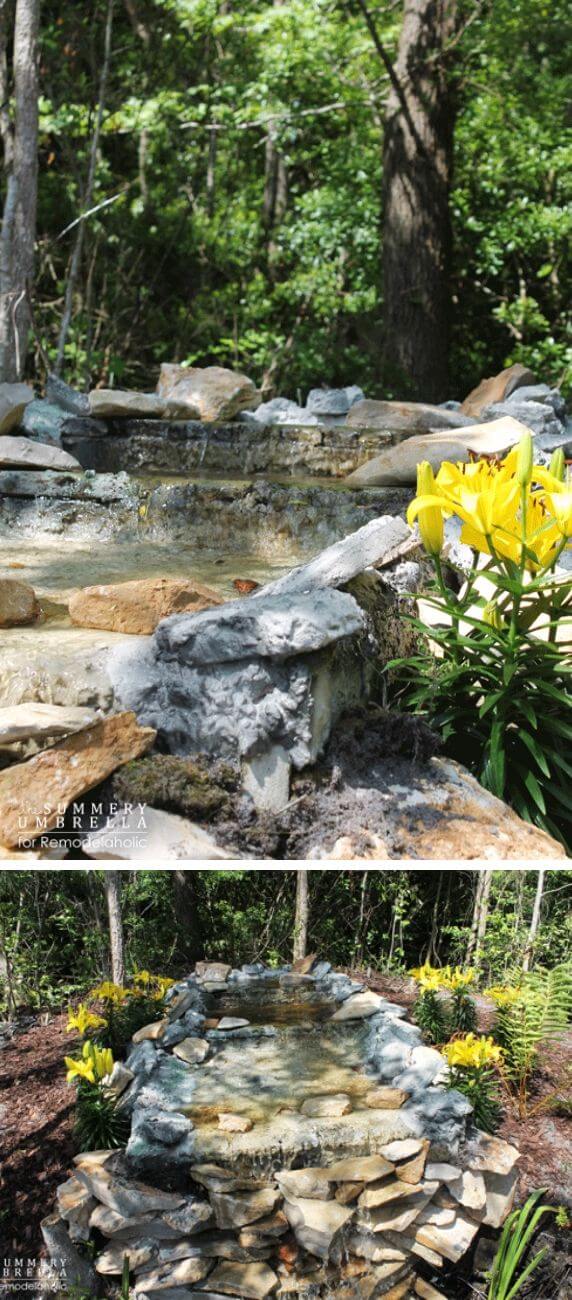
35+ Garden Pond Ideas
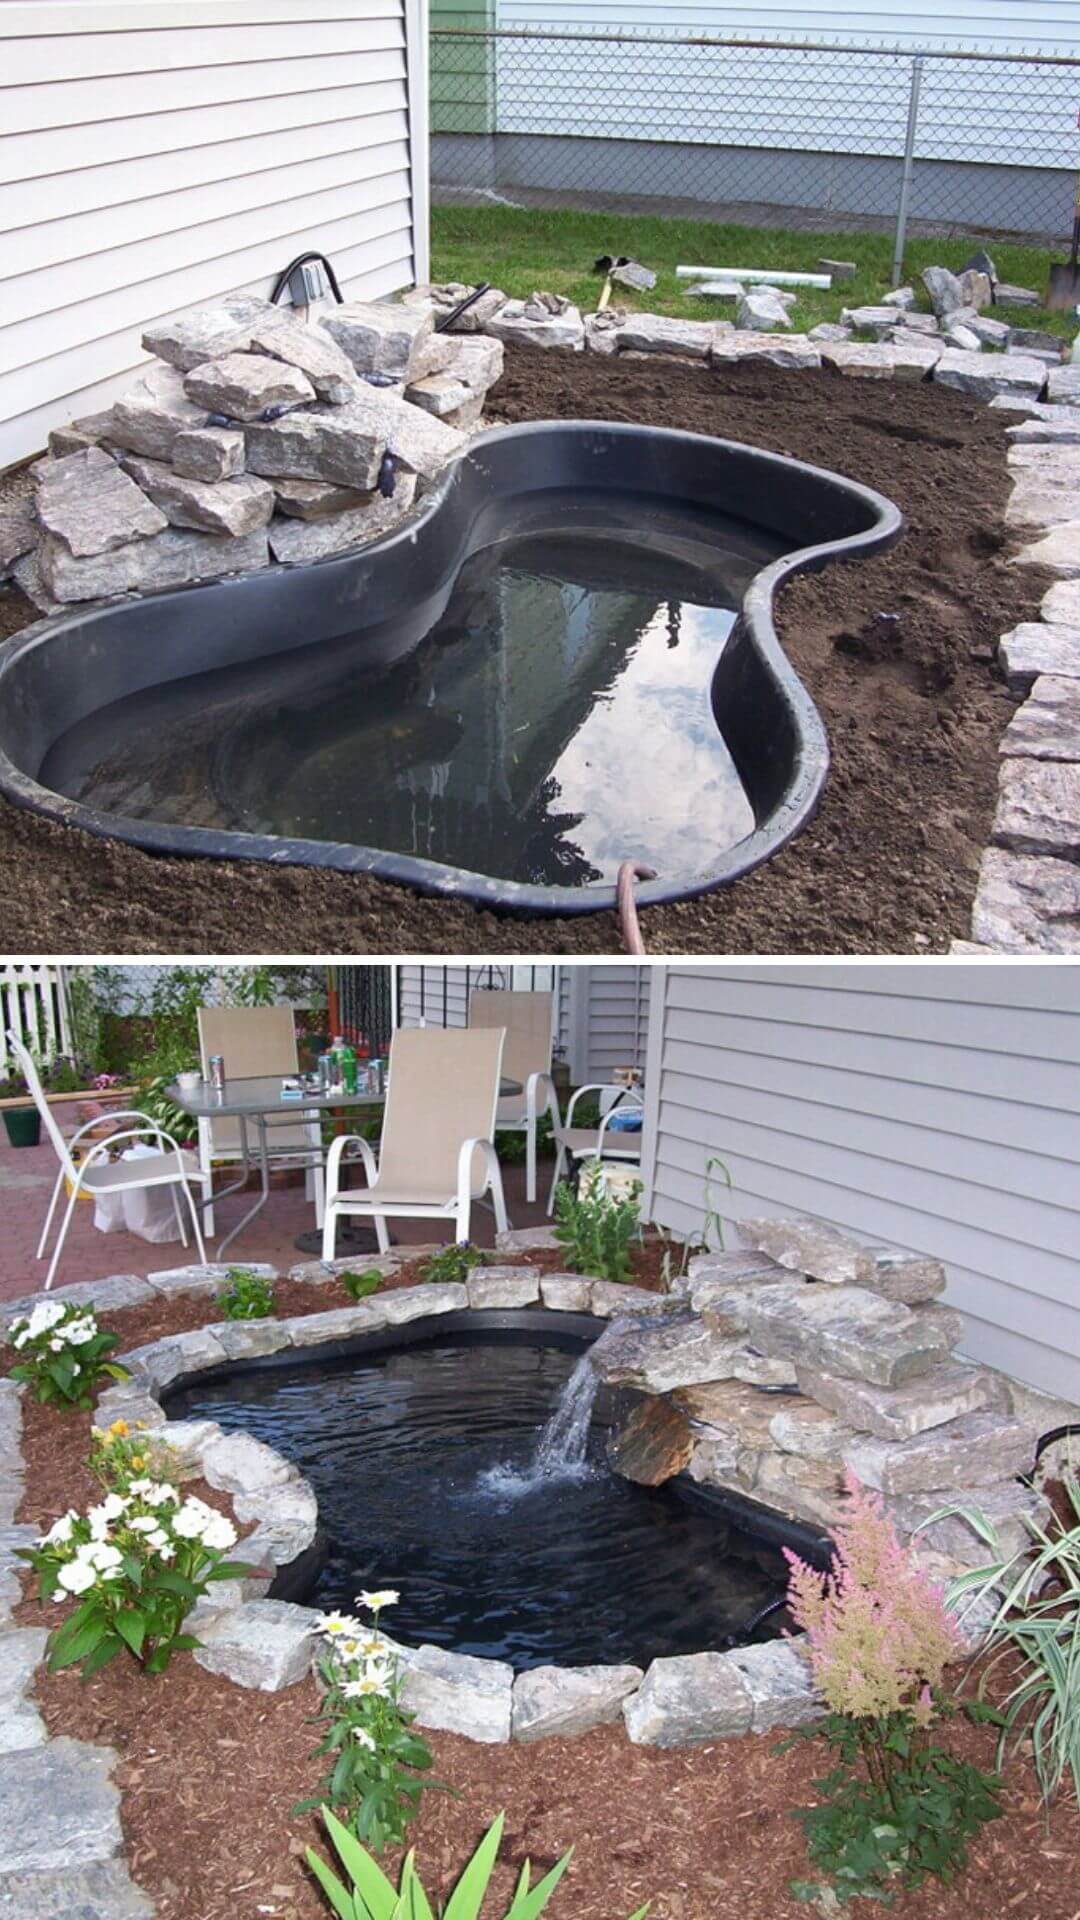
1. DIY Fish Pond
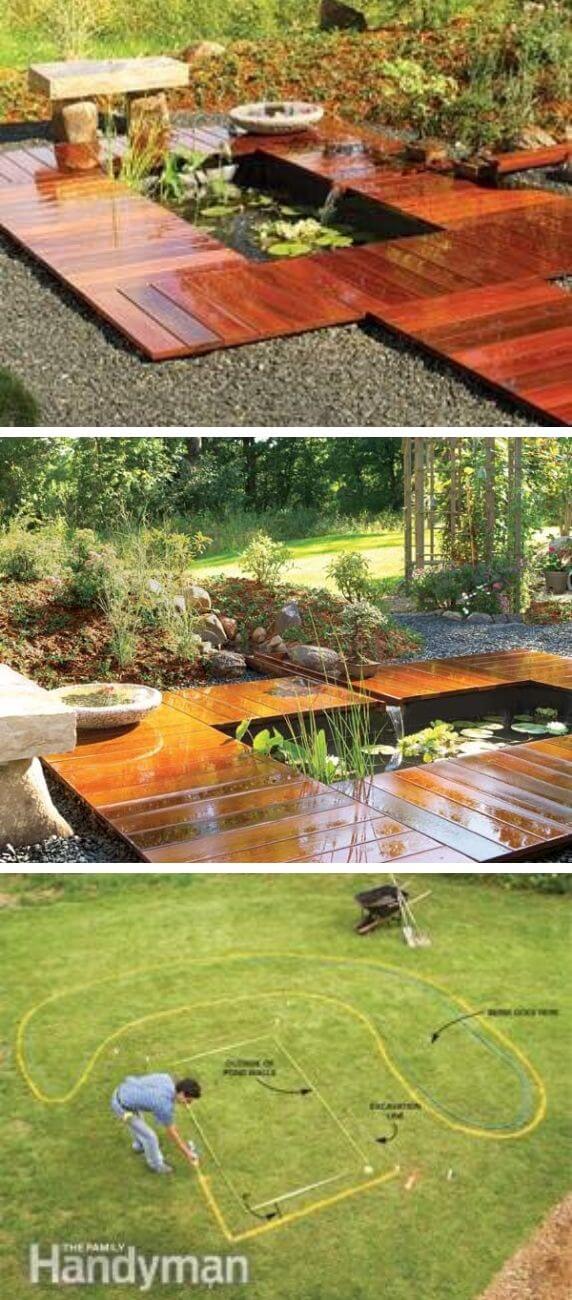
2. Pond with deck
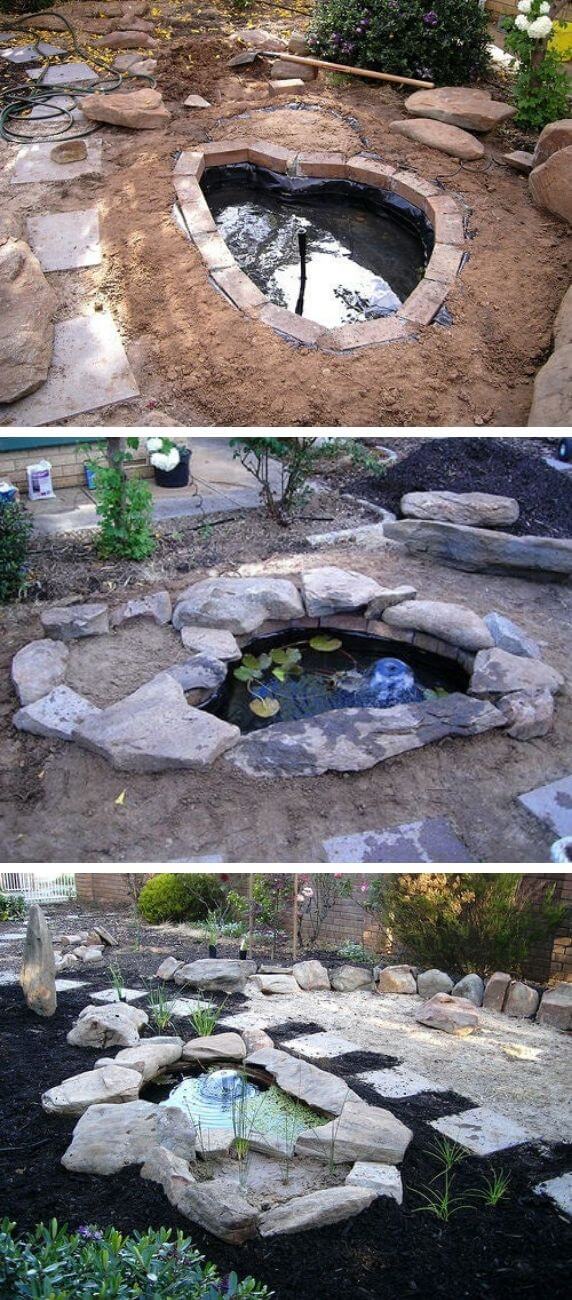
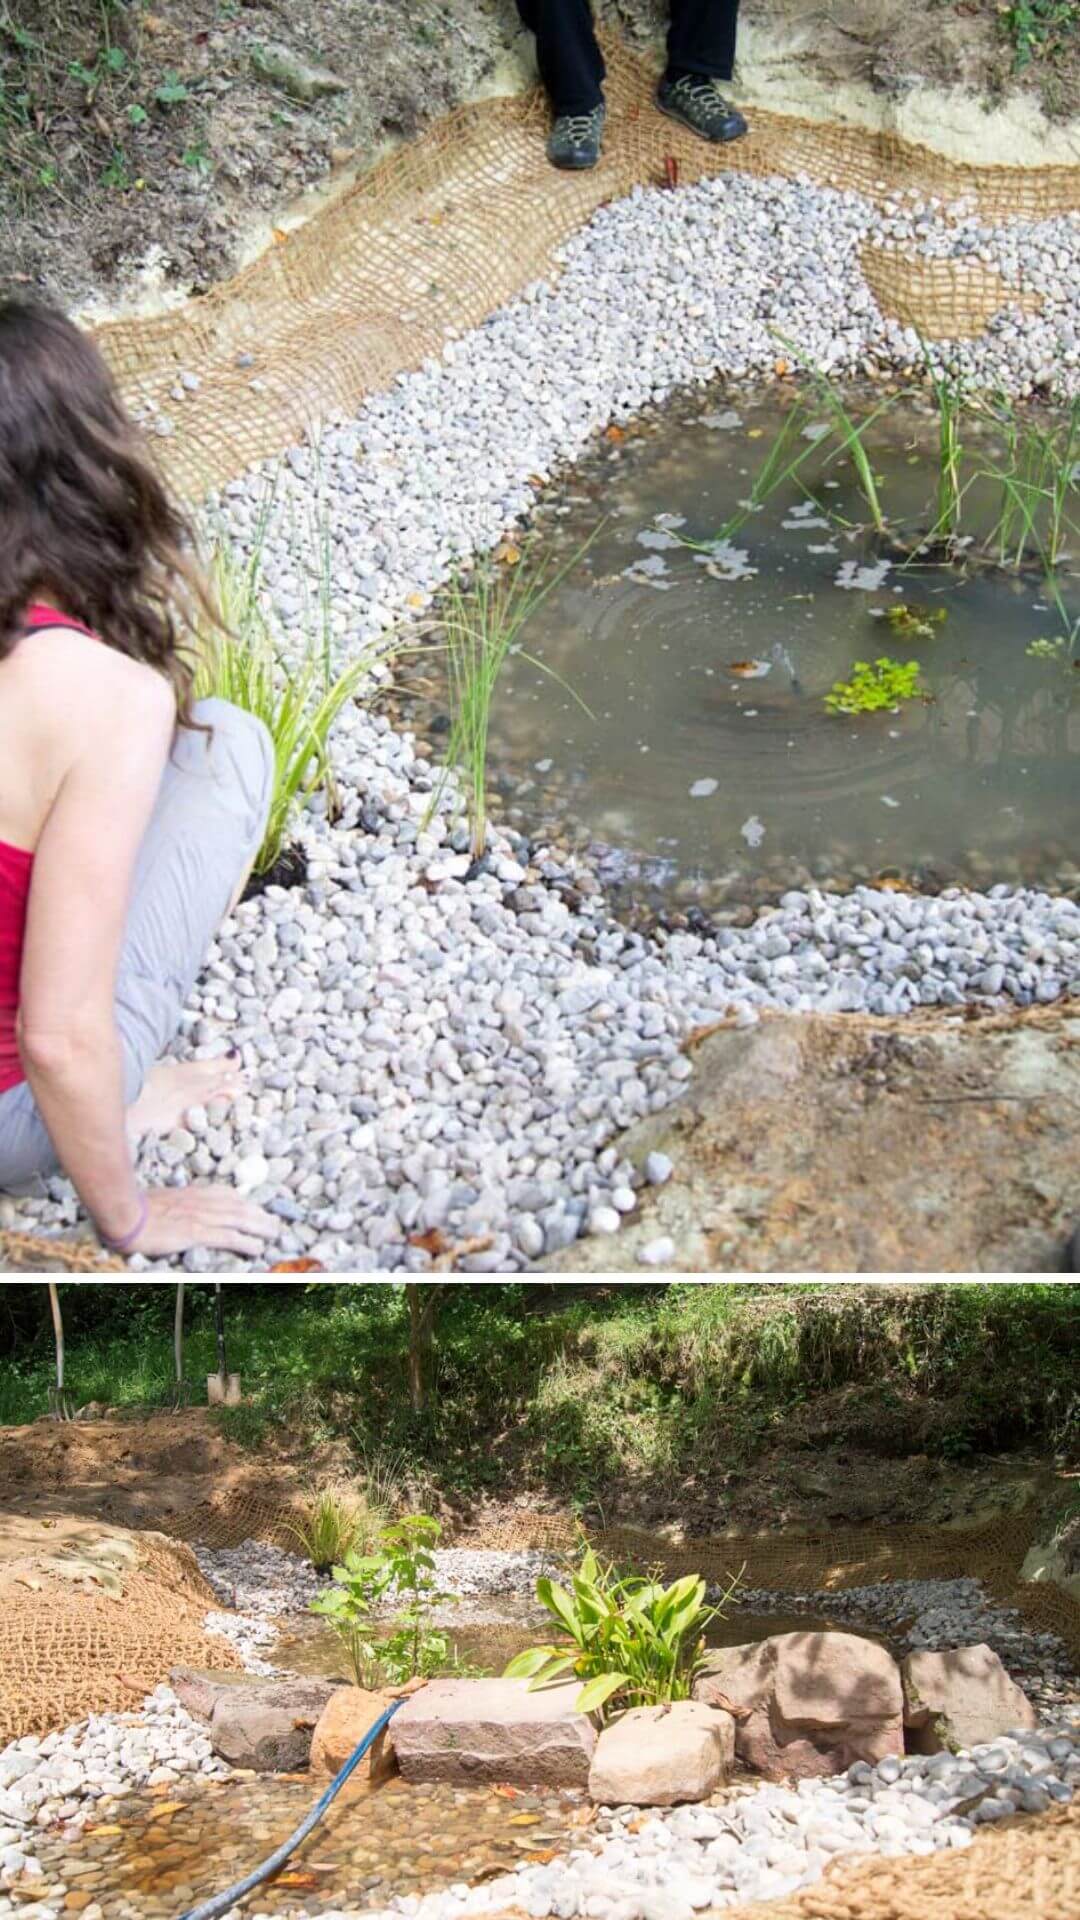
3. DIY Natural Pond
4. Small DIY Water Garden
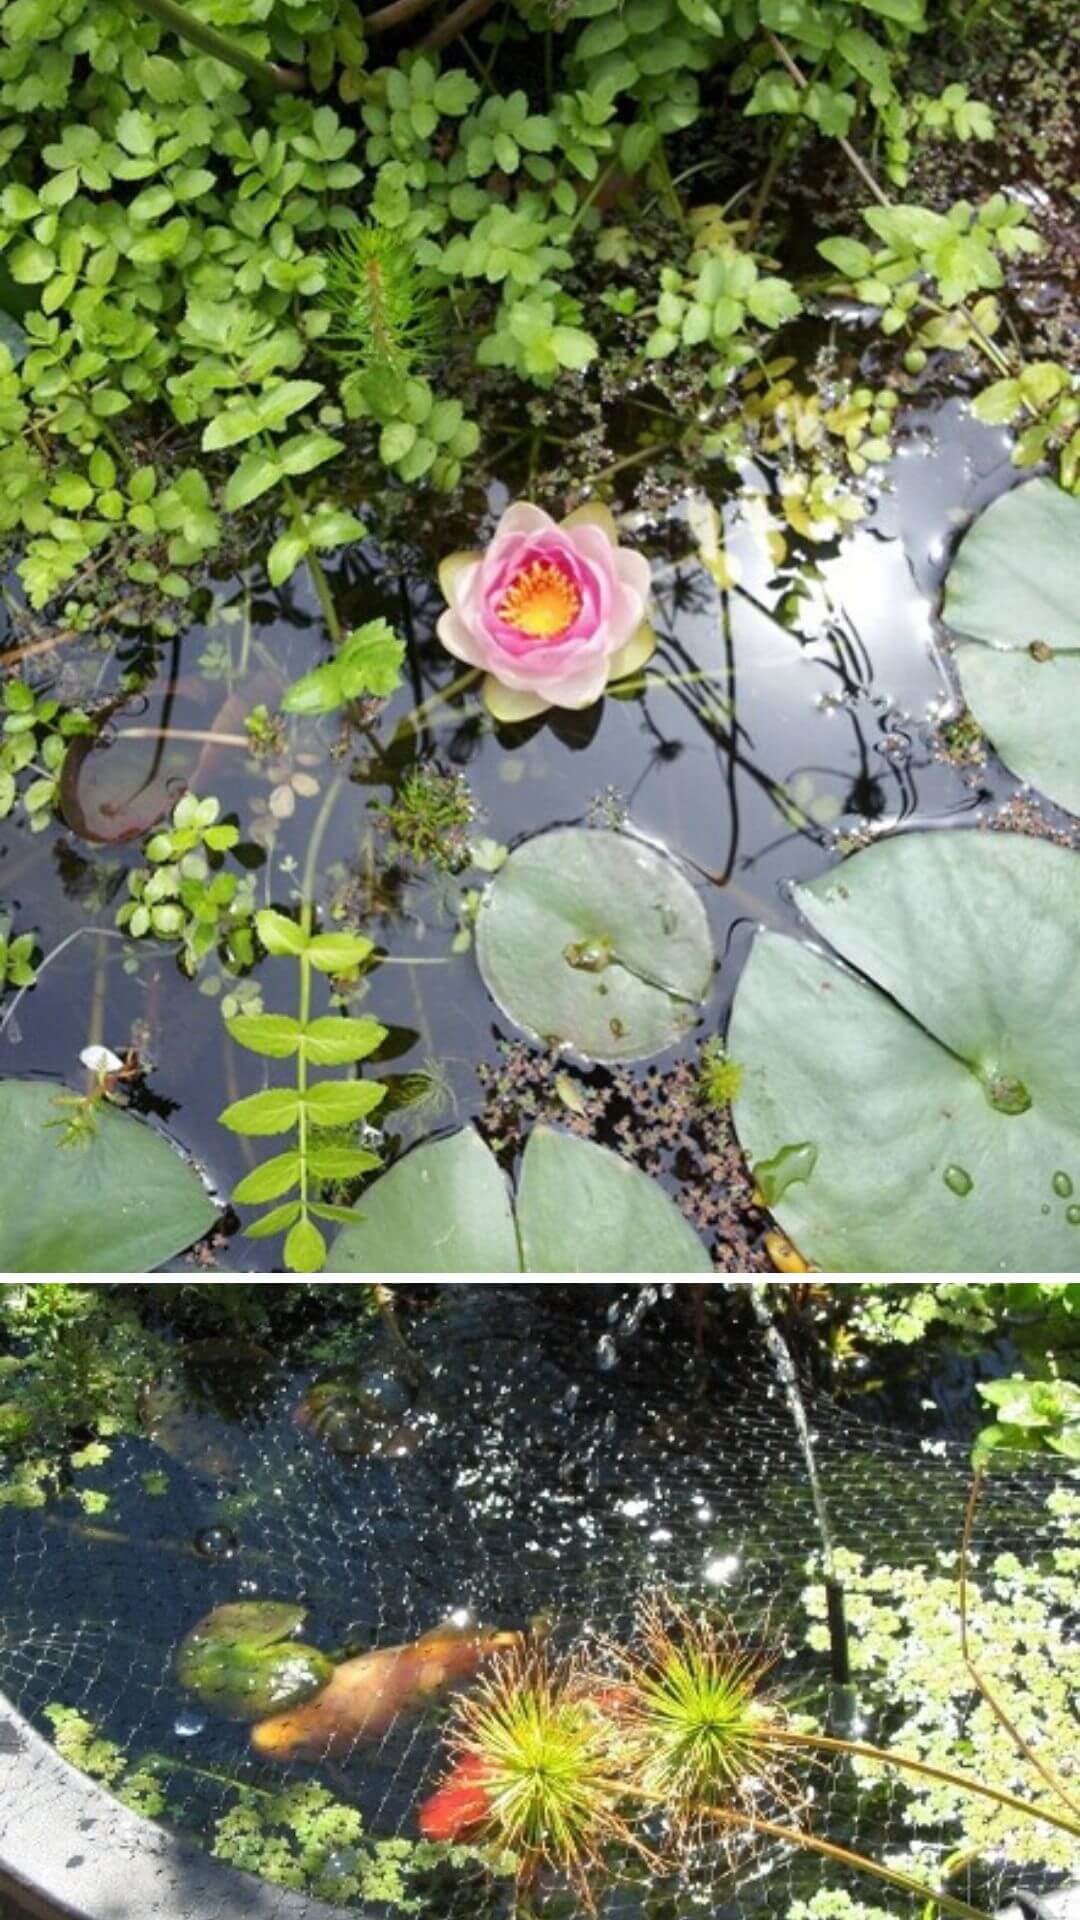
5. DIY Koi Pond
6. DIY Pond Waterfall

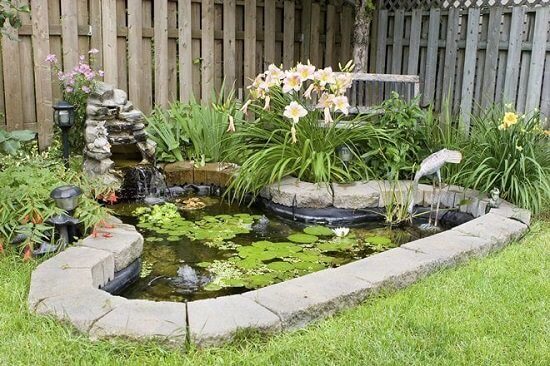
7. DIY backyard pond with stone edging
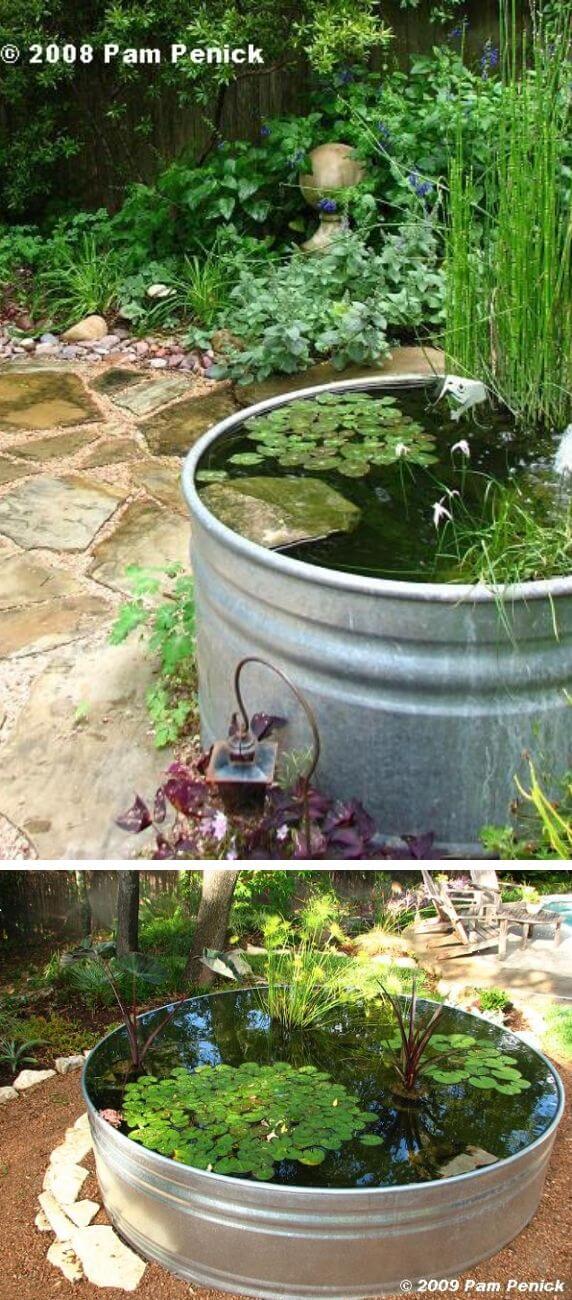
8. DIY Stock Tank Pond
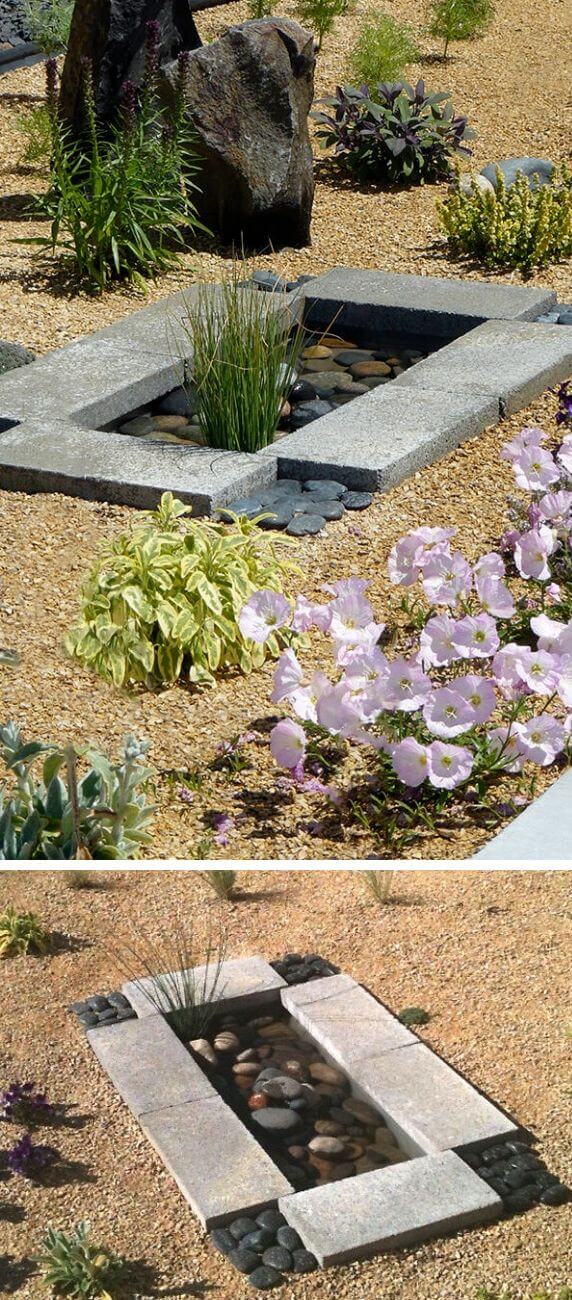
9. Contemprary Garden Water Feature
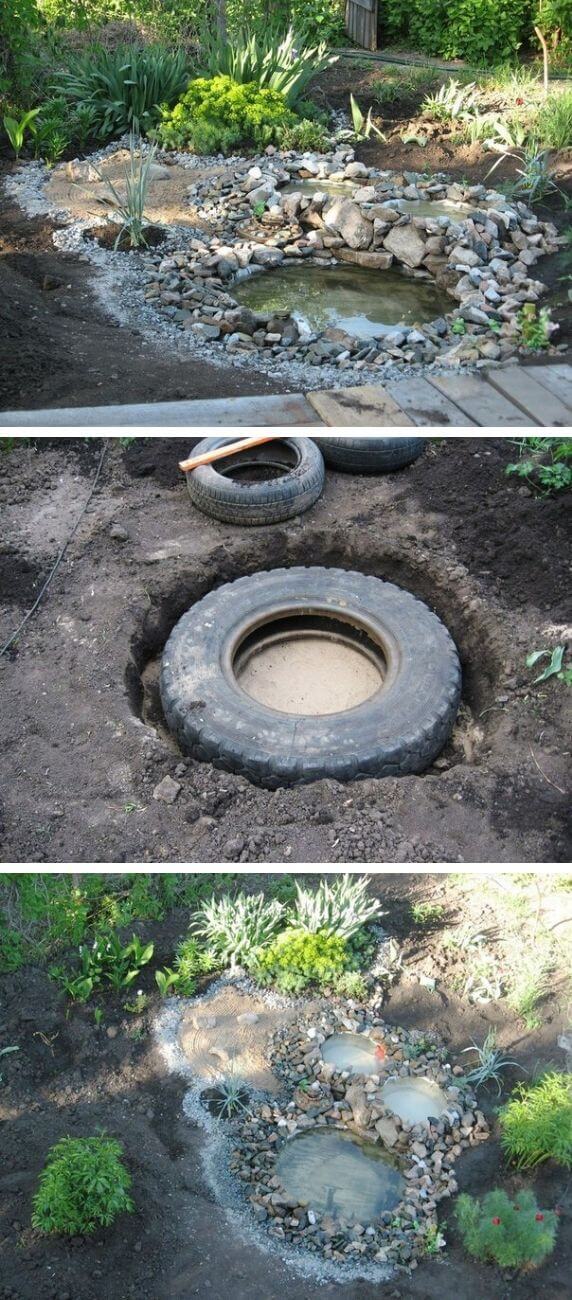
10. Recycled tires pond
11. Pond and stream
12. Cheap waterfall
13. DIY backyard pond
14. Mini pond
15. DIY tire pond

16. Rectangle pond with deck
17. DIY front yard pond
18-25. More backyard pond ideas
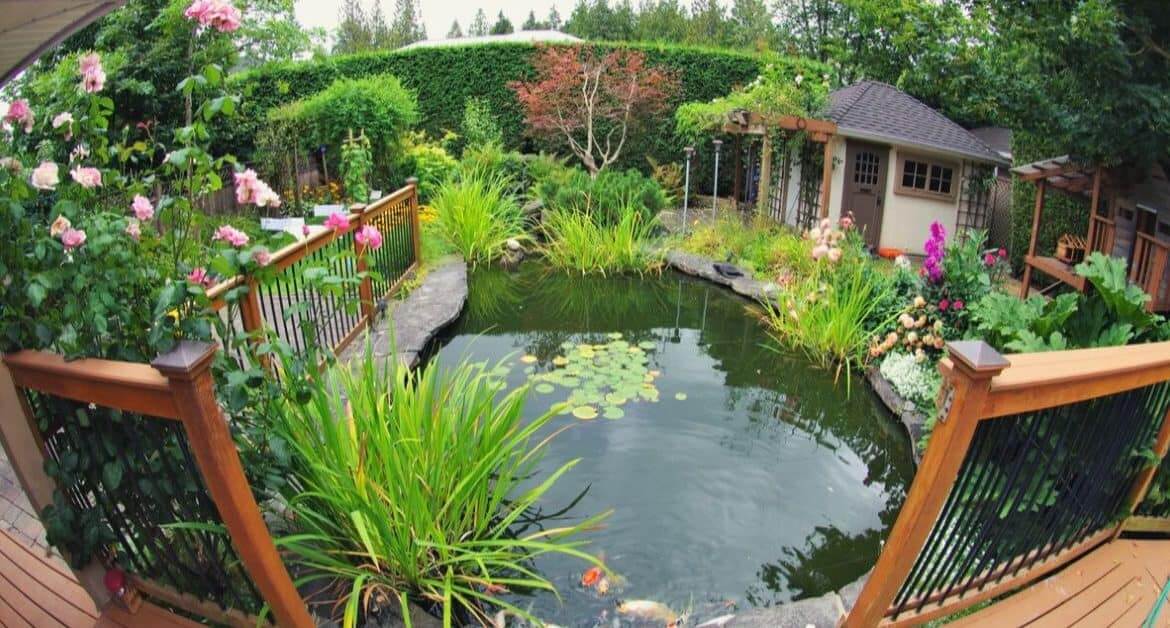
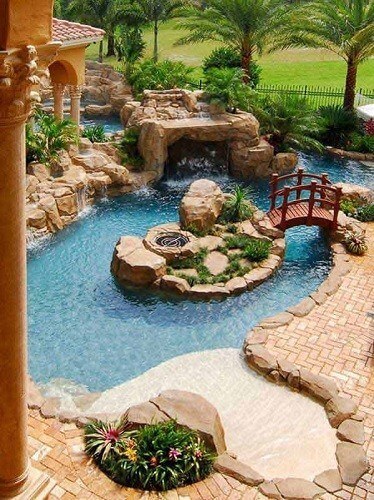
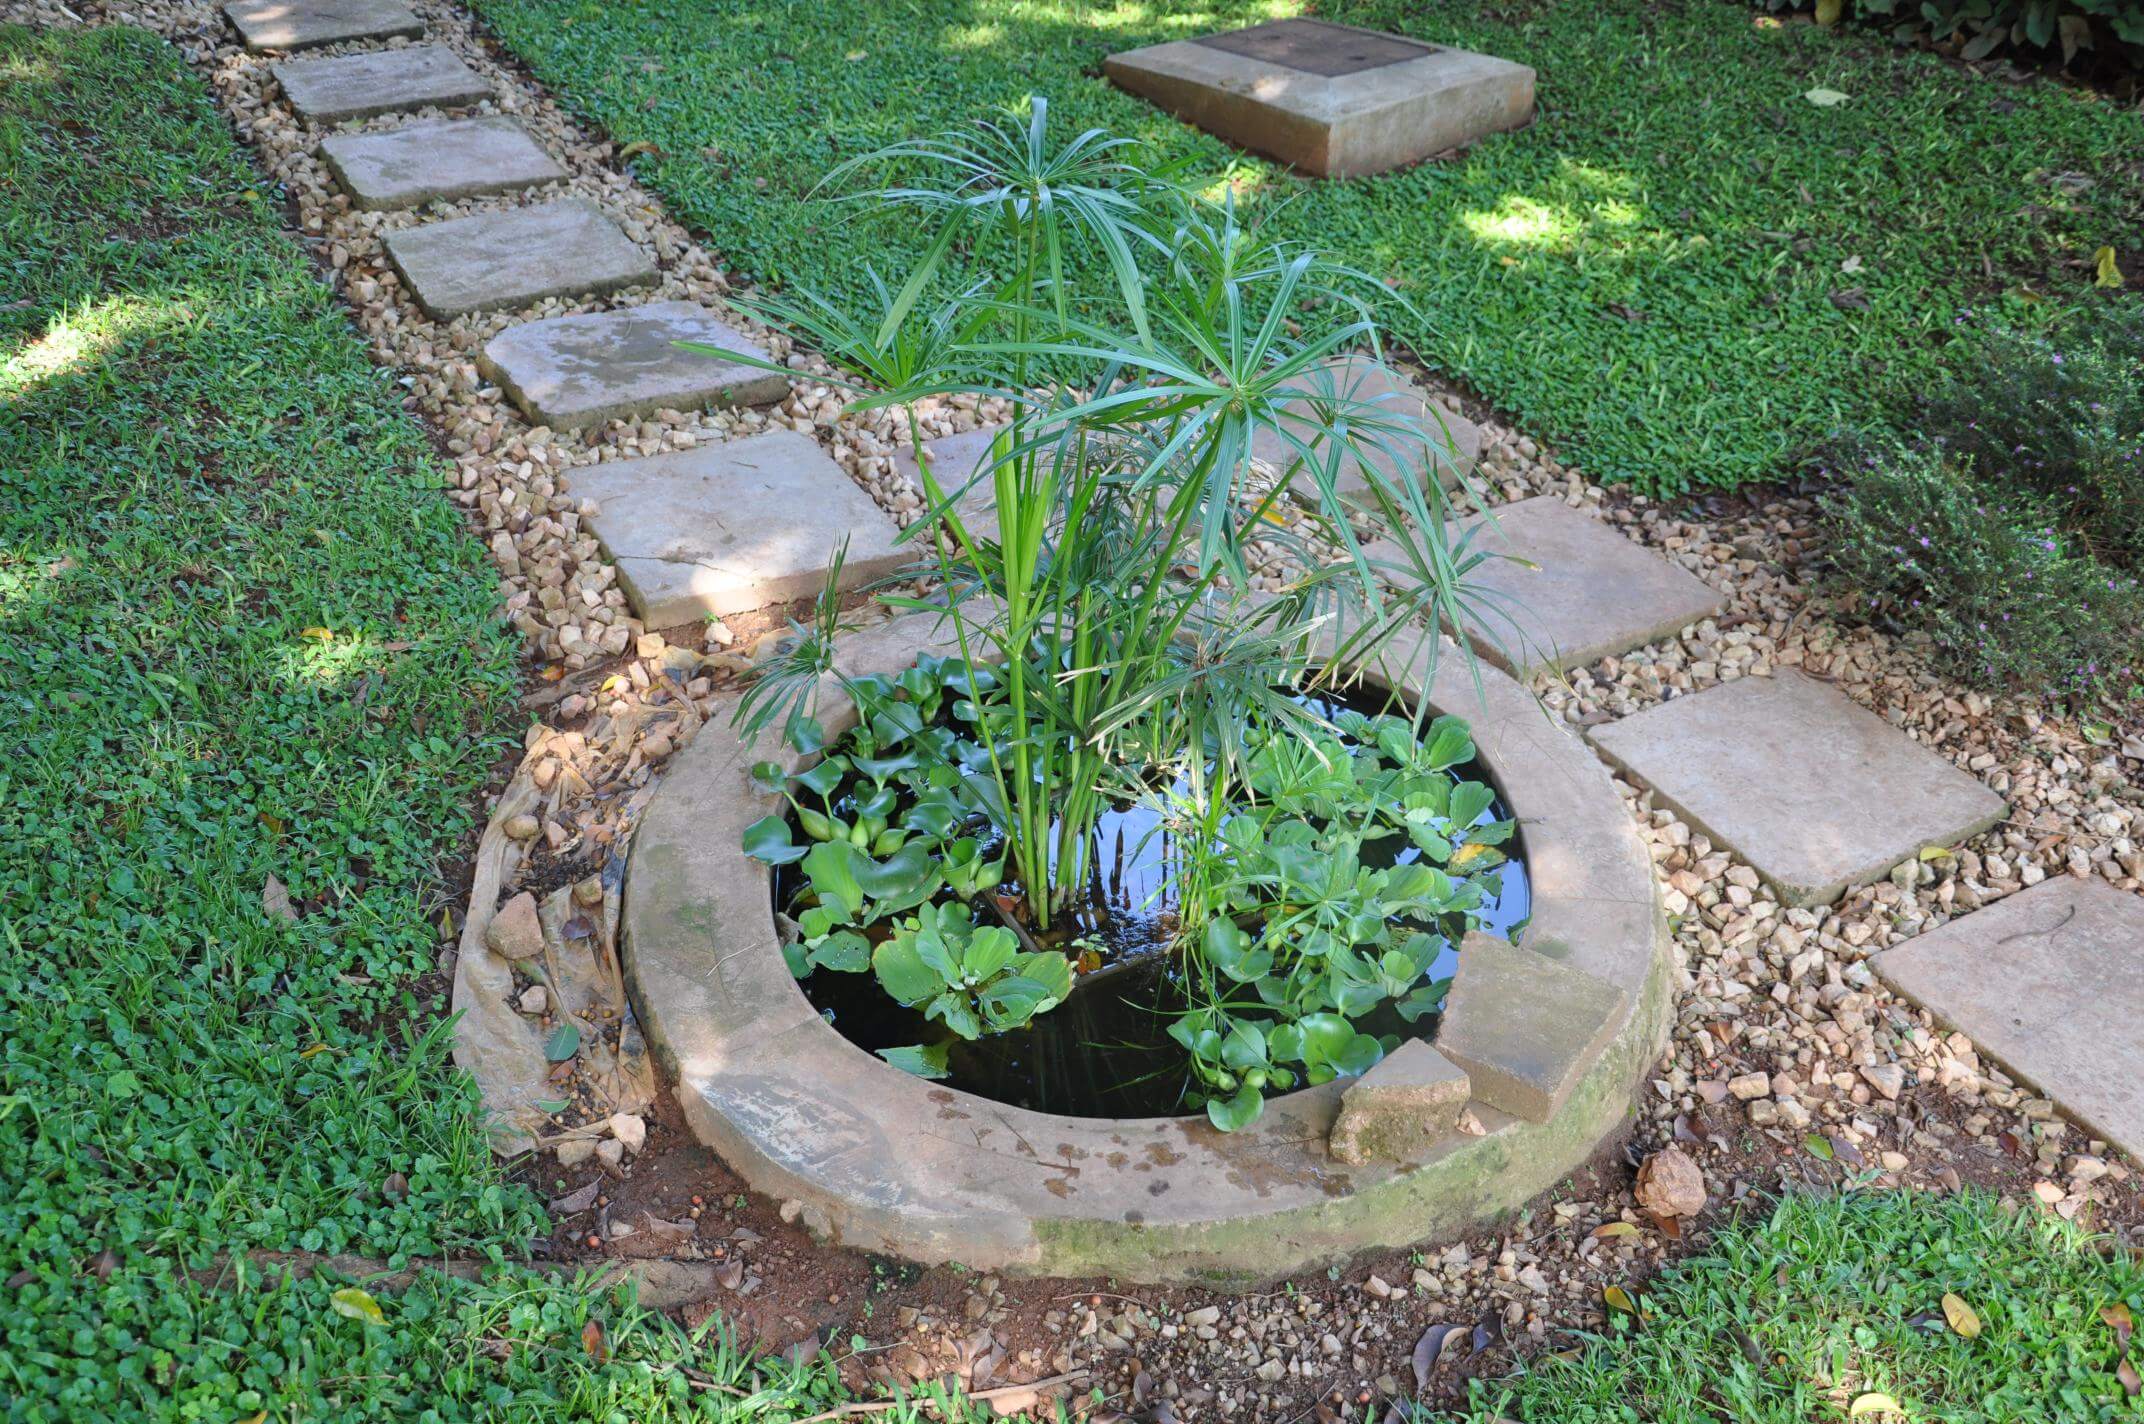
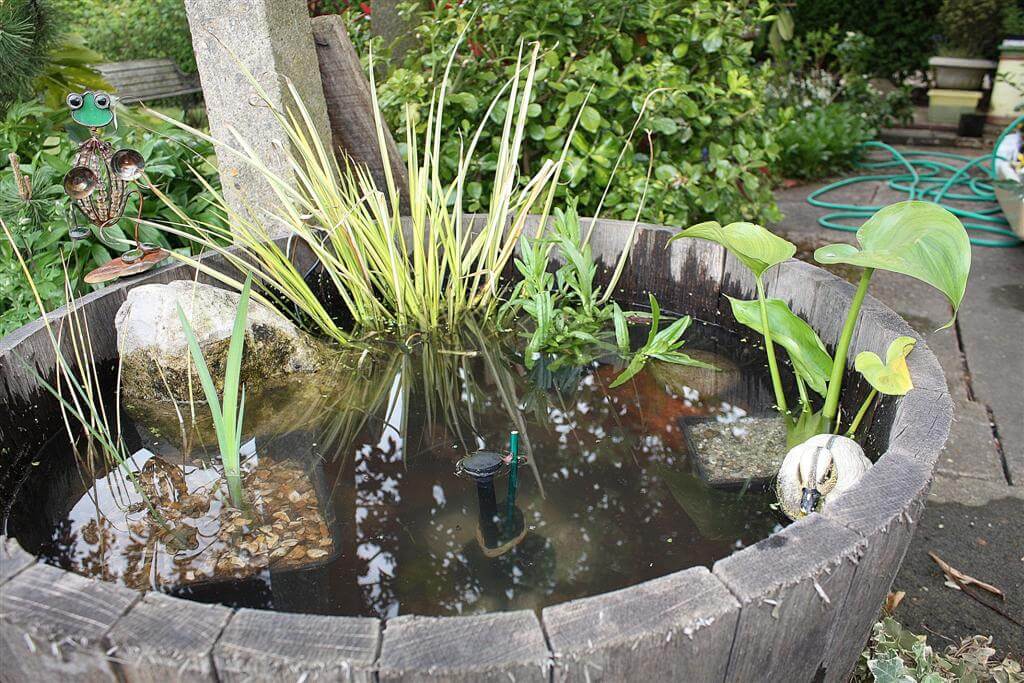
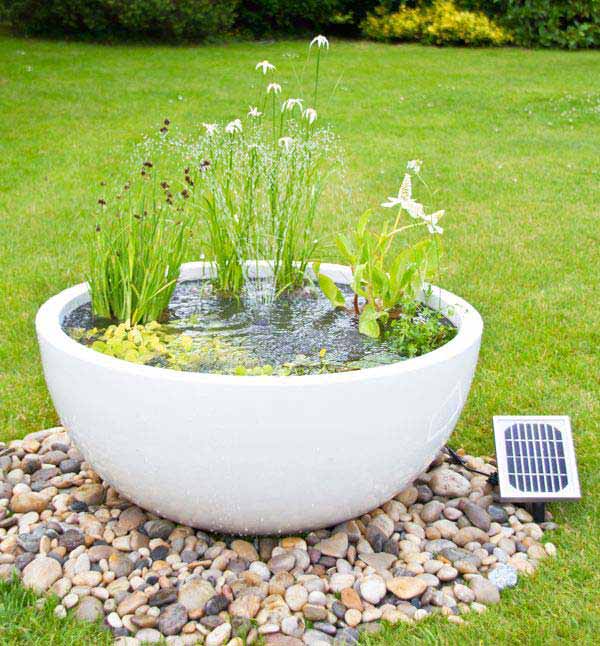
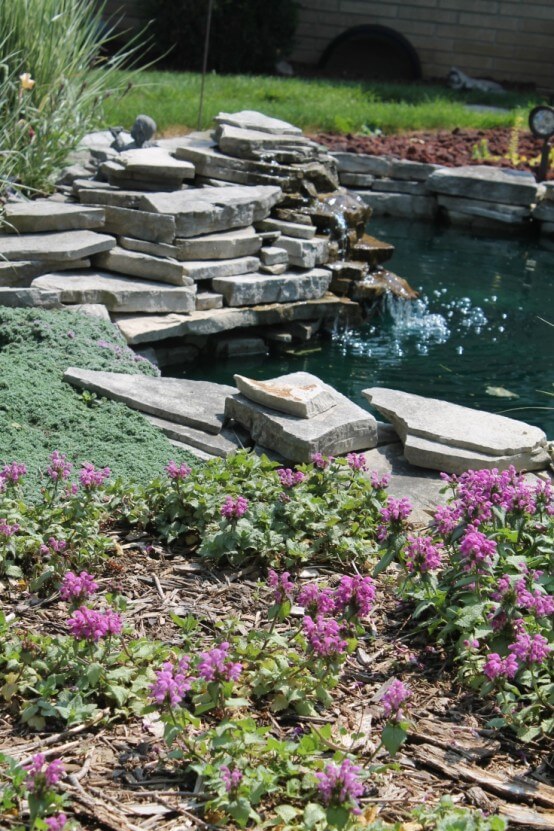
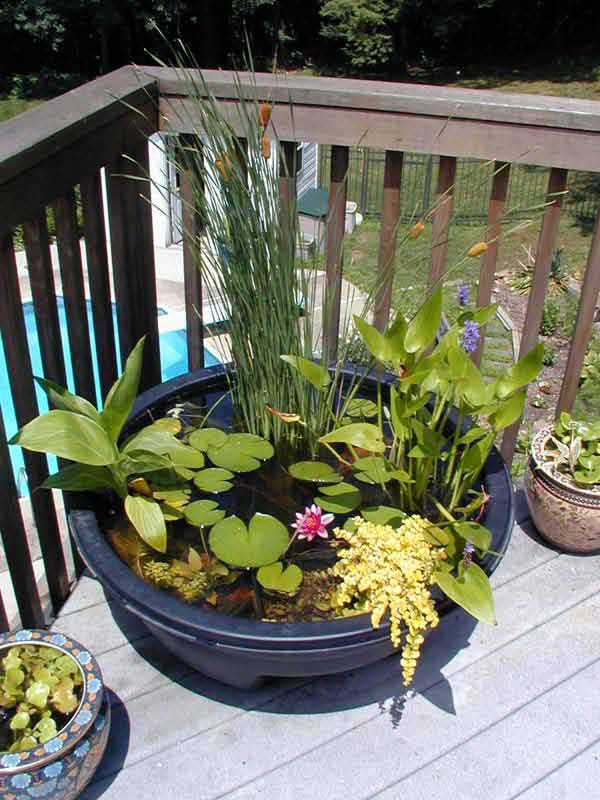
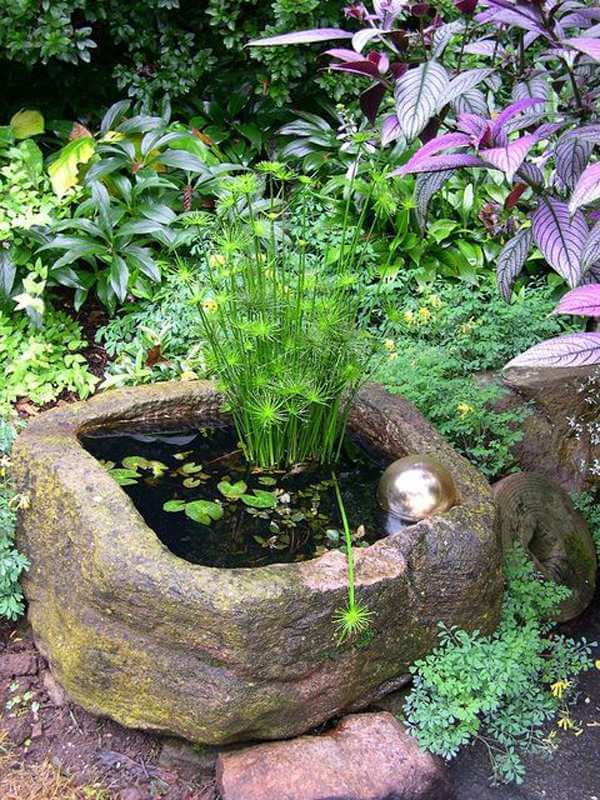
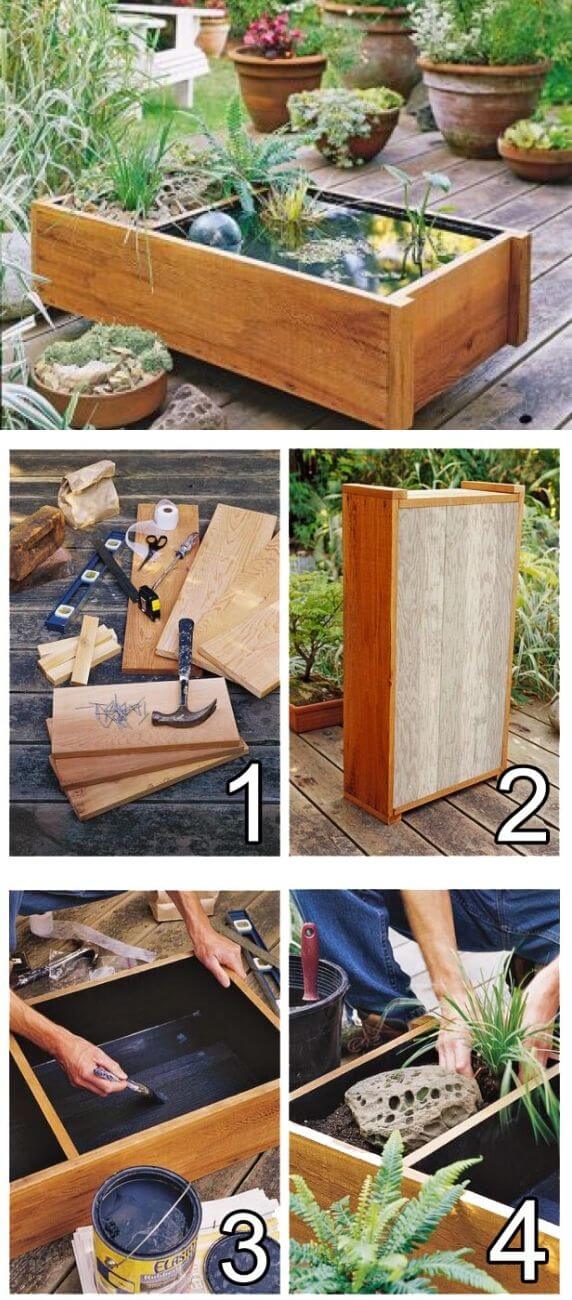
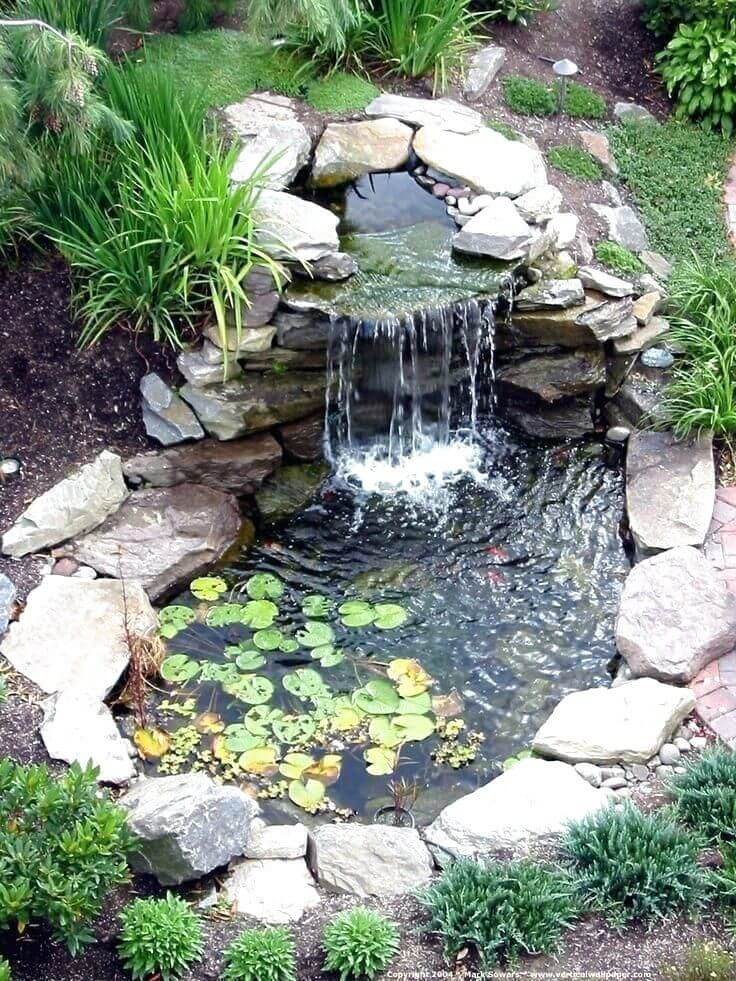
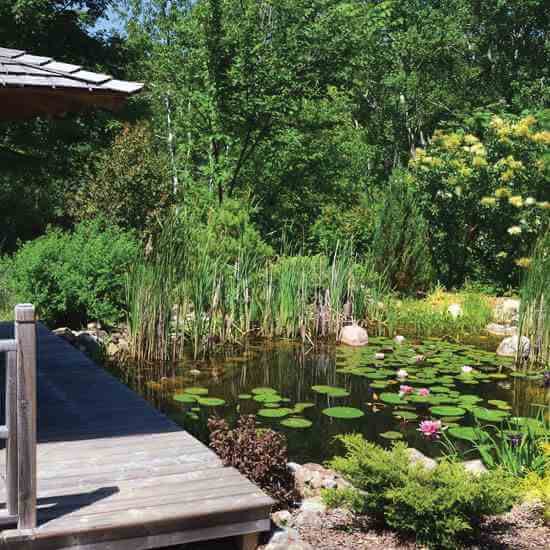

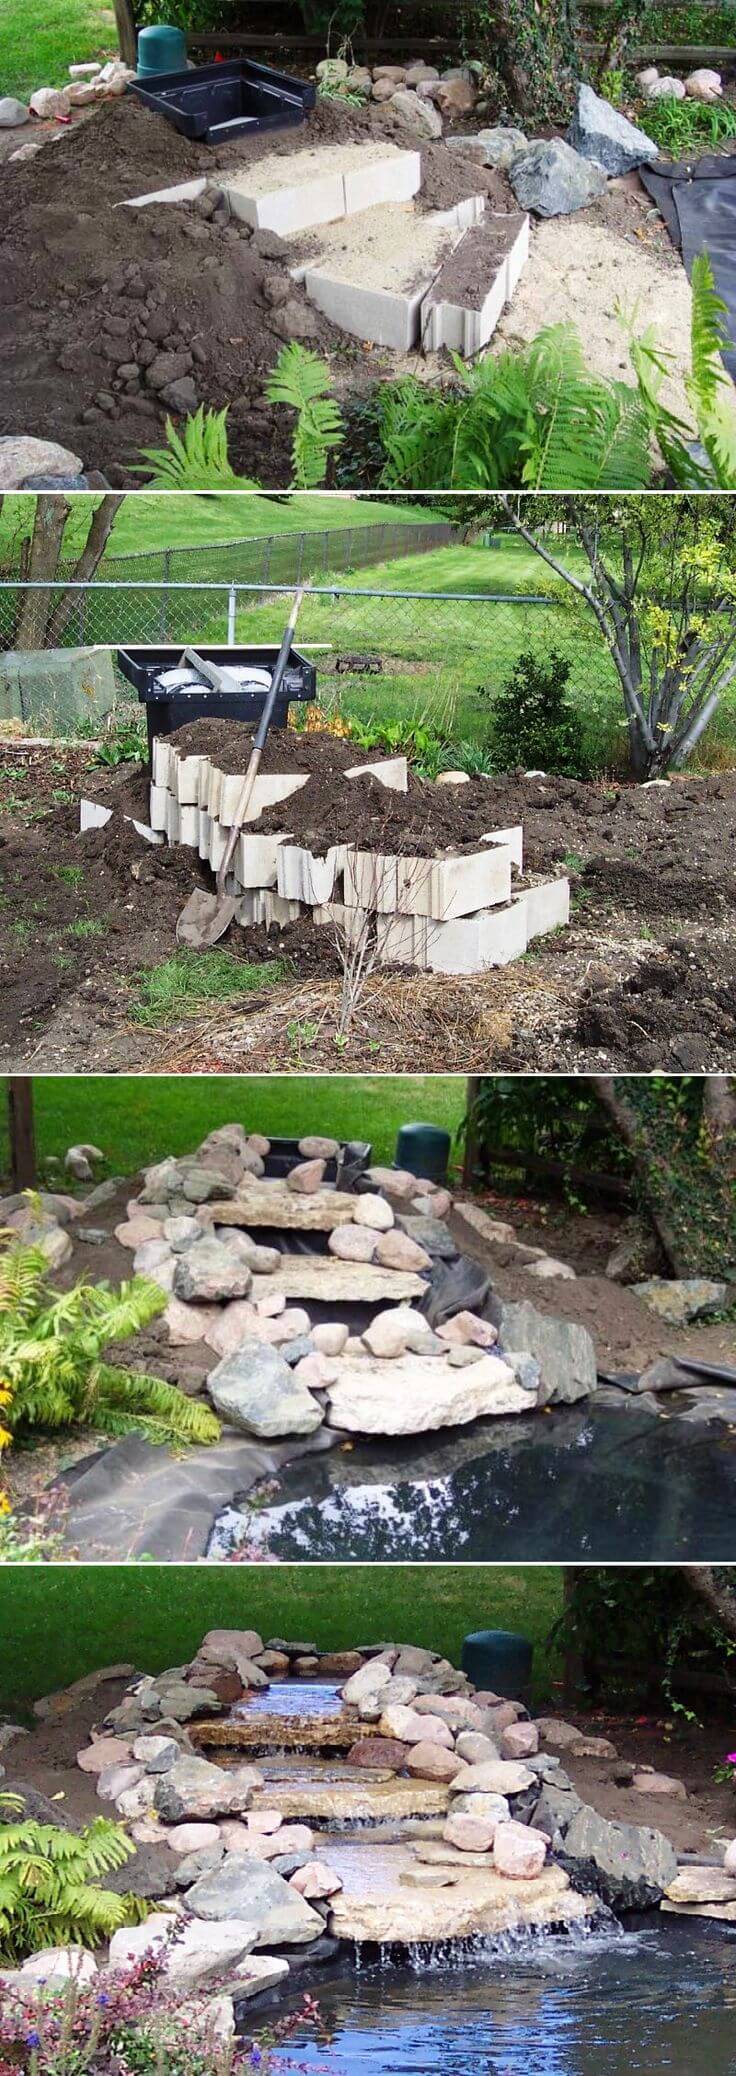
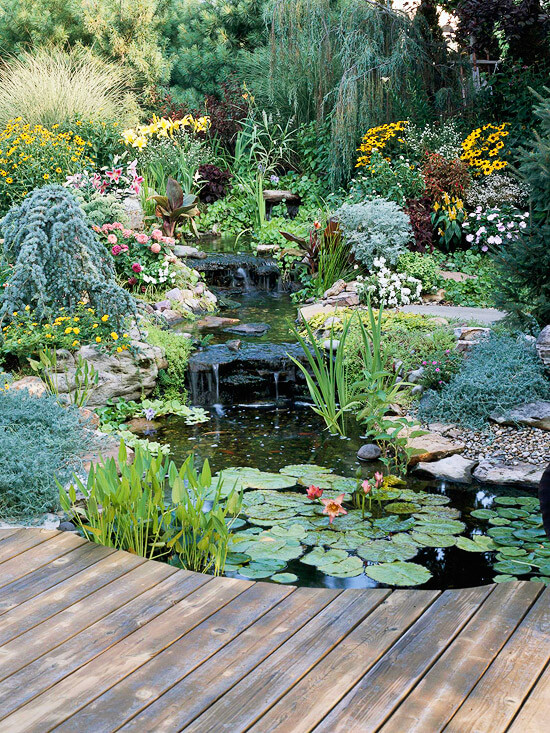


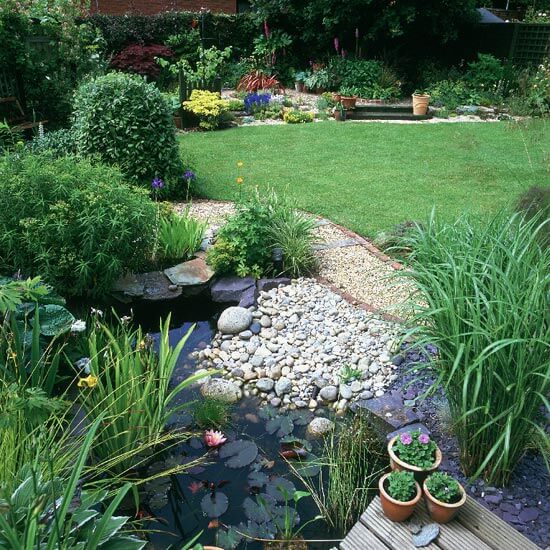

Image credits: idealhome, hometalk, diynetwork, onlinehomeguides, bhg, greensecrets , home talk, Mother Earth News, do know, stiggysplot, planetcatfish,