How to Prepare for DIY Project If You Want to Build a Sauna at Your Property?
Do you plan to build a sauna in your home? It’s not uncommon these days to find people who want to build their own sauna at home. There are many reasons why some people may be interested in this type of project, including the fact that it can save money if you do it yourself. If you’re contemplating building your own DIY sauna, there are a few things that you will need to know before starting on the project. Here are six steps to prepare for doing a DIY sauna.
Table of Contents
Choose a Perfect Design
The first step is to choose a sauna design that will work well for your needs. There are different types of outdoor sauna range available, so you should be able to find one that fits your specific requirements. You’ll also need to decide on the sauna size since this will affect how much money and time you spend on the project.
The design and size will largely depend on your needs. For instance, if you only need a small sauna to get rid of toxins, then it makes sense that you will not build as large and elaborate as one for someone who wants the ultimate rejuvenation session. If you need a place to be used by the whole family, you will have to build something that can accommodate more people. You can also choose from prefabricated outdoor saunas or ones designed by an architect.
Get the Necessary Supplies and Materials
One of the most important steps in this process is obtaining all the necessary supplies and materials for building your sauna. This includes lumber, roofing material, nails, insulation, vapor barriers, and sauna heaters. Ensure that you have everything on hand before starting the project to avoid any delays.
If you’re unsure where to find some of these items, do a quick online search or speak with a professional sauna builder. They will provide you with all of the necessary information and help guide you through the process.
Plan Your Project
You may want to get help from experienced sauna builders because this step can be quite difficult. The first thing you need to do is create a detailed plan of your project on paper. This will allow you to spend less time figuring things out and more time getting the work done. Your plans should include details about how much materials you’ll need, the dimensions of the sauna, and where you will install everything.
This is also a good time to create a budget for your project. This will help you stay on track financially and avoid any unexpected expenses down the road. Ensure that you include everything in the budget, including materials and labor costs. Use your plan as a guide when building your sauna so that everything comes together smoothly without any problems along the way.
Prepare Your Landscaping for Building Sauna
You will need to prepare the space to build your sauna for several reasons. First, you’ll want to remove any plants and debris from the area that may get in the way or make things difficult when building. You can also use temporary fencing around the site, so people don’t accidentally walk into it during construction.
You will also need to level the ground and remove any rocks or other obstacles that may get in the way. This is important because it will ensure that your sauna is stable and looks good once it’s finished.
Build Your Sauna
Now is the time to start building your sauna! Make sure that you follow your detailed plan and use the correct materials. If you’re not experienced in this type of work, then it’s a good idea to get help from someone who is. This will ensure that everything goes smoothly and that the sauna is built correctly.
The last thing that you need to do is install a quality sauna heater in your new room. This will ensure that it’s comfortable and warm enough for all of the people who will be using it. If possible, try to find a heater that is Energy Star certified.
Add Final Touches

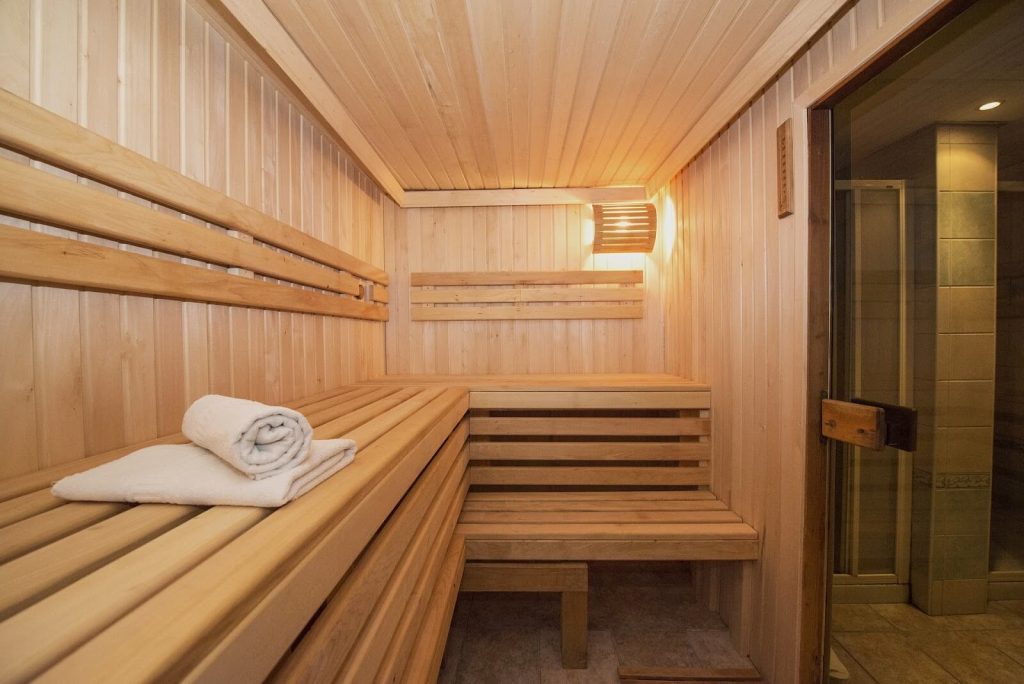
Once your sauna is finished, there are a few final touches that you may want to add. This includes installing comfortable seating, adding a ceiling light, and putting up a sign or plaque that tells people what it is. You can also decorate the sauna’s exterior with indoor plants, flowers, and other decorative items.
Now that your sauna is finished, it’s time to start using it! Make sure that you follow the safety instructions carefully and enjoy all of the benefits that this type of relaxation offers.
You need to do a few things before starting a DIY project to build a sauna at your property. This includes obtaining all necessary supplies and materials, planning the project, preparing the landscaping, and building the sauna. Once it’s finished, add some final touches and enjoy using it. With the above steps, you’re well on your way to having your own personal sauna!


