
New Space: Advice for Finishing Your Basement
Do you need an additional living space in your home? Your basement can be a great add-on in functionality, providing that extra space to work, play, and relax without other structural additions. Finishing your basement can be a fun project, but it also comes with its fair share of challenges.
There are lots of considerations to make along the way. Having an idea of all the essential things will set the bigger picture of the budget and the project ahead. Here’s what you need to know.
Table of Contents
How Long and What Does It Cost to Finish a Basement?
Depending on the size, location, and features, the average time taken to finish a basement is 4-8weeks. Also, it will cost you an average of $6000 to $18500 to finish a basement. There’s no need to rush this project since it is a significant and worthy investment with a massive payoff in the end.
With this in mind, here are the standard steps to take to finish your basement.
1. Get A Permit
This step is essential to getting the work done, which most DIY basement experts skip. A permit protects you against future changes in building codes or arising situations that may occur later when you sell your home. Get all the information about this permit from your local government, specifically, the Building Department.
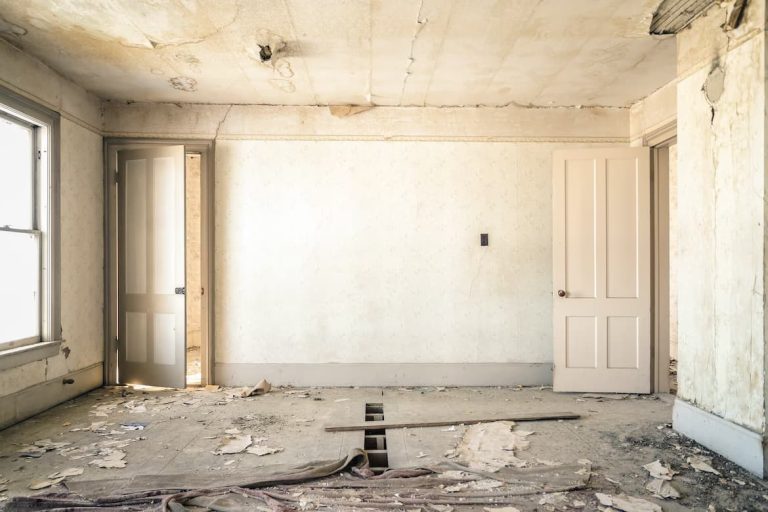
2. Clear Out Everything
While awaiting a permit approval, get to work on cleaning out everything. Most homes use the basements to put things that have nowhere else to go. If you need to give your basement a good finishing, clear it out temporarily and put all of those things in boxes, storage bins, or a rental self-storage unit.
3. Test for Moisture

Basements are hotspots for water leaks which could easily ruin all of your hard work. This is more reason to test for moisture early enough. Some of the ways you can conduct moisture tests are by either using:
- Plastic sheets
- Relative humidity meters
- Calcium chloride kits
If any moisture is detected, you will have to take care of this before doing anything else. Additionally, you can add a vapor barrier to the wall and floors before finishing off the surfaces. The move you make is wholly dependent on the moisture problem you have.
4. Select Your Materials and Work Tools
It’s essential to know all the specifics from the start since they also form a significant part of your budget. The things you need also depend on what you want to accomplish in the end. The key things to consider when making your material list are:
- Floor-type
- Insulation type
- Wall type
- Utility locations
- Paint colors
- Trimming method
You’ll also need many tools and safety gear to get the work done. You can rent some of those large tools if you don’t have other major renovation projects coming up.
5. Consider Lighting Options
The walls are usually the first structural components that go into place so make sure you handle the wiring first. Work with an experienced electrician to help you with this.
Where possible, consider letting some natural light into your basement as well. Ensure that all the cuttings are made before the other work begins. Seal them off the rest of the house to prevent masonry dust from getting into the rest of the house. Windows will also help eliminate some moisture worries. The only caution you need to take is not to open them during humid months.
The local building codes will advise you to consider using Egress windows as they come in handy during emergencies.
6. Finish the Walls
After cutting up the windows and installing electricity, you will need to give an excellent finishing to your walls. You will have to insulate, frame, and then finish up with drywall for a perfect finish. Drywalls are easy to install and are incredibly durable. Cut out the access holes as needed and any other wiring from the wall.
7. Finish the Floor
Not all flooring, like solid wood, is used in a basement finishing. Small fluctuations in humidity levels can cause deformation and splitting. Also, select the type of floor that blends with the functionality and style. Shop for vinyl planks or ceramic tiles which are low maintenance but still achieve the look you want.
Do not install your desired floor directly to the concrete. Put down a layer of insulation using polystyrene sheets, then a layer of plywood. After that, install your choice of flooring.
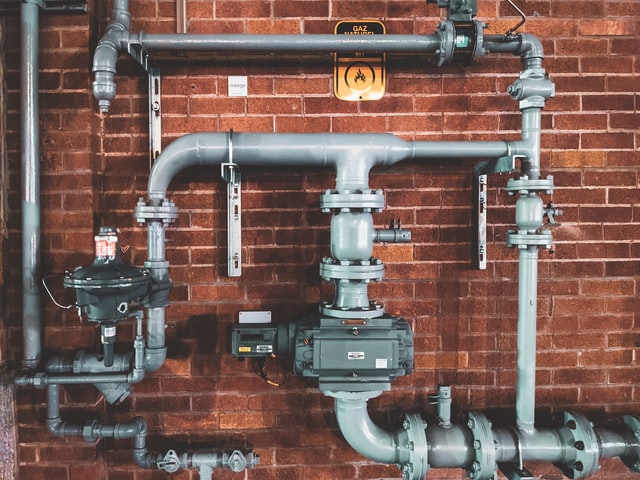
8. Check the Heating System
The previous contractors may have installed your home’s heat, ventilation, and air condition system based on the upper-level requirements. Ensure a home services professional specializing in ac repair in Cherry Hill validates that you have the right equipment to serve your basement well.
9. Finish the Basement Ceiling
There are three basement ceiling options you can choose from, each having its difficulty and installation manual.
- Drop Ceiling– This is the famous and best option to use. It allows you to access any utilities above them, like plumbing pipes or electrical hookups if needed.
- Drywall Ceiling– These are primarily used where you don’t need reinforcement. They bring the polish of the main-level rooms to the basement. Their only disadvantage is that they easily flake off.
- Open ceiling– This is the most straightforward choice that gives your basement an industrial look by leaving it open. However, you can paint your ceiling, usually with a dark color, to prevent you from seeing those wood beams or piping. Also, consider spraying or coating it since it easily flakes off.
10. Aesthetic Finishing
Now that you have all the structural things in place, do all the final finishing touches you need. These include; trimming and painting followed by putting up the storage units and furniture.
A good basement finish certainly requires careful planning and good choices. A good basement finishing creates extra space, adds value to your home, and provides additional space for friends, renters, or relatives who don’t mind living in the basement.
About the Author
 Jennifer Bell is a freelance writer, blogger, dog-enthusiast, and avid beachgoer operating out of Southern New Jersey.