Transitioning Floor Tiles : Trend of 2020
If you are looking into transitioning floor tiles, this write up will come in particularly handy.
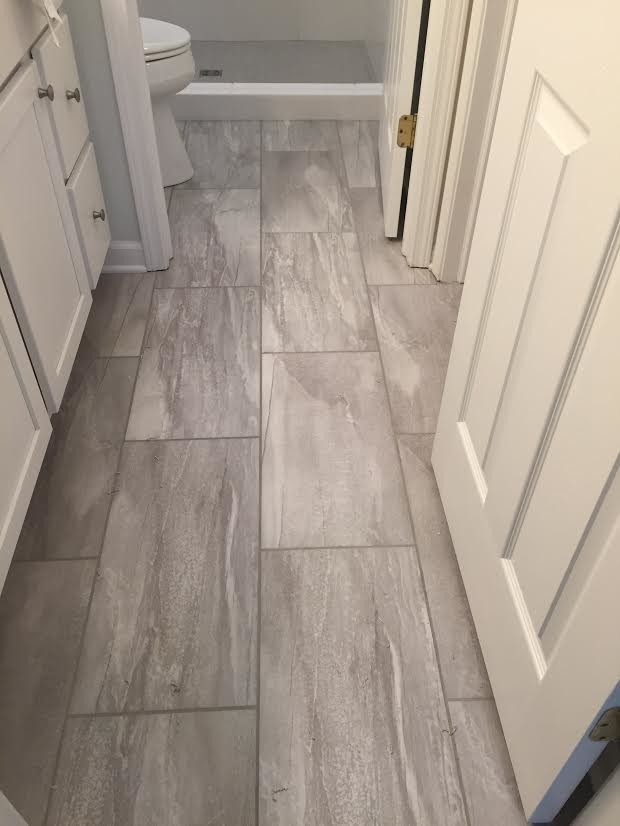
Moving from one floor surface to another, while retaining the aesthetic and safety values, may seem like a daunting task. Some factors that will affect the transitioning process may be what you already have on your floors and what areas of the house you want the tiles to be changed.
Do you have carpets on your floor? Are you looking at possibly different measurements of tiles in different rooms? These factors should highly influence your decision if you want the floors to look good and also be safe.
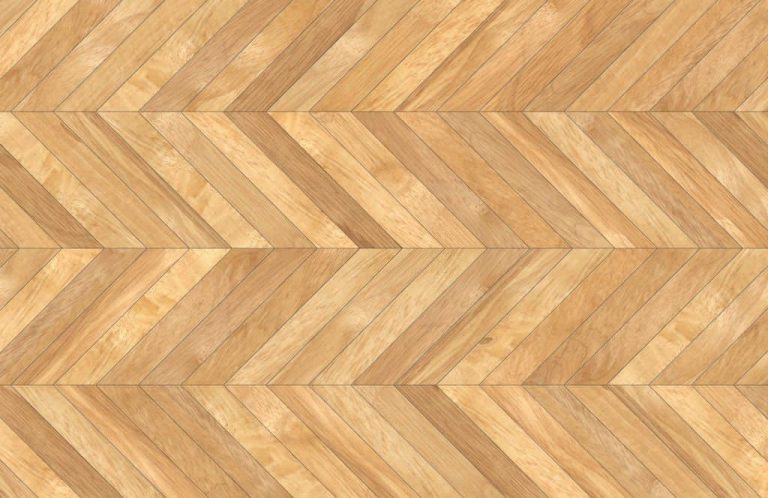
Creative floor tiles can make a space a lot more aesthetic and give the space it occupies much more personality and oomph.
The following mentioned steps can help you navigate this venture of yours to create the perfect transition flooring.
Table of Contents
Taking out the old tiles
When you want to create a transition in your flooring, the first and most obvious step is to get rid of the tiles or other flooring material that you may want to change. Some things you must keep an eye out for are the fact that very many times you will find that the corners or edges of a transition have cracks in them. Also, when you are moving or removing cabinetry or other structures that are not walls, an incomplete edge of the tile floor will become very obvious.
The tiles or other flooring material that you have decided to re-do, it may be prudent to use a grinder to take out the grout that may have accumulated for easier removal of tiles. The next thing to do should be a clean up of the area of the debris and other residue before installing the new tiles.
Making sure the tiles are of the right size
Whenever you want to install new tiles or any other flooring material, it is important that the tiles have been measured properly. You want to cut the tiles according to the needs of the space where you want to place them. These are crucial things to be done before you apply the mortar.
Laying the Mortar
When laying the mortar, you should aim to have the mortar be the consistency of cake frosting. If you follow this tip, your mortar will better hold any ridges that may have been left there by a trowel. You should be aiming to apply this layer of mortar and then have it be spread over the area of the new tiles to be installed.
Laying the tiles
When you have finally gotten into the part of laying the actual tiles, you should watch out for grout lines. To do this, you may want to use a spacer to achieve. When laying the actual tiles into the mortar, you should use a twisting motion.
Use a discarded scrap piece of lumber to provide you with protection. Use a mallet to tap on the tiles in order to set it. When installing tiles, the first one is of prime importance as you are going to use this one to see if the mortar underneath it is thick enough to cover the entirety of the bottom of the tile.
Use more mortar to make sure the bottom of the tile is fully covered, if not so already. If the coverage is deemed enough, you should distribute it in small sections and proceed to installing to tiles. The mortar should be allowed to set thoroughly before you apply any grout.
Laying the Grout
The grout should be laid down using a grout float and must be pushed into the grout lines. Some time should be given for it to set properly while making sure it has not become completely dry.
The next step in this process is to use a bit damp sponge to remove any excess grout. The sponge you are using should be regularly rinsed in fresh water while making sure that you are not removing the grout in between the tiles.
Let the Grout Dry Out
It is not uncommon for grout to take about more than a day to dry or cure. The grout you bought should have instructions on this specific issue from the manufacturer’s end. Once you know that the grout is set, it is prudent to use a grout sealer to make sure it is sealed properly. Also, the type of tiles being used, you may need to make sure the tile is sealed as well.
Wood Trim
The wood molding should be cut to the to be placed between corners of the transition along the different flooring types. The molding should be prepared for the finish nails by using a drill to drill for the pilot holes. Nailing the molding to the floor will make it more attractive for the transition between the different flooring types.
Trending floor tiles in 2020
2020, let’s face it, has not been the greatest of years. With the coronavirus surging alongside a plummeting global economy, it is safe to say that 2020 has been a particularly difficult year. However, one thing that is still under our control is that we can still make it a better year by renovating our homes with trending tiles. These tiles can give your home that little bit of magic and allow it to stand out. Some of the most trending tiles in 2020 are listed below.
- The multi-coloured heavy marble veined look.
- The grey cloudy marble polished finish look
- The multi-face explosive marble effect
- Linear fossilized marble effect
- The anti-slip slate effect
- Extra large size porcelain tiles
- Terracotta colour, quarry look anti-slip tiles
- The vein-cut travertine look
If you follow the steps mentioned above, you can create some very interesting transition floor tiles to make your home trendier and much more appealing to all parties involved.