Plant Groups of Hostas to Brighten Up the Gloom
Hostas make for very attractive features in your garden. They peak in the summer and are very popular with container gardens as they don’t require much sunlight to grow.
Here’s all you need to start growing your own hostas.
Table of Contents
1. How To Choose A Hosta
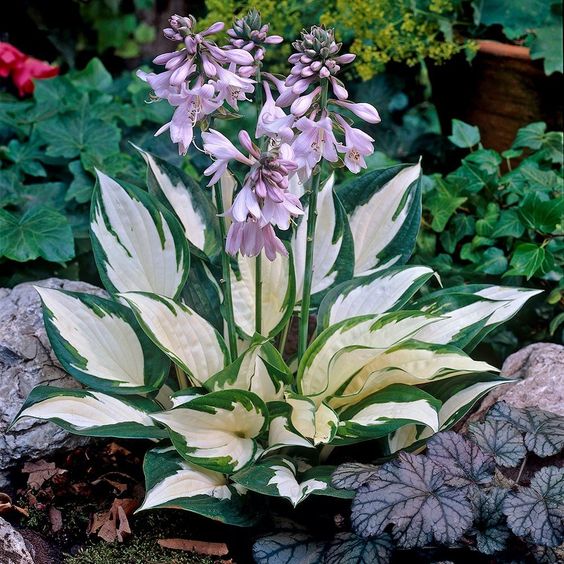
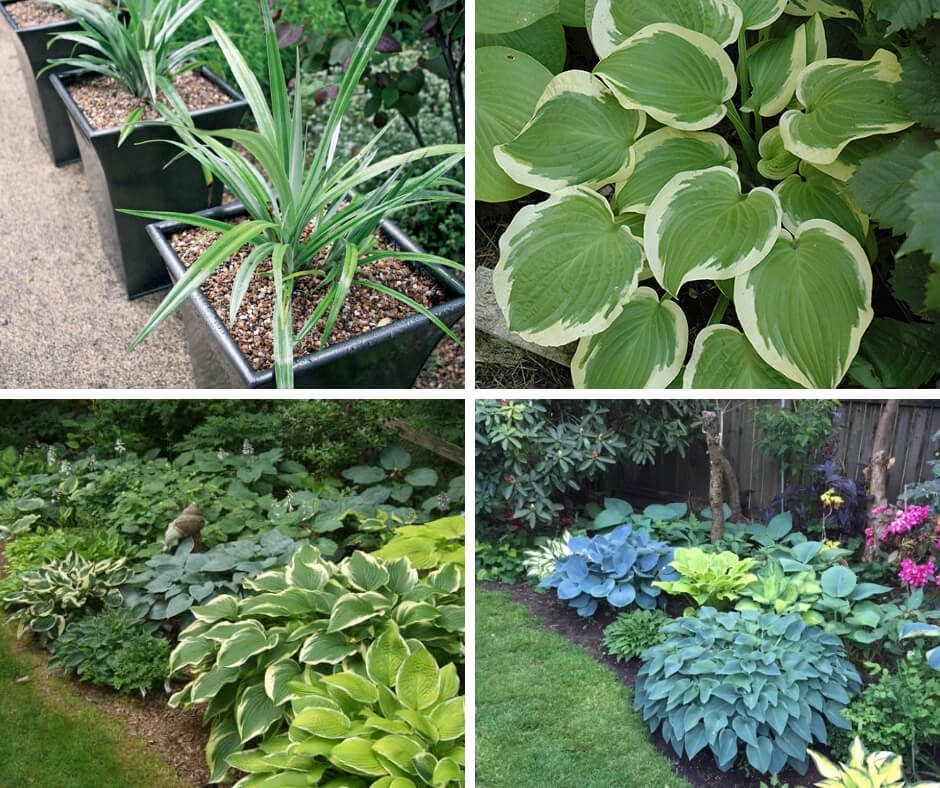
There are plenty of hostas to choose from. They vary in leaf length, overall size and the colour of their flower. When it comes to picking the best one for your garden, it all comes down to your personal taste.
For best practice, pick the plant that matches the conditions in your garden. Most hostas require moist soil and shade, but there are some, such as the yellow-leaved hostas that prefer to grow in the sun.
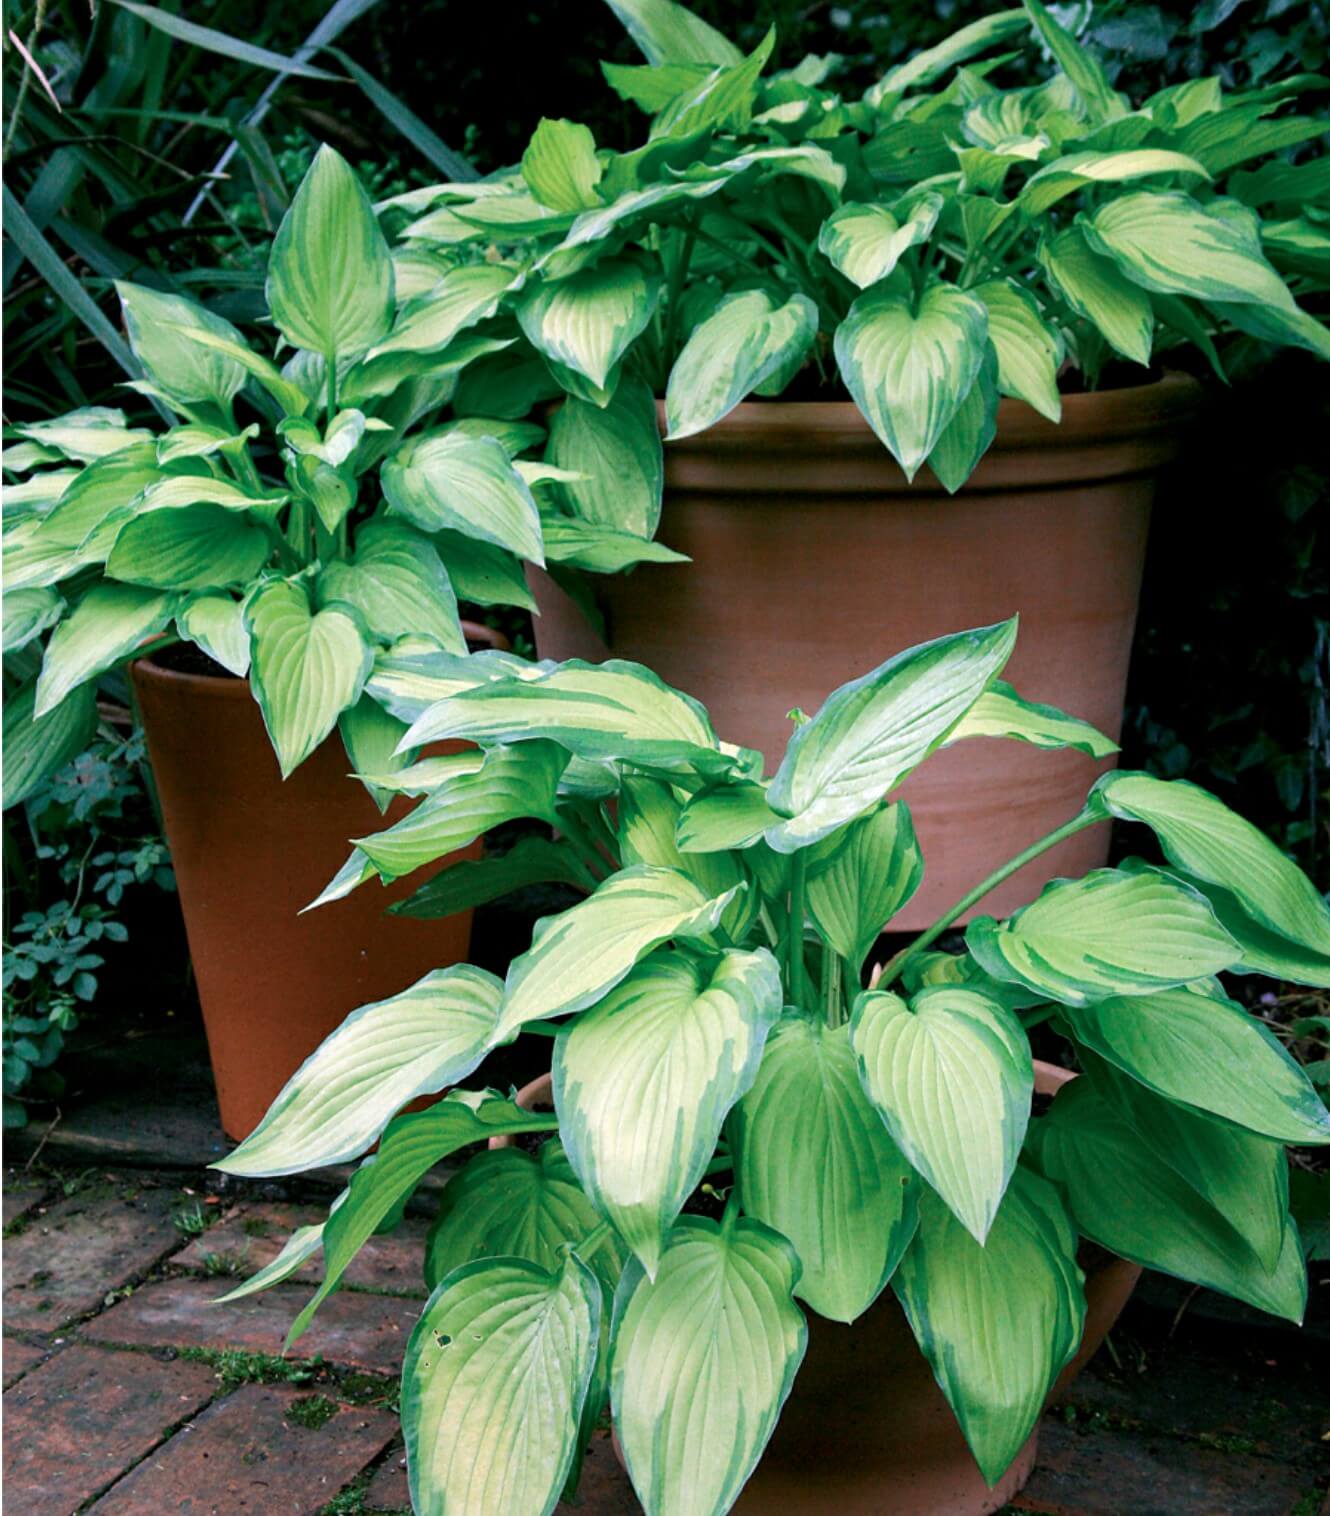
In terms of space, smaller hostas Pandoras Box’ are better for container gardeners.
2. Buying Hostas
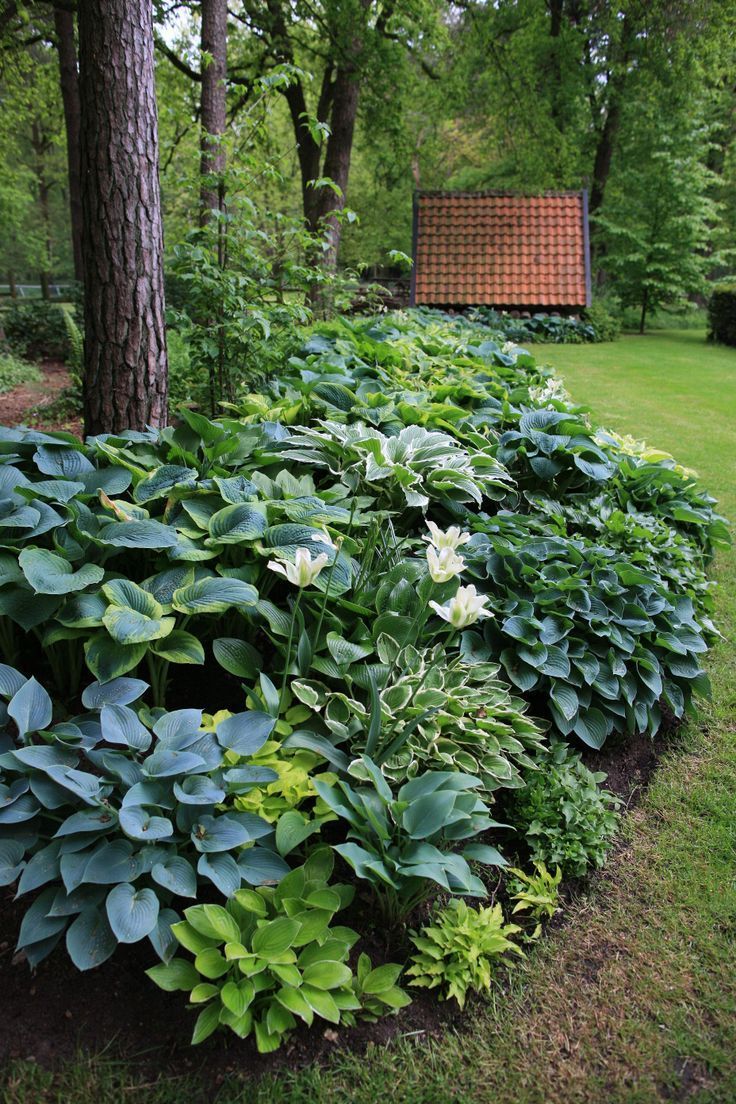
You can buy hostas from most garden centres and online. They come ready for planting so they require little fuss.
Plants are sold in pots ready for planting and available in leaf from spring to autumn in garden centres and online. To track down specific ones you can use the RHS Find a Plant.
3. Planting Hostas
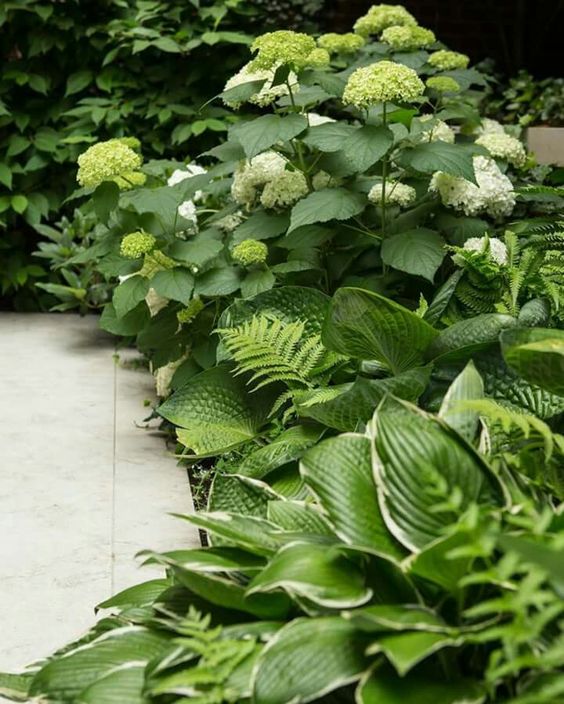
Hostas can be planted throughout the year. However, you should avoid planting in the summer as there isn’t as much water in the soil due to the higher temperatures and fewer rain showers.
No matter if it’s in a container or in the ground, the majority of hostas grow best in partial shade – apart from a couple like the aforementioned yellow-leaved hostas that require slightly sunnier conditions.
Hostas prefer to grow in clay soil with some compost or manure. If your garden has drier soil, you’re better off with hostas that have waxy leaves. This is because they are more tolerant of the conditions compared to hostas with smaller leaves.
Avoid planting hostas in areas with no shade as they are not suited for this environment.
4. Planting Hostas In Borders
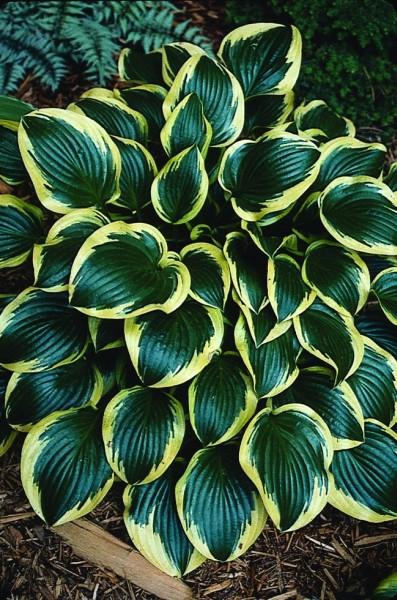
Place your hostas up to 3ft apart. Of course, this will depend on their size and spread in their final form. You may have to plant bigger plants further apart.
Next, dig a hole in the soil about the same depth as the root ball, but make it twice as wide. Loosen the roots with your fingers and place it in the hole. Spread the soil back and firm it all off with your hands.
Give the hosta some water to settle the soil. Water it regularly to ensure it keeps healthy throughout the year, especially during the summer months. Mulch with high-quality compost to conserve the moisture.
5. Planting Hostas In Containers
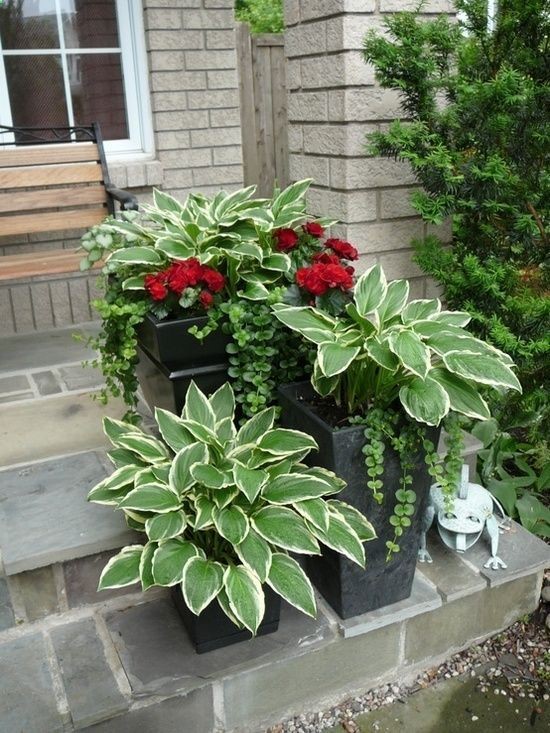
Hostas make for an excellent container garden. Plant them in a container up to 18 inches in diameter with some drainage holes. Provide the hosta with some multipurpose compost for optimal growth.
Plant the hosta similar to how it was in the previous pot ie with the top of the rootball at the same depth. As above, make sure you give it plenty of water and continue to water it regularly.
6. Planting Miniature Hostas
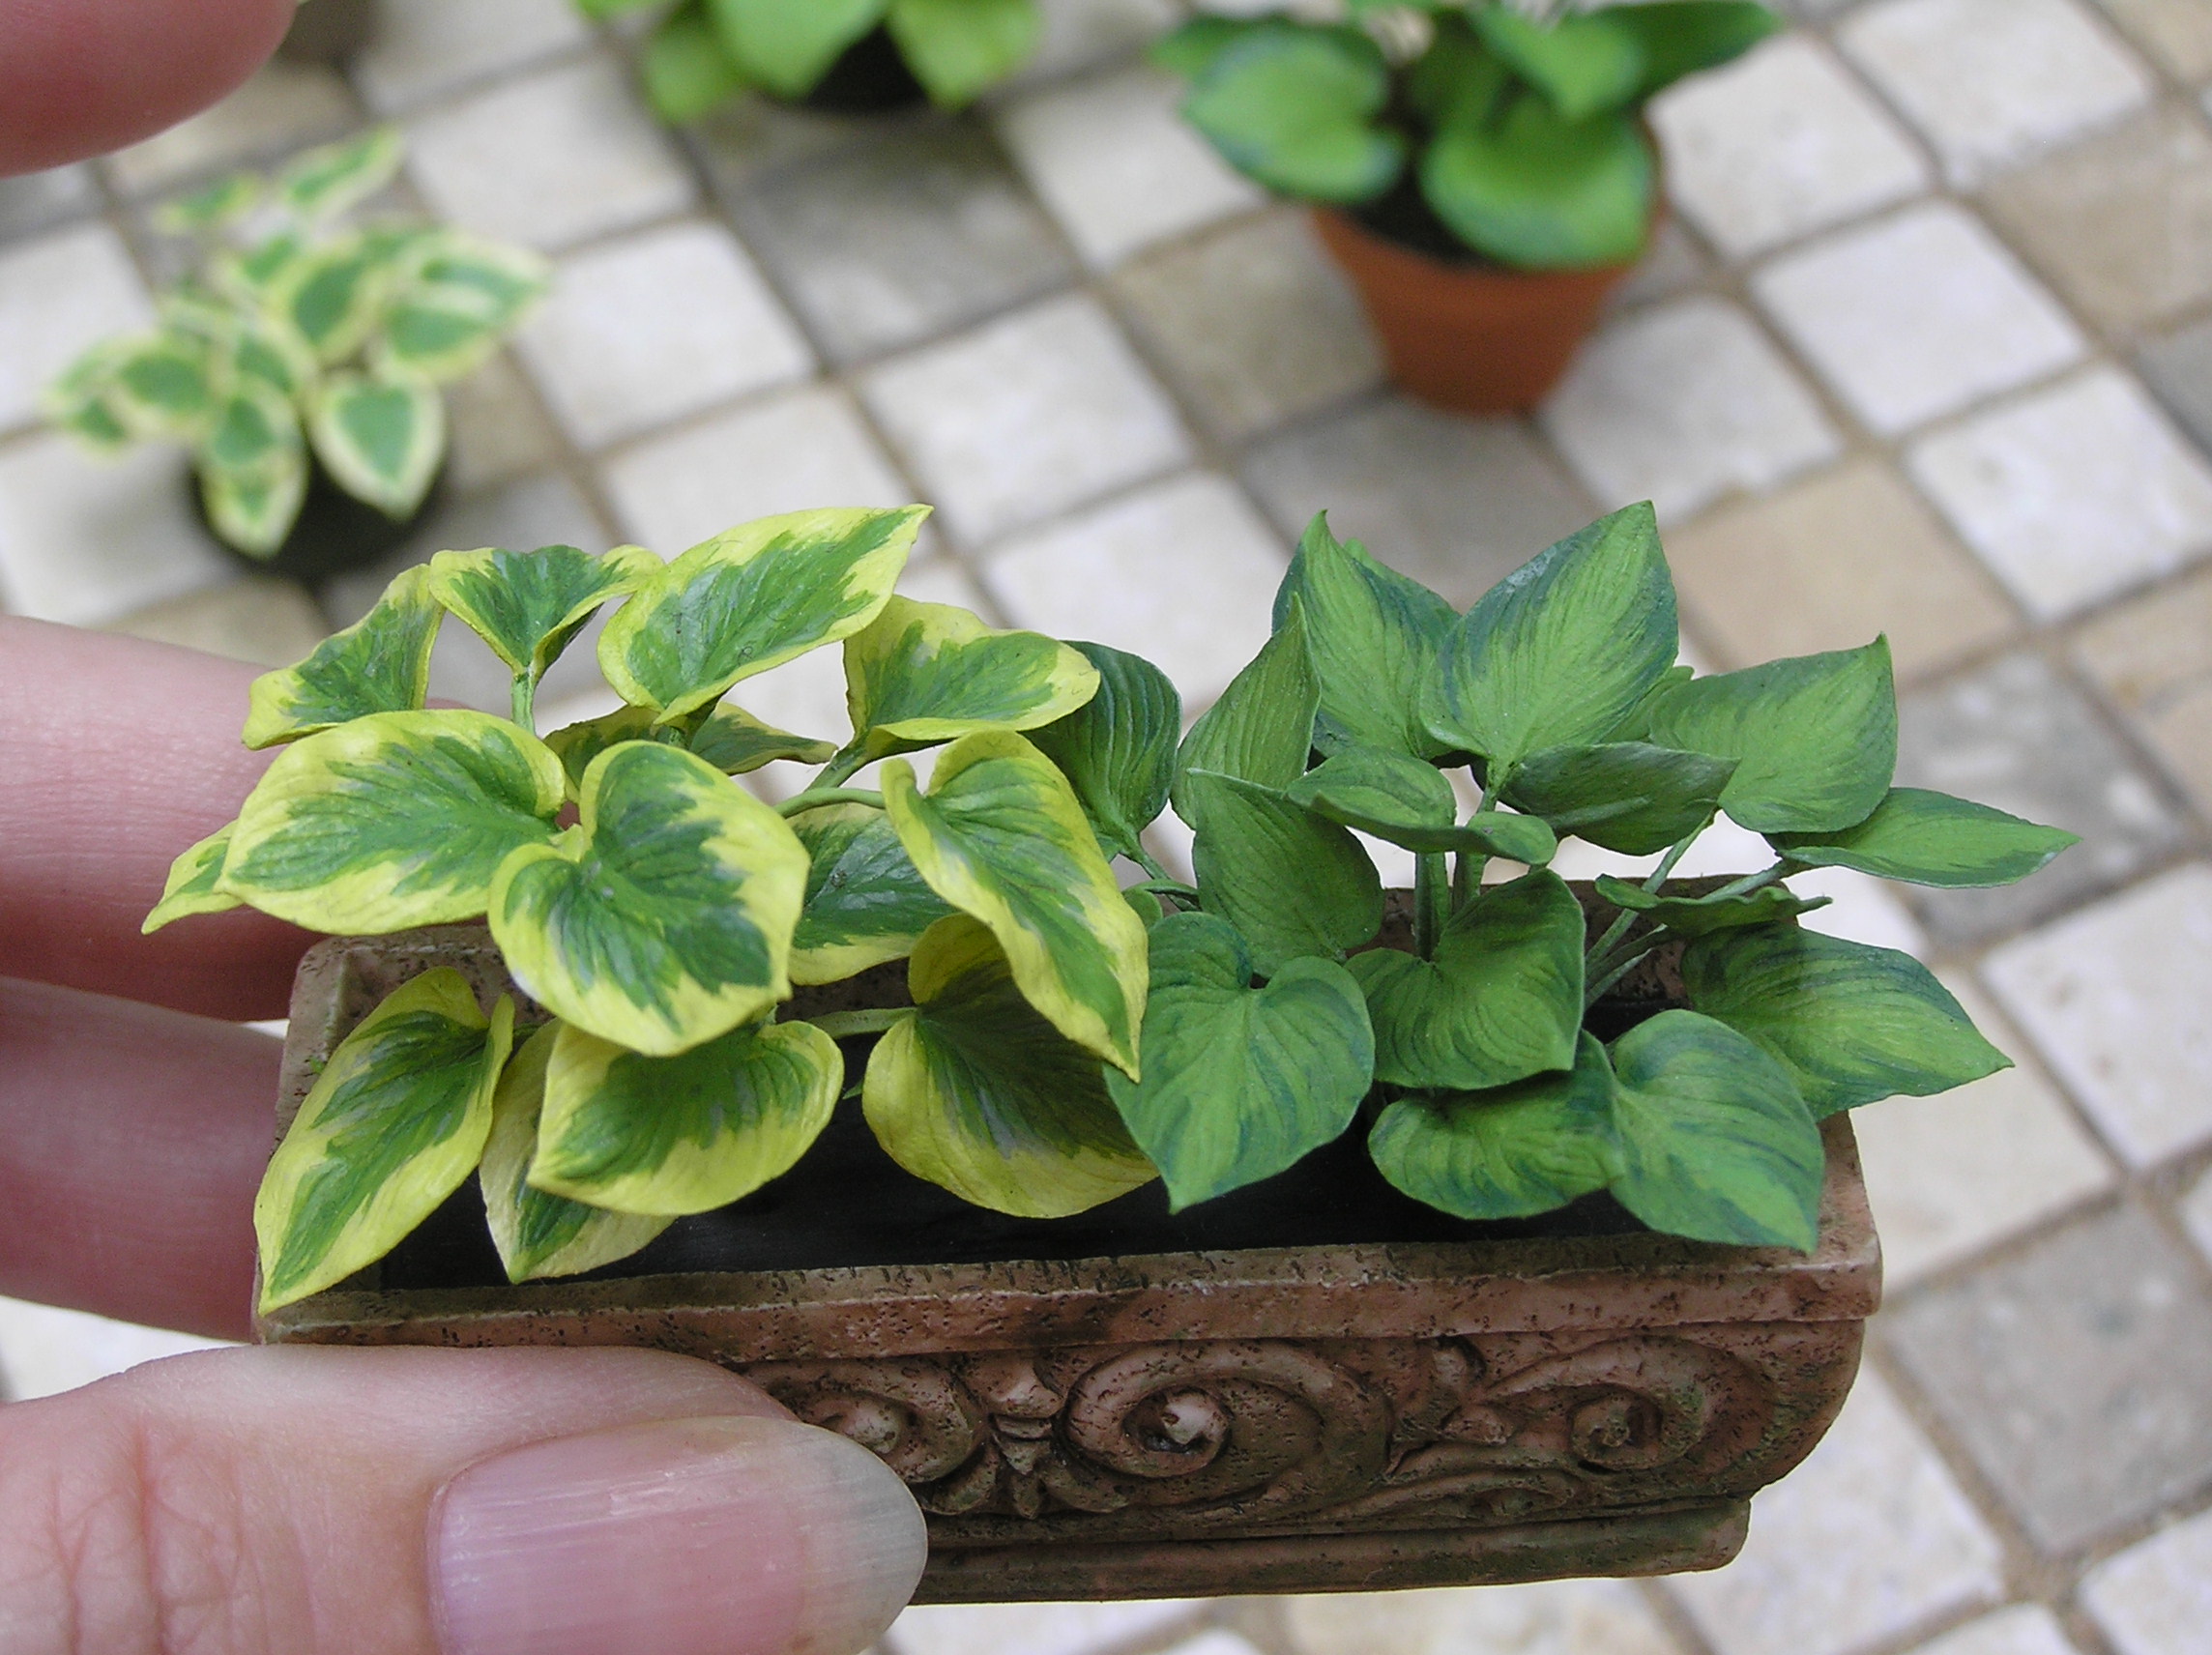
Miniature hostas require good drainage to grow at their best. It’s also best to give them some soil, grit and compost. Miniature hostas are great for placing around a rock garden or alongside other container garden plants. Mulch with gravel prevents the soil from spoiling the leaves and also looks good too.
7. Keeping Care Of Hostas
Now that you’ve planted your hostas, you need to give them ongoing care for them to thrive.
8. Watering Your Hostas
Planted hostas will need to be watered if there is no rain for a few days. Keep the soil slightly damp. Dig down in the soil nearby if you are unsure about how damp the soil is.
Hostas dry out quickly in the summer so you will need to water them regularly. You will know if they are drying out as their leaf margins will start to brown.
Note that hostas are prone to waterlogging if they are in a container. Keep them at the base of a wall to protect them from the wet conditions.
9. Feeding Your Hostas
For hostas planted in borders, an annual mulch of compost is more than enough to keep your hosta well fed. If you don’t have good soil, give your hosta some fertiliser in the spring before mulch. Combined with good moisture, your plants will grow healthy and look great when it’s time to flower.
For hostas growing in a container, feed them with general-purpose liquid once a month as it’s still growing.
10. Deadheading Your Hostas
You can leave the stalks until you tidy the plant once the leaves have died back. On the other hand, you can remove the flower stalks as the blooms fade. This will prevent the plant from producing seeds and wasting energy.
11. Overwintering Your Hostas
Most of the foliage dies back once the summer ends. It won’t be until mid-spring until they reappear. This means that winter frost can do some harm to your plant so it’s you may wish to protect them with a couple of layers of horticultural fleece if these conditions are forecast.
However, this tip is probably only needed if you are a keen gardener.
Conclusion
This is all you need to know to grow hostas in your garden. Even if you’re just a beginner, with these tips, you’ll be a master gardener in no time.
