Learn the best techniques for transforming an ordinary lampshade using fabric, ribbon and other simple craft materials.
The right lampshade can make any lamp as decorative as it is functional. You can turn plain lampshades into unique, embellished lampshades by dressing them up with a few simple materials.
You can start with an existing lampshade or purchase a new lampshade from a home-interiors store. Lampshades are inexpensive and come in a variety of shapes and sizes. When choosing your lampshade, remember a tried-and-true rule: For visual balance, the shade should be one-third to one-half the height of the base and at least twice as wide as the widest part of the base.
In this project, a plain lampshade receives a clever dress-up with a simple fabric skirt that will add soft color to any room. When selecting the fabric for the skirt, pick a color that will complement your lamp base.
Use a low-wattage bulb (approximately 40 watts) in your finished lamp. A high-wattage bulb may discolor the fabric.
Table of Contents
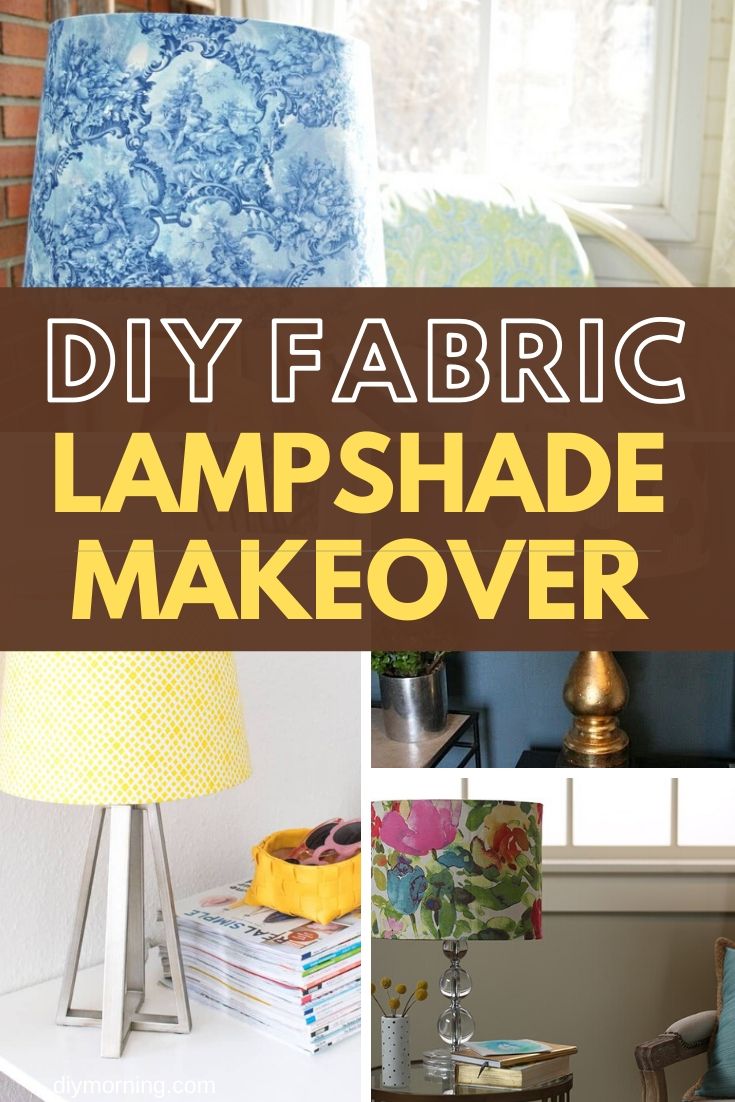
Lampshade Makeover with Fabric
Materials:
- Lampshade of your choice
- Craft paper
- Fabric measuring tape
- Compass
- Pencil
- Yarn or string
- Thumbtack or pushpin
- Scissors, for cutting paper
- Fabric marking pencil
- Sheer fabric, complementary to the color of the lampshade
- Fabric or sewing scissors
- Spray-on fray stopper
- Sewing needle
- Thread
- Narrow ribbon
- Ribbon roses by the yard
- Hot-glue gun and glue sticks
- Extra fabric filler roses
- Plain wide ribbon
Directions:
- To create the fabric lampshade skirt, you’ll need to first make a doughnut-shaped pattern from craft paper that will be transferred onto the fabric. To determine how large to make the template, measure the diameter of the lampshade’s top opening. This measurement will be used to create the “doughnut hole” in the pattern. Draw a circle in the center of the paper equal in size to this measurement with a compass.
- Next, measure the height of the lampshade and add one inch plus the diameter of the first circle in order to draw the second circle. Using the pencil, yarn or string and thumbtack or pushpin, create a homemade version of a compass with a span equal to the size of the second measurement. Draw an outer circle with this compass on the paper, making sure that the thumbtack or pin is centered on the first circle on the paper. Cut along both circles with paper scissors to create the pattern. Outline the pattern with a fabric marking pencil on the wrong side of the fabric and cut it out with fabric or sewing scissors. If you are using a fabric that has a tendency to fray, spray around the fabric with a spray-on fray stopper before cutting.
- Run a zigzag basting stitch 1 inch in from the edge of the center hole. Using a sewing needle, weave a narrow ribbon through the basting stitches to gather the fabric like a waistband. Next, lay the fabric skirt over the lampshade with the ribbon side facing out, pull the ribbon tight and tie it. Clip the ribbon tails to about 1 inch. Turn the fabric skirt over, so that the right side of the fabric faces out, and place it over the lampshade. Adjust the bottom edge of the fabric skirt so that it flares out slightly from the face of the lampshade.
- Attach the ribbon of roses to the fabric skirt around the top opening using hot glue. Fil in spaces around the ribbon of roses with the extra filler roses. Finish with a wide ribbon bow below the roses.
Decoupage Lampshade (Optional)
Give a fabric-covered lampshade a lift with clip art and the age-old technique of decoupage. This low-cost project can be customized to any room of the home. Print out or photocopy desired images from a book or magazine and cut them out. Patterned wallpaper is also a good source for images. Tape the images onto a prepared craft surface, making sure that all sides lie flat. Seal the printed side of the images with one coat of acrylic matte medium.
After the images are dry and flat again, lay out the images on the craft surface until you achieve the desired design. Before gluing the images to the lampshade, be sure the shade is clean and free of dust. Working quickly, apply craft glue with a paintbrush evenly to the back of a cutout image and place it onto the lampshade.
Using a brayer or a bone folder, press out any wrinkles in the paper. Wipe away any excess glue that comes out with a cotton swab. Intricate images will need additional gluing; use a small paintbrush to affix small parts of the image. Repeat gluing process with remaining images. Let glued images dry completely overnight.
Pleated Ribbon Lampshade (Optional)
Satin ribbon and glue are the only two items needed for a pleated ribbon lampshade. The pleated ribbon design works well when placed on a small lampshade with a simple lamp base.
Depending on the width of the lampshade, you’ll need between 2 and 3 yards of ribbon. Starting at either the top or bottom opening of the lampshade, fold over the end of the ribbon, creating a tuck or pocket. Glue the folded part of the ribbon to the lampshade with fabric glue, positioning it about 1/2 inch from the rim of the opening.
Continuing along the length of the ribbon, create accordion-like folds in the ribbon, forming pleats. Glue each pleat to the lampshade, making sure the top and bottom edges of each pleat are even as much as possible.
When you reach the starting point, make one final pleat in the ribbon. Tuck the pleat behind the starting pleat and glue in place. Repeat the ribbon pleating at the remaining opening of the lampshade (top or bottom, depending on where you started).
21+ DIY Lampshade with fabric ideas
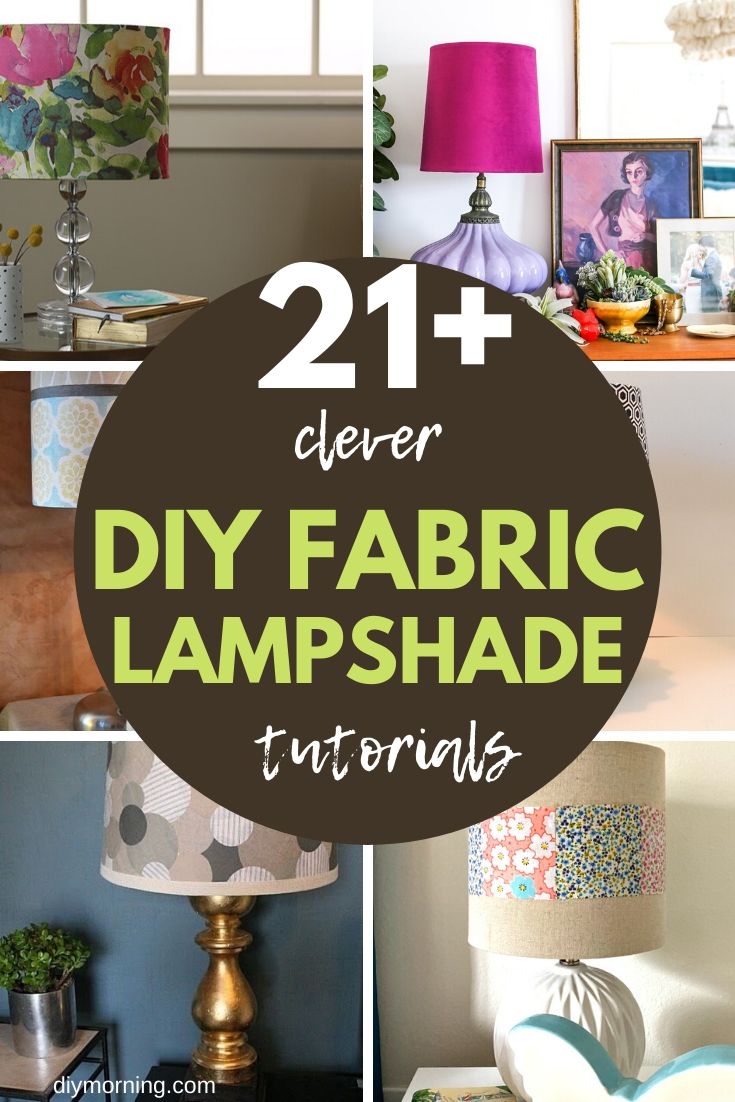
#1.
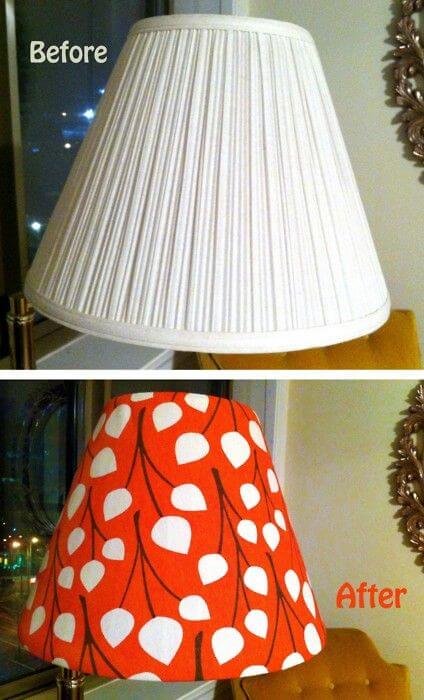
#2.

Source: hometalk
#3. Lampshade makeover with fabric and mod podge

Source: Debbiedoo’s
#4. Fabric covered lampshade
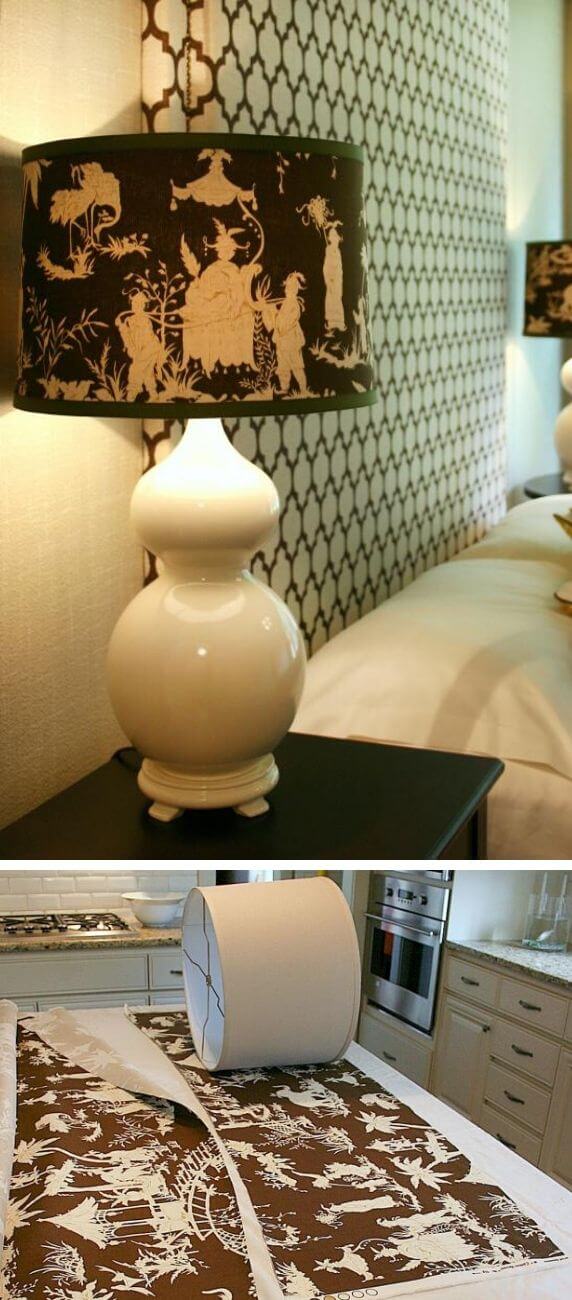
Source: HGTV
#5. Lampshade makeover with fabric scraps
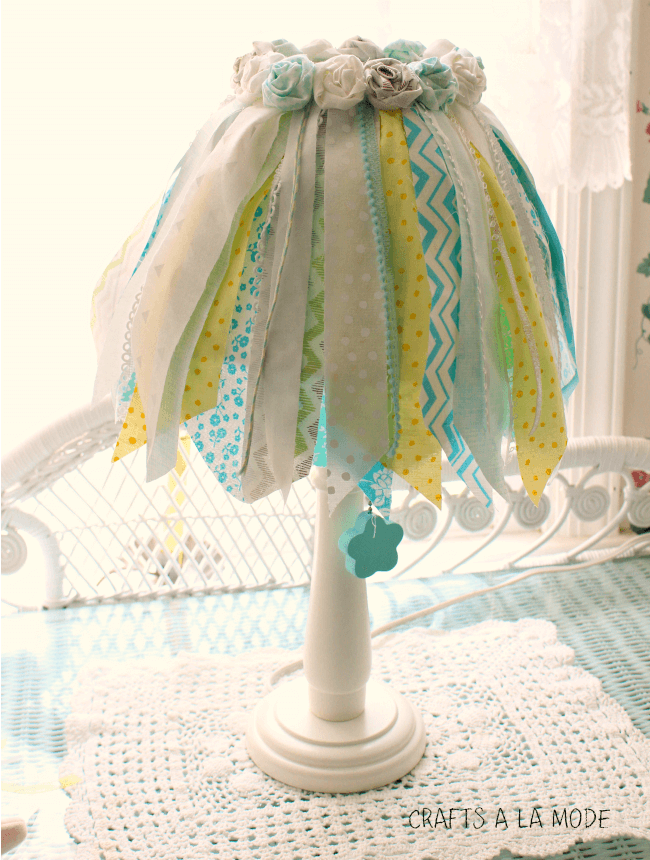
#6. Fabric strip lampshade makeover
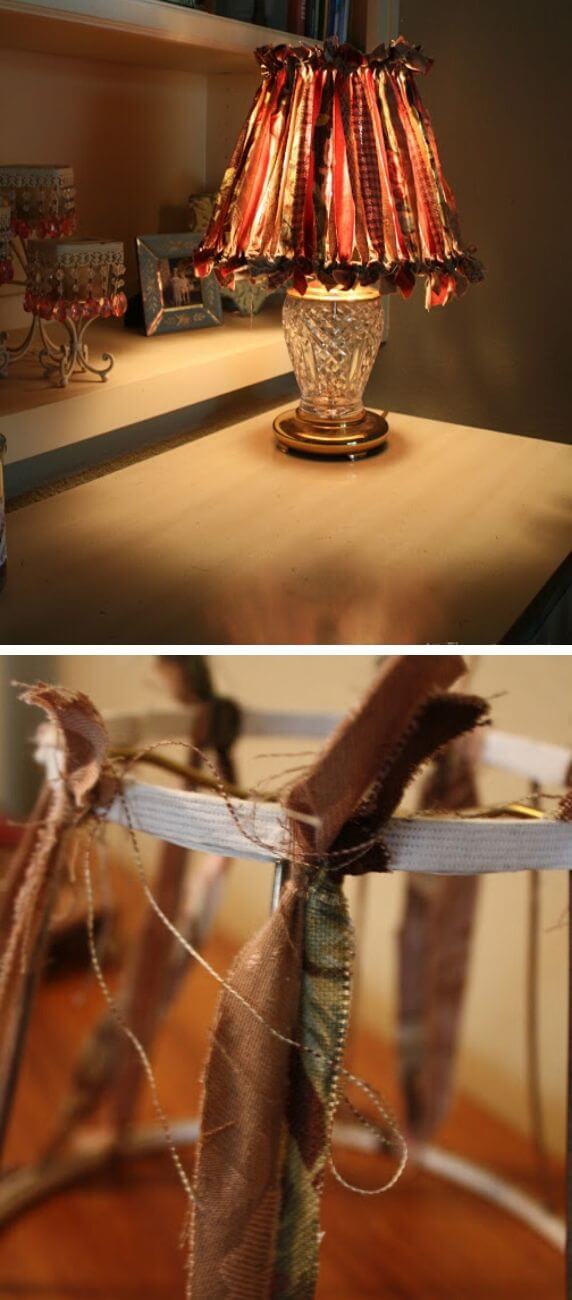
#7. Fabric painted lampshade
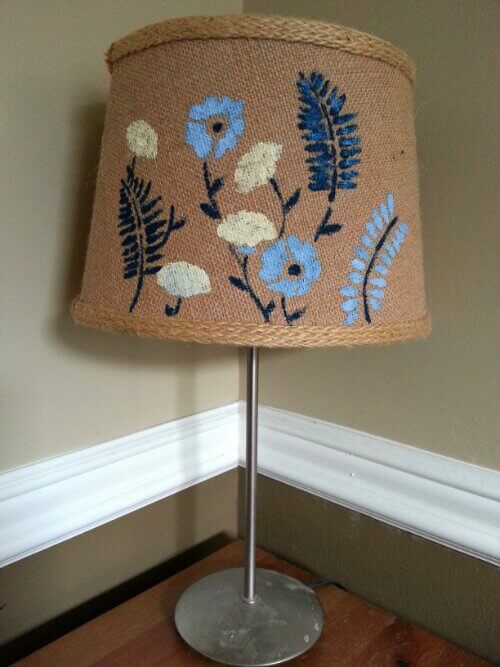
#8. Mod podge

#9. Anthropologie Inspired Lampshade

#10. Fabric Rosette Lamp Shade Makeover
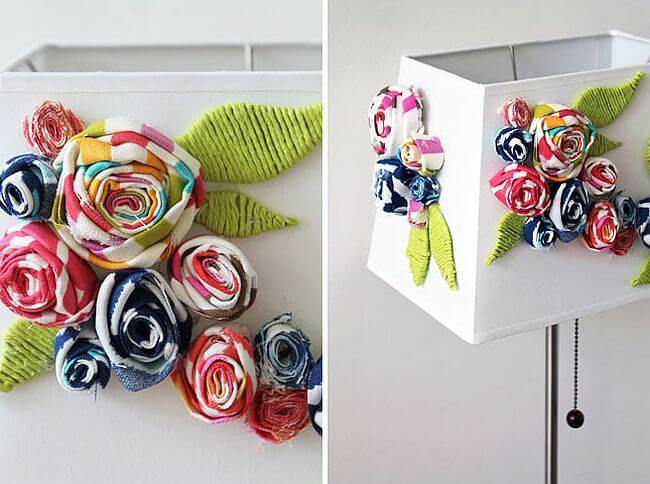
Source: Brit + Co
#11. Lampshade makeover with fabric tutorial
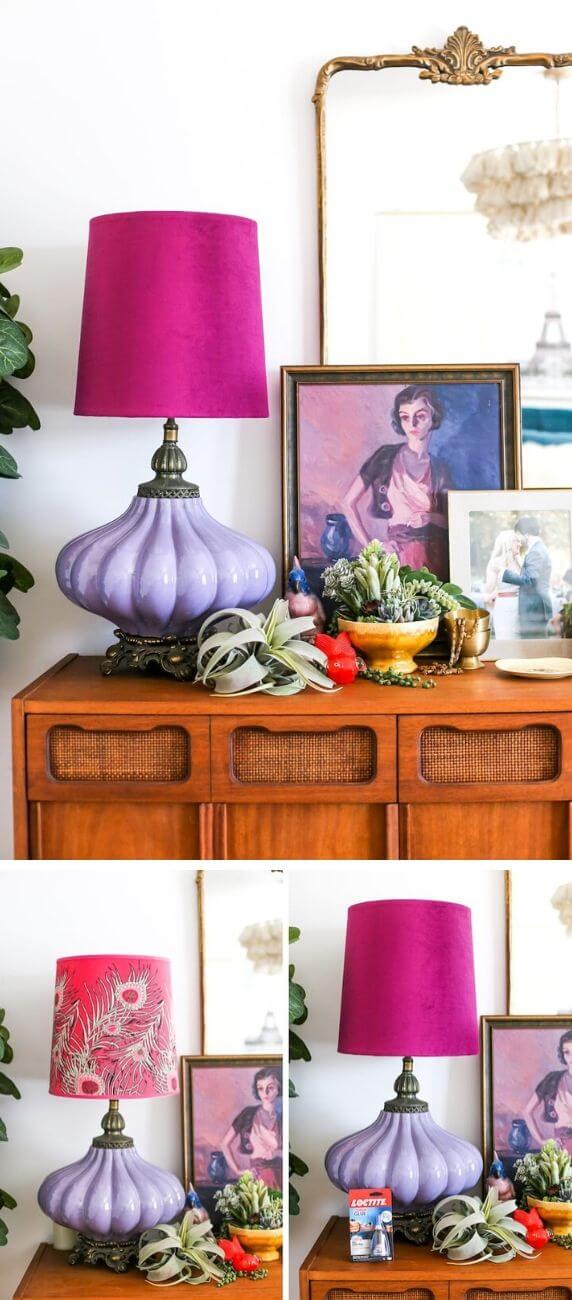
#12. No-sew fabric lampshade makeover
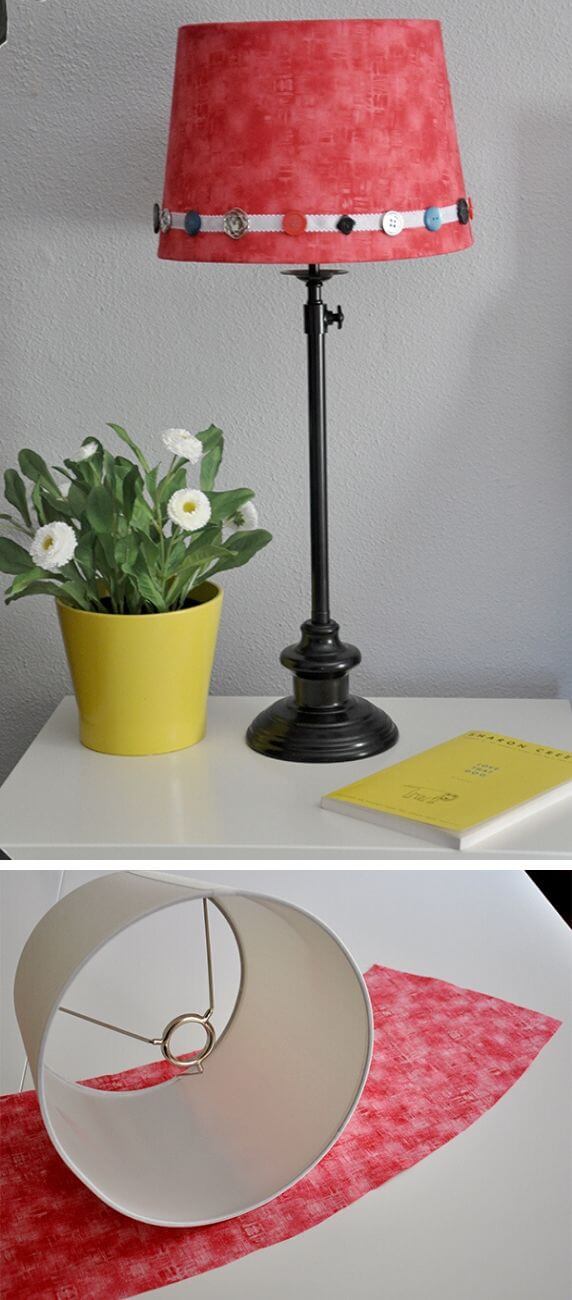
#13. Transform lampshade with fabric

#14. DIY fabric lampshade makeover
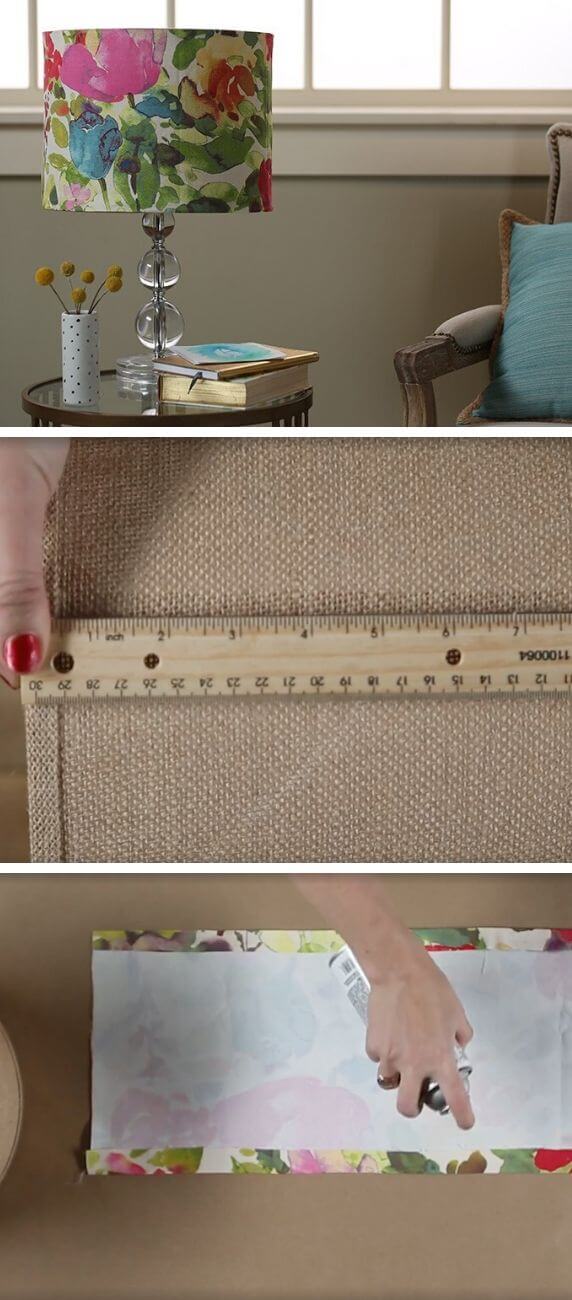
#15. A simple mod podge lampshade

#16. Cheap DIY fabric lampshade
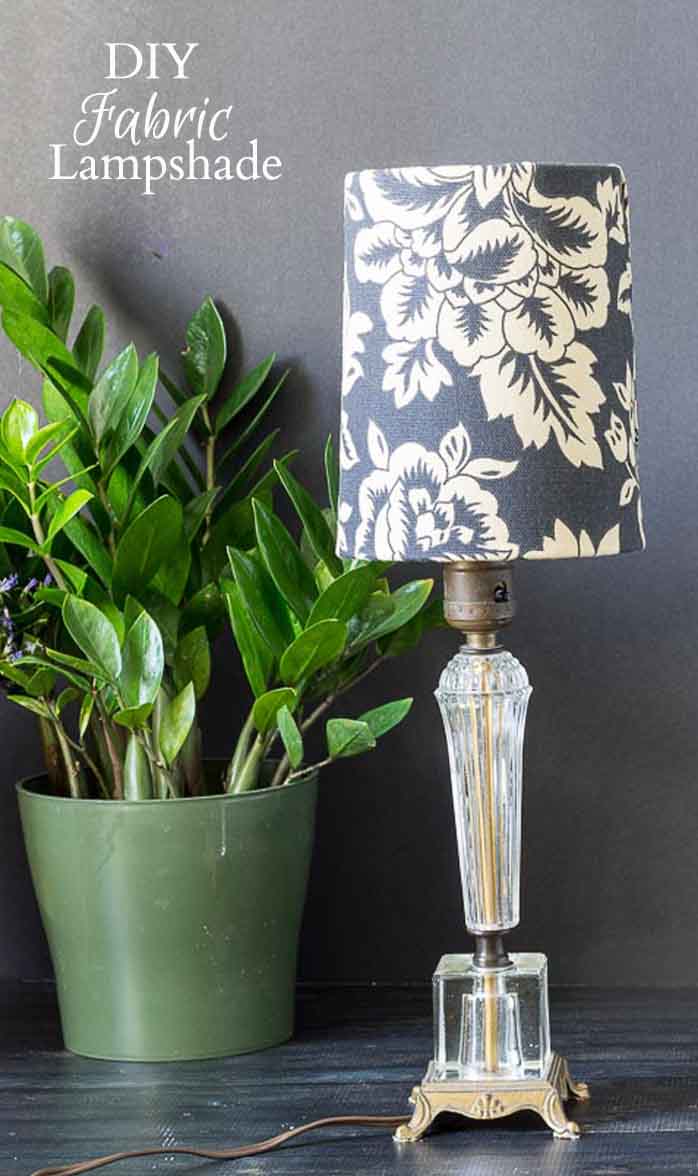
#17. Slipcover a lampshade

#18. Mod Podge Lampshade makeover
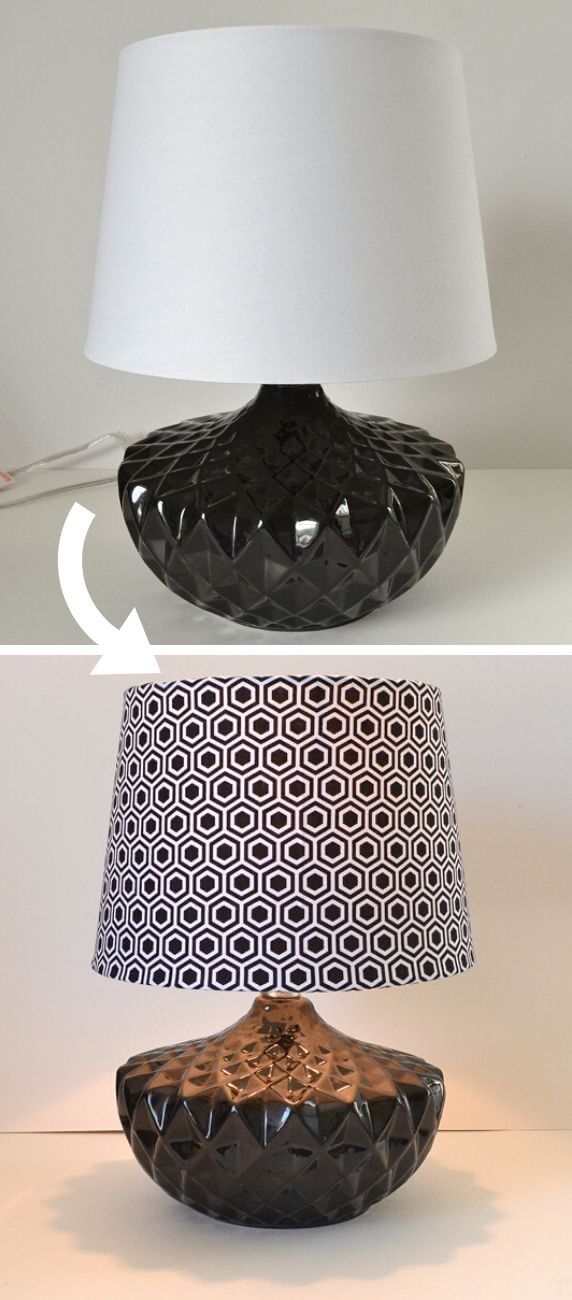
#19. No-sew fabric lampshade makeover
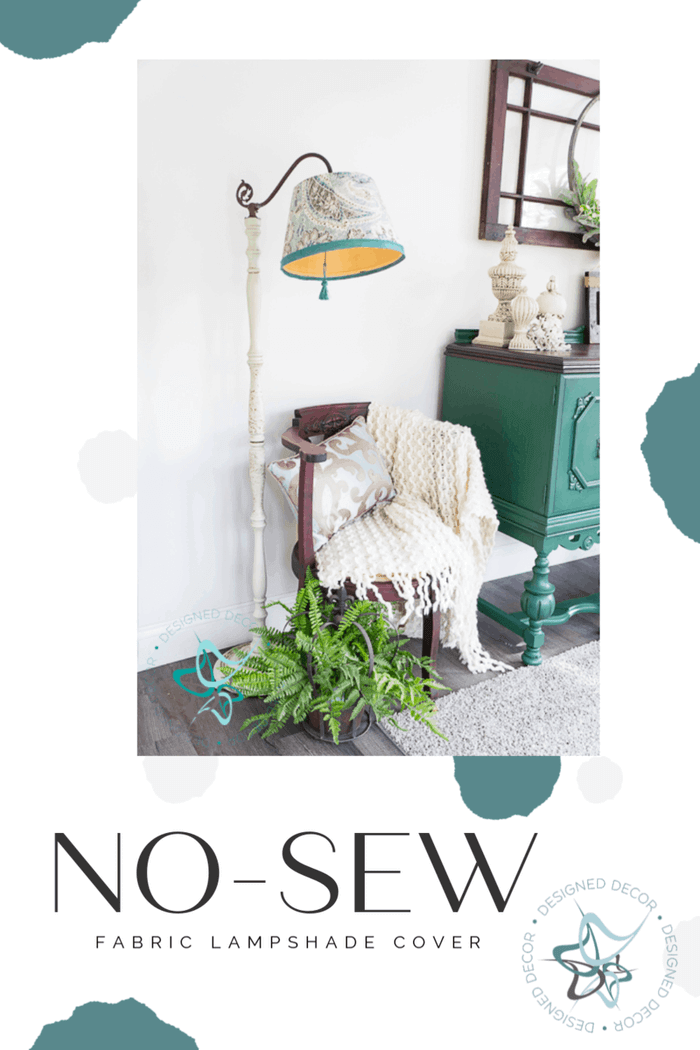
#20. Vintage fabric lampshade makeover
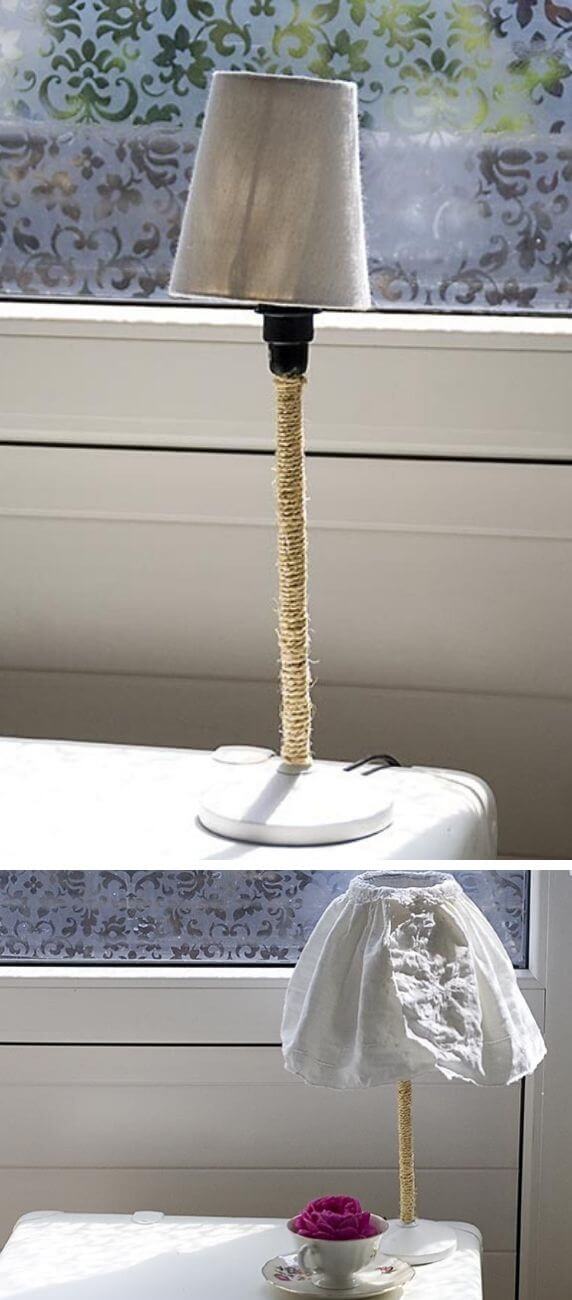
#21. Shabby chic fabric lampshade


