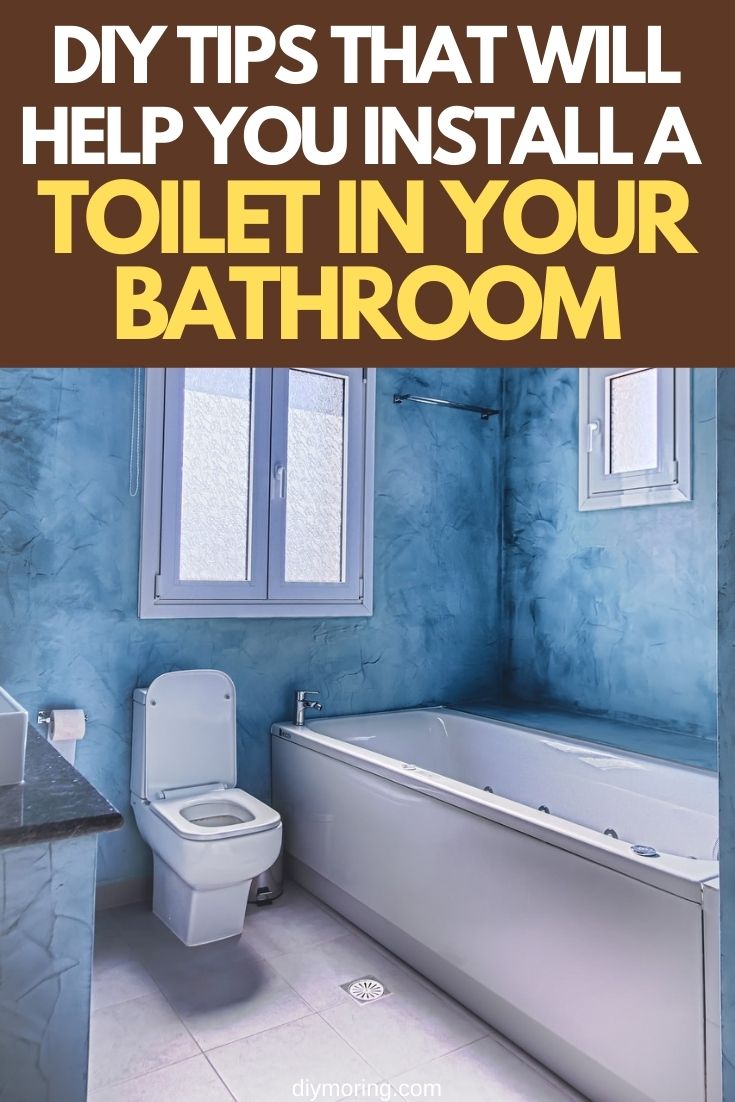
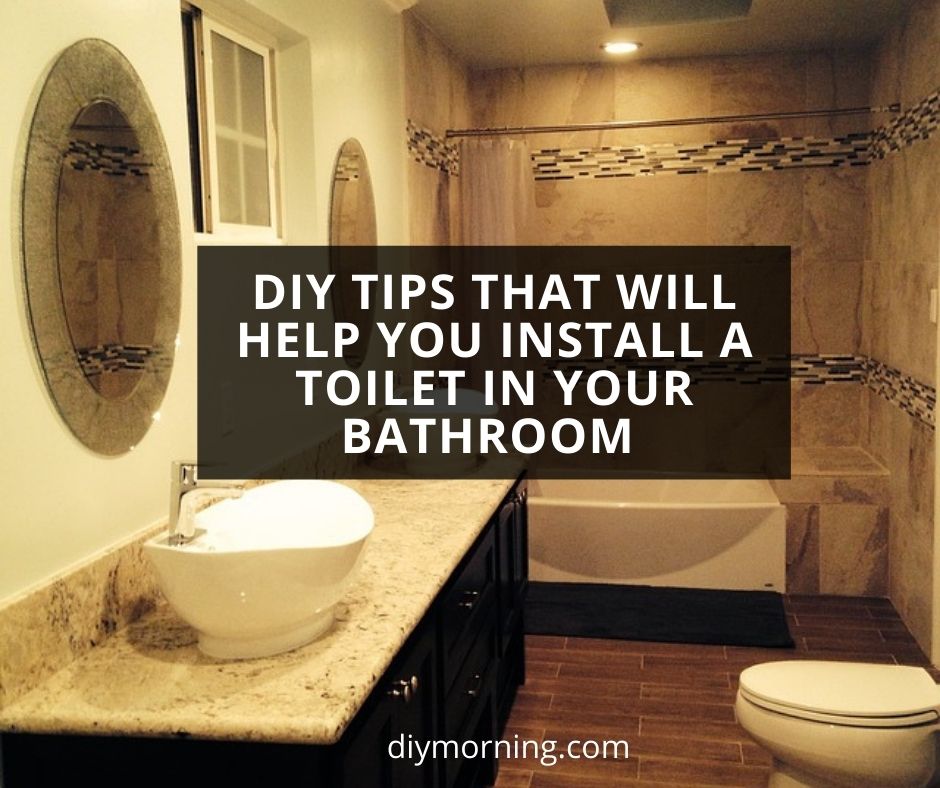
DIY Tips That Will Help You Install a Toilet in Your Bathroom
Whether you are replacing an old toilet or getting a new one, the process of installing a toilet in your bathroom could be a lot easier than you think. You may do it even without any help from a plumber, thus saving you some money.
Many homeowners do it themselves. However, you may need some basics on how to go about your new DIY project successfully. Also, if your never-failing toilet has become old, developed cracks, leaks, or uses a lot of water per flush, then it is time to replace it and install a new one.
This post is going to teach you DIY tips that will help you in the whole process of installing a toilet in your bathroom. Let’s dive right into it!
Table of Contents
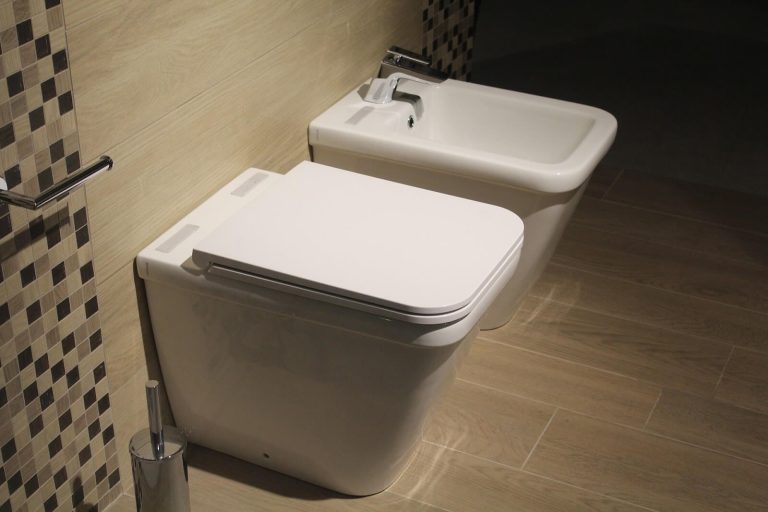
Choose the Right Toilet
The first and most important step is to choose the right toilet. This means choosing the right fit for your bathroom as well as your specific needs. In a recent post at toiletable.com/toilets/american-standard-toilets/best-american-standard-toilet, Tyler White points out that when purchasing a toilet, you need to put several factors into consideration. In addition to the toilet’s dimensions, some of these factors include:
- Comfort
- Flushing mechanism
- Durability
- Water usage
- Is it eco-friendly and economical?
- Dual vs. single flush
Once you choose the right toilet for your bathroom, installation can be done DIY with much ease. Nonetheless, it is always best to involve a plumber for the best results. However, it is easier if you are installing the toilet onto already existing infrastructure.
Prep the Floor
If the sewer drain pipe is exposed, start by stuffing an old piece of cloth or rug onto its top to keep off the smell from filling your bathroom and also from dropping anything down the pipe.
Begin by inspecting the flange on the floor and use a putty knife to get rid of any accumulated gunk and old wax. Go on and remove the old closet bolts as well.
If the flange is damaged or cracked, replace it outright or use a flange repair ring to reinforce it so that it strongly holds the bolts on the floor. Once complete, now it’s time to reattach the new flange to the floor with screws and you are all set for the next toilet installation phase.
Attach the Toilet
You are now getting ready to attach your new toilet. But before that, start by sliding your new closet bolts into the flange and ensue you tighten them up properly. Remember to place the new toilet upside down or on a piece of cloth to prevent it from getting scratched or scratching the floor.
Place the new wax ring firmly onto the bottom of the toilet bowl, make sure it stays in the position, and don’t press too hard-it may get damaged. Lower your new toilet over the flange and close the bolts. Note, you should make sure that everything is aligned up properly.
Moreover, note that the wax ring is fragile and if not handled keenly, it may crack thus causing leakages. Also, don’t forget to use bolt washers, they make the toilet more secure on the floor compared to using just the bolts.
Attach the Tank and the Supply Line
Attaching your new tank to your new toilet bowl can be done by following these two simple steps. Ensure the rubber gasket between the tank and the toilet bowl is in place, and then attach the bowl using the two bolts provided.
Then continue and hand tighten the bolts the same way you hand tightened the closet bolts on the floor. Use an adjustable wrench to tighten the bolts, and again, be careful not to crack your toilet tank.
Check for Leaks
Using a wrench, reattach the toilet water supply and ensure it is tight enough. Now it is time to check for any possible leaks in your toilet system.
Turn on your water slowly while keenly observing any leakages in the following areas, the joint connecting the toilet tank and the water supply, the connection point between the tank and the toilet bowl, as well as underneath the toilet.
Consider flushing up your new toilet up to 6 times on the row to make sure it doesn’t leak before attaching the toilet seat. If there are no observable toilet leakages, then congratulations! You have successfully installed your new toilet.
Seal the Base of the Toilet with Caulk
Wrap up your toilet installation project by sealing around your toilet base with a silicone caulk. Note, to be extra sure there are no leaks on the base of your toilet, it is always wise to use it for two to three days before sealing it with silicone caulk.
If there is any leak, then you will be having an easy time to rectify it. Once you are sure that the base of your toilet is waterproof, then you can proceed and apply the silicone caulk and sum up the project. While applying the caulk, you may use your fingers to create a smooth seam of caulk around your new toilet.
Now you know the coolest DIY tips that will help you install a toilet in your bathroom. Remember, knowing how to install a toilet in your bathroom by yourself will be a huge advantage as you will not incur any additional costs of hiring a plumber. Good luck!