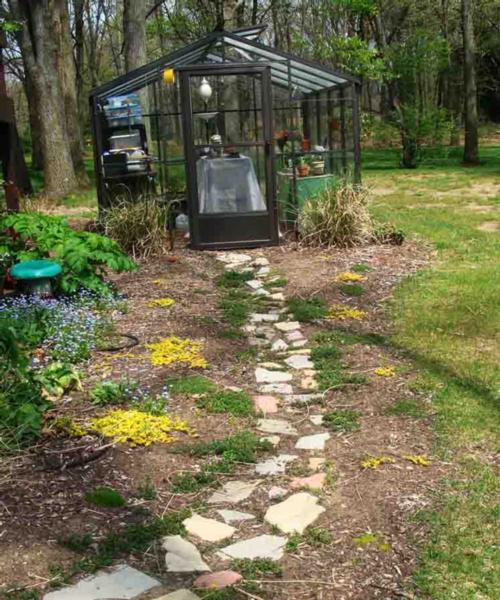
How to Install a Rustic Stone Path in a Cottage Garden
Installing a stone garden path yourself requires a some time and physical effort, but very little money or expertise. A less-than-perfect result adds charm, and any flaws in stone spacing can ultimately be hidden by ground-hugging plants used to fill in the cracks. Here’s an explanation of the steps involved, with related photos at the end of the article.
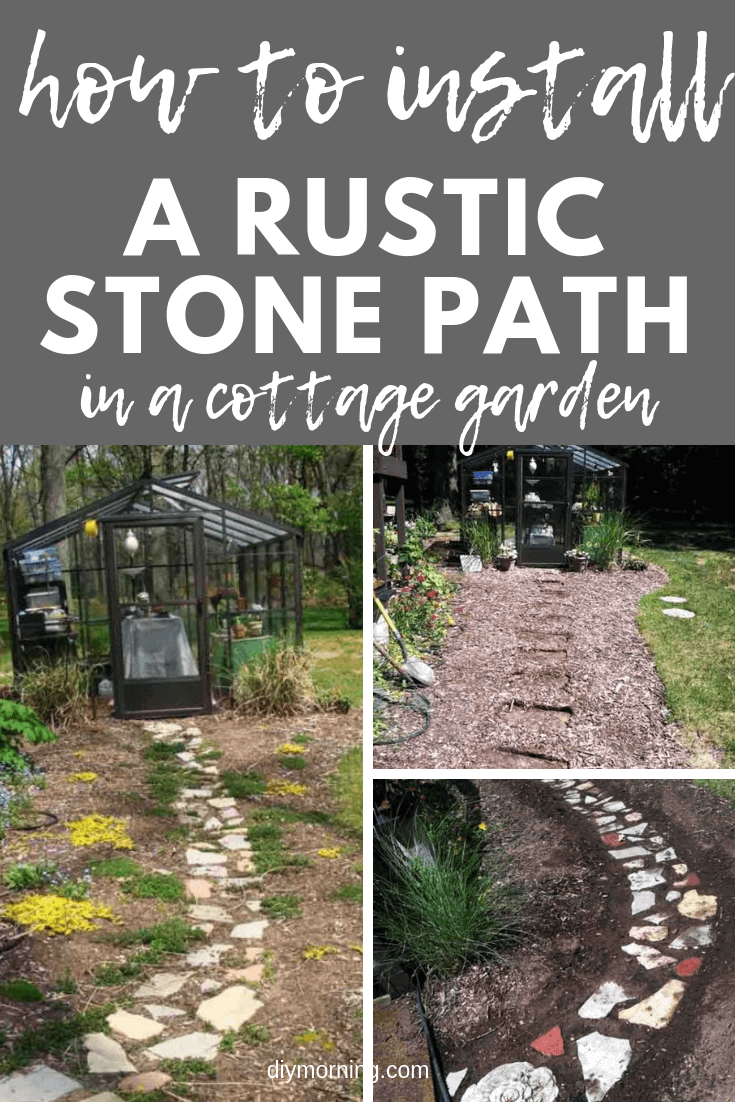
Table of Contents
Tools Required to Build a Stone Garden Path
- can of white paint
- shovel
- large plastic tub or tarp to hold soil
- a variety of stone and bricks
- low-growing plants or plant seeds
Steps for Building a Stone Garden Path
#1. Paint an Outline
Use a paint to spray an outline of where the path will be. Having guide lines will make it easier to achieve the end result that you envision.
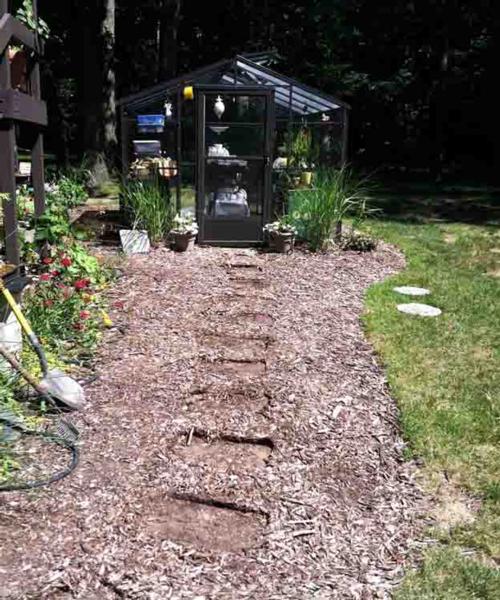
#2. Remove Soil where Path Is to Be Laid
The amount of soil you remove depends on the thickness of the stones used for the pathway. When the path is completed, the surface of the stones must be level, or slightly above the soil. For the path pictured below, about 2 inches of soil were removed across the entire garden path area. Place the soil in a large plastic garden tub, or on a tarp, so that it will be easy to use later when you need to fill in the cracks between stones.
#3. Prepare the Stones
If you have large stones, break then into smaller, uneven pieces. This can be achieved by dropping larger, brittle stones (such as slate) on concrete from a a height of a couple, or by using a hammer to strike the stone. The goal is to get a variety of stonesizes. A good rule of thumb is to have some stones that are about the size of your hand, some 2x that size and some 3x. This method will result in some very small pieces that need to be discarded. Although bricks are thicker than the 2″ depth mentioned here, a few bricks add interest to the pattern. Just dig the holes for bricks a little deeper.
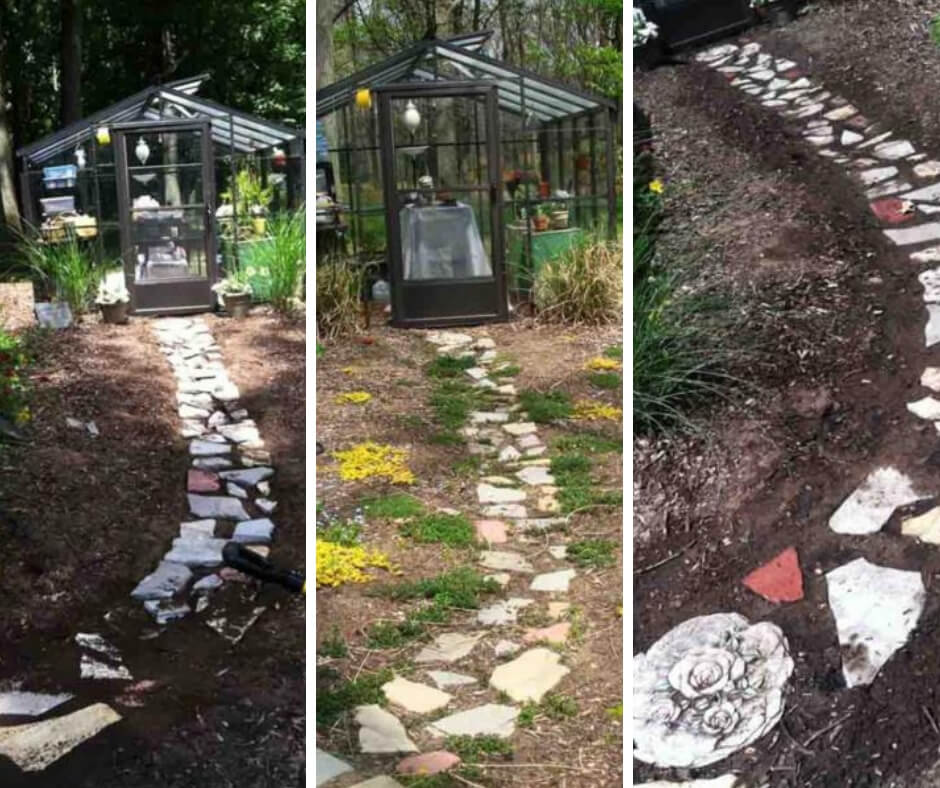
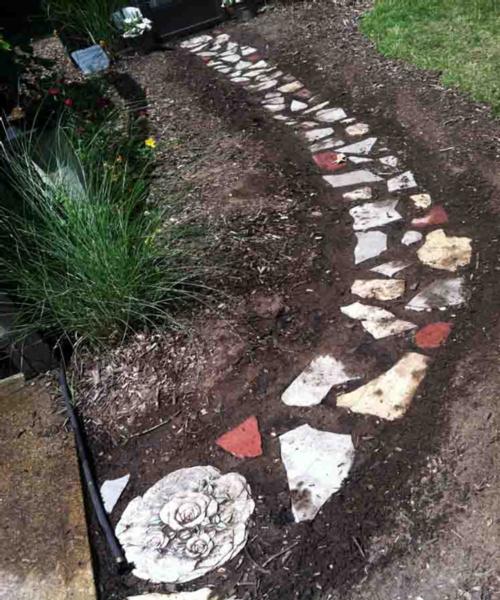
#4. Lay the Stones
This takes a little time and finesse. It’s like putting a puzzle together in which the pieces do not fit together precisely. You’ll want some gaps show between all of the stones.
#5. Level the Stones
If some of the stones are slanted once laid on the ground, or if some are sticking up too high, make adjustments to the soil beneath. Some soil may need to be removed. In other instances, if a stone is not laying flat, the soil beneath it may need to be shifted.
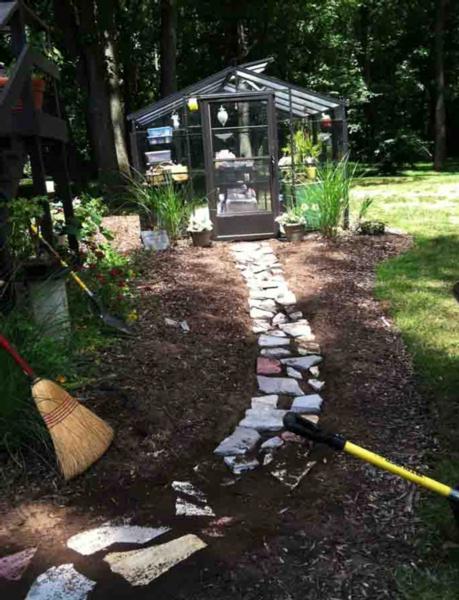
#6. Replace the Soil
When you are satisfied with the arrangement of stones, begin filling in the cracks with the soil you set aside earlier. This is also a time consuming process. Add soil on top of a group of stones. Then use a broom to distribute the soil across the stones so that the it falls evenly into the cracks. While doing this, walk over the are to compact the soil. This will help set the rocks in position. Repeat until all cracks are filled and the stones are reasonably well anchored.
#7. Spray Pathway With Water
Soak the entire pathway with a gentile spray of water. This cleans off the stones and helps settle more soil in the cracks. If you see any areas of the pathway where water pools, you will want to raise that section up by adding soil and relaying those stones.
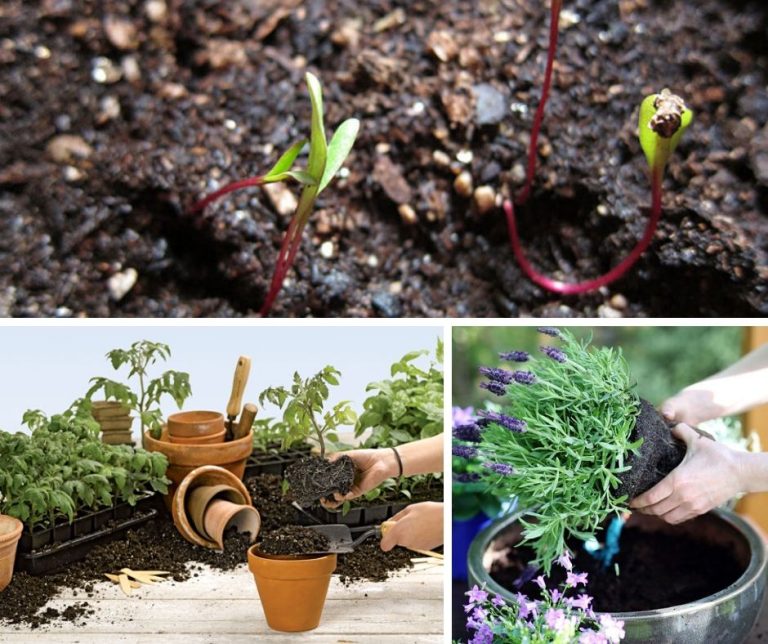
#8. Plant
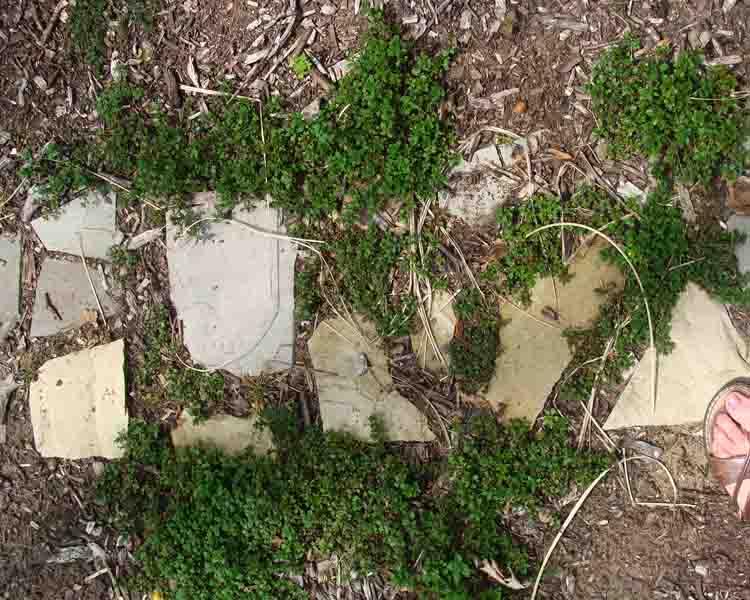
Ground-hugging plants can be placed on the border of the path. They will spread and move into the pathway over the course of a few growing seasons. Creeping thyme plants can be purchased and divided into smaller sections for planting between the stones. Creeping thyme seed can also be strewn over the pathway, and will ultimately result in in thick growth between the stones. Having plants growing in the cracks of the pathway helps to further anchor the stones and prevent soil from washing away.