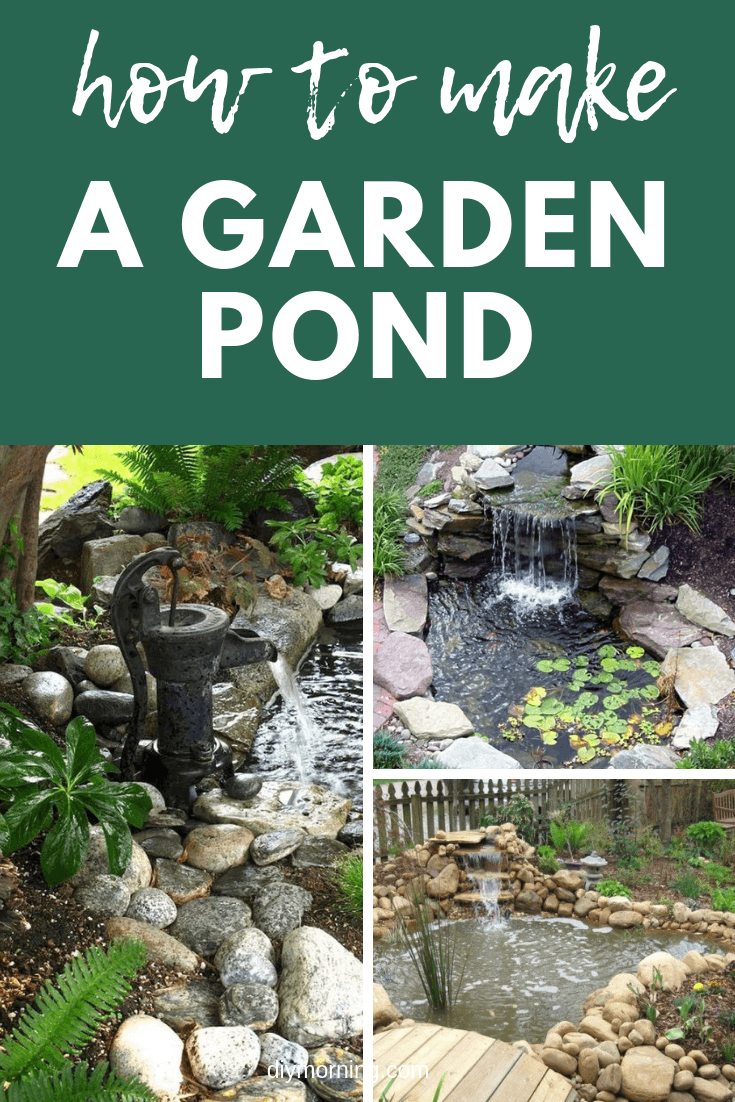
How to Make a Garden Pond
Simple steps to make a garden pond with useful hints and information.
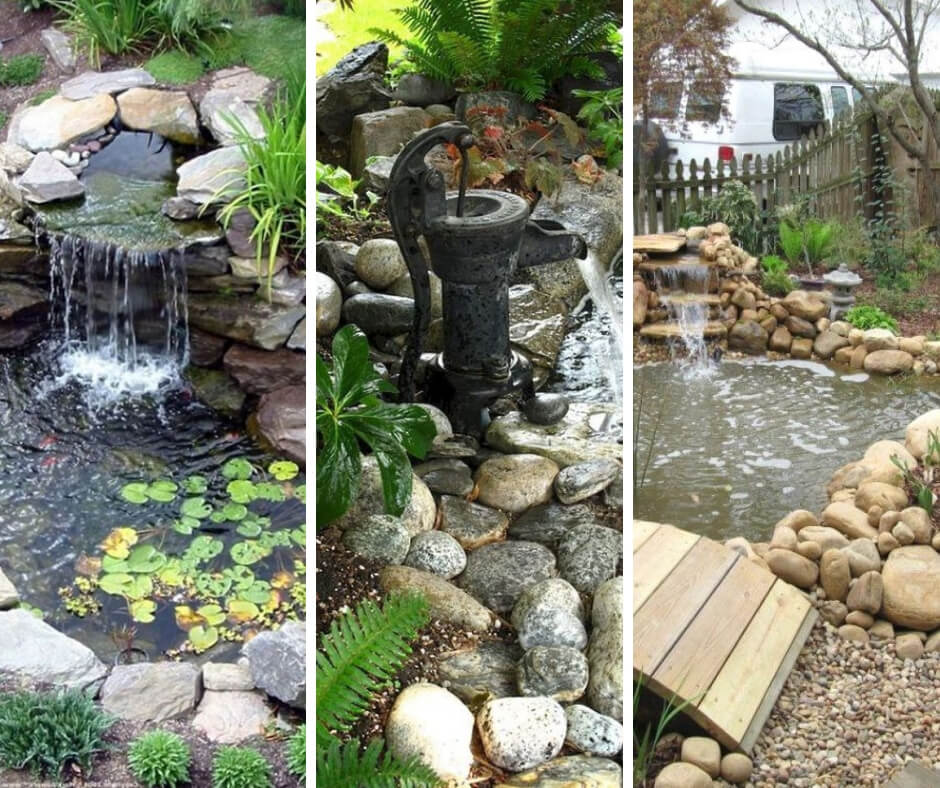
It is not difficult to make a pond for the garden. First decide on a design, then start digging, lining and planting to be rewarded with a decorative and calming garden feature.
Table of Contents
Choose a Pond Design
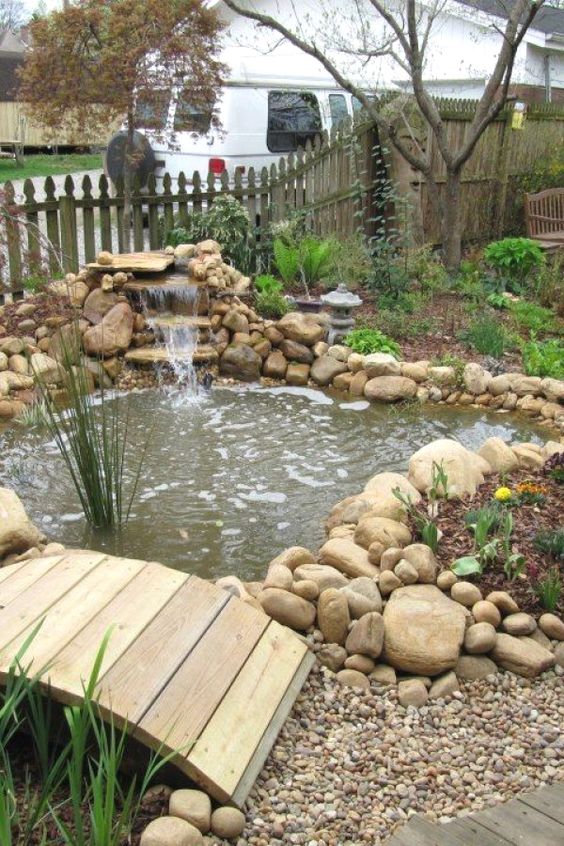
To choose a pond design look at garden magazines and books and choose what design appeals and what will blend in well with the current garden scheme. After this the hard work of digging begins.
Digging the Pond
Use either fluorescent spray paint or mark out the shape of the pond with rope, string or a garden hose.
Dig the edges of this design first then, if digging a grassed area, cut shallow squares using the spade and remove the turf in stages.
Then start digging to the required depth. A pond that is to be stocked with fish should be at least 18 inches (45cm) deep at its center. Allow a shallow shelf around the edge of deep ponds so that shallow water plants (marginal plants) can be grown.
Choosing a Garden Pond Liner
Preformed plastic liners are an easy option but give less variety of shape. They can be bought at garden stores and/or garden landscape suppliers. The fibreglass liners will last longer then plastic but will cost more.
Flexible liners can be bought by the yard (meter) so the pond can be made into any shape required. The most expensive and longest lasting of these is made of butyl rubber. It can last between 20 to 50 years. PVC is a cheaper option but will only last for up to 15 years.
Most pond liners come in black which gives the pond an illusion of depth. For a shallow look white can be used but will need to be kept very clean to keep the look right.
How Much Liner to Purchase for the Pond
Measure the length and width of the hole. To each of these measurements then add twice the depth of the hole. The result will be the length and width of pond liner to buy, allowing for overlap
Installing the Garden Pond Liner
A sunny day is best for installing a flexible liner as it will be softer with the heat and easier to manage.
Stretch the liner over the prepared hole, leaving an overlap of at least 6 inches (15cm) all around the edges.
Place stones around the edges to weigh the liner down.
Fill the pond with water, pushing and tucking the liner into creases and corners as the water level rises. It may be necessary to stand in the pond to do this. Remove shoes so as not to damage the liner.
A preformed pond can be placed into a hole dug roughly to the same shape as the pond. Fill soil back into the spaces left open from digging and tidy around the edges by stamping down on the surrounding soil. Make sure the pond edge is at the same level as the lawn, not below or sticking above the lawn.
Hiding the Edge of the Garden Pond
If using paving stones lay them so there is an overhang of about 2 inches (5cm). This will hide the top of the liner from view.
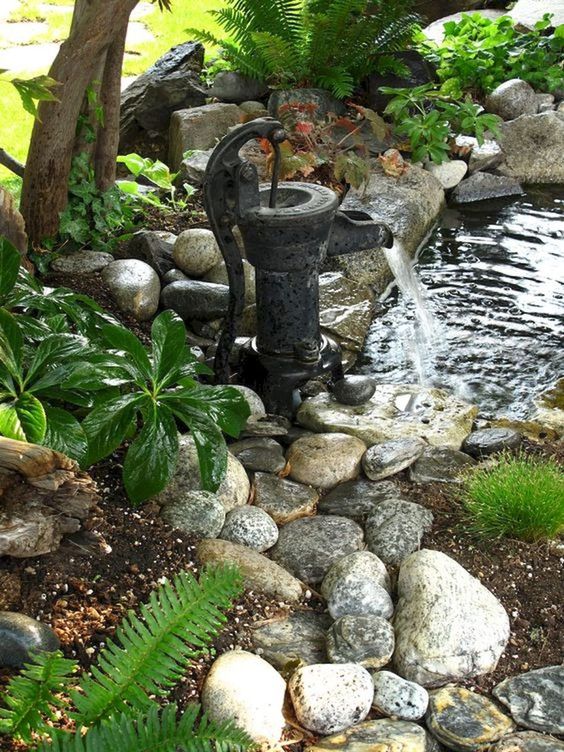
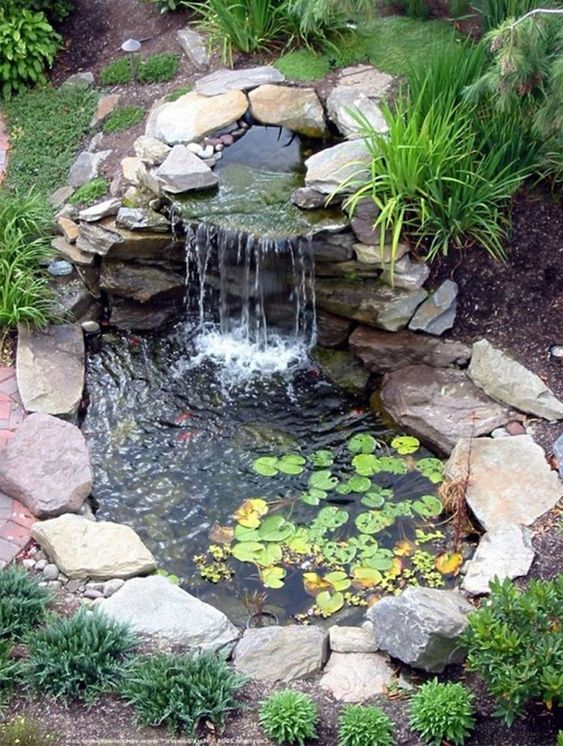
For a natural garden pond choose river stones to create a natural pond edging.
The choice of edging is wide but choose long lasting materials that will not become slippery when wet.
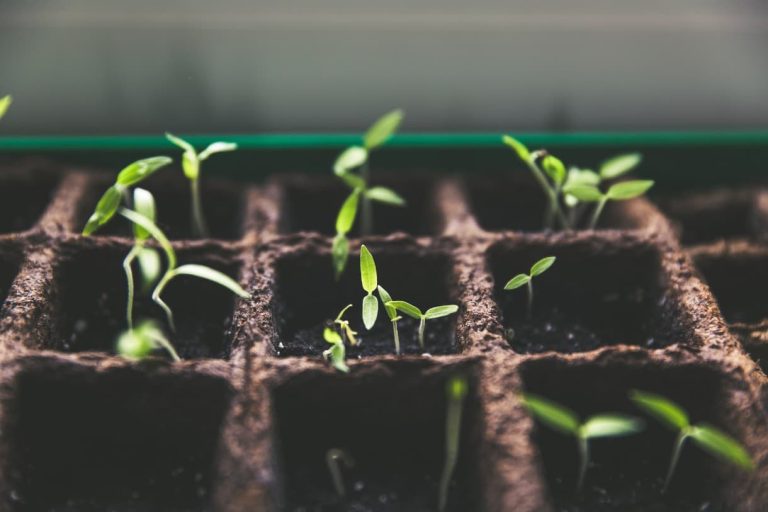
The Garden pond is now ready to plant. It is best to let the pond sit for at least a week before planting. This will also give the gardener time to plan and select suitable plants.
Making a garden pond is not as difficult as might be expected. Get out the spade, add a liner and edging and create a new feature for the garden.