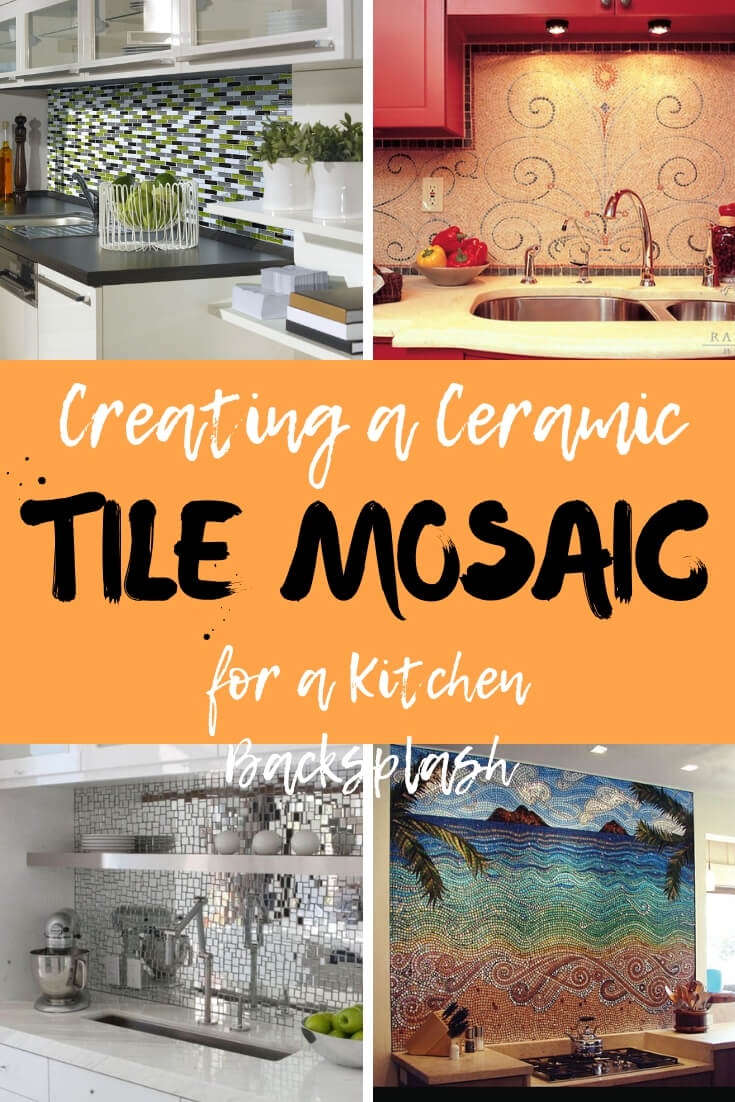
Creating a Ceramic Tile Mosaic for a Kitchen Backsplash
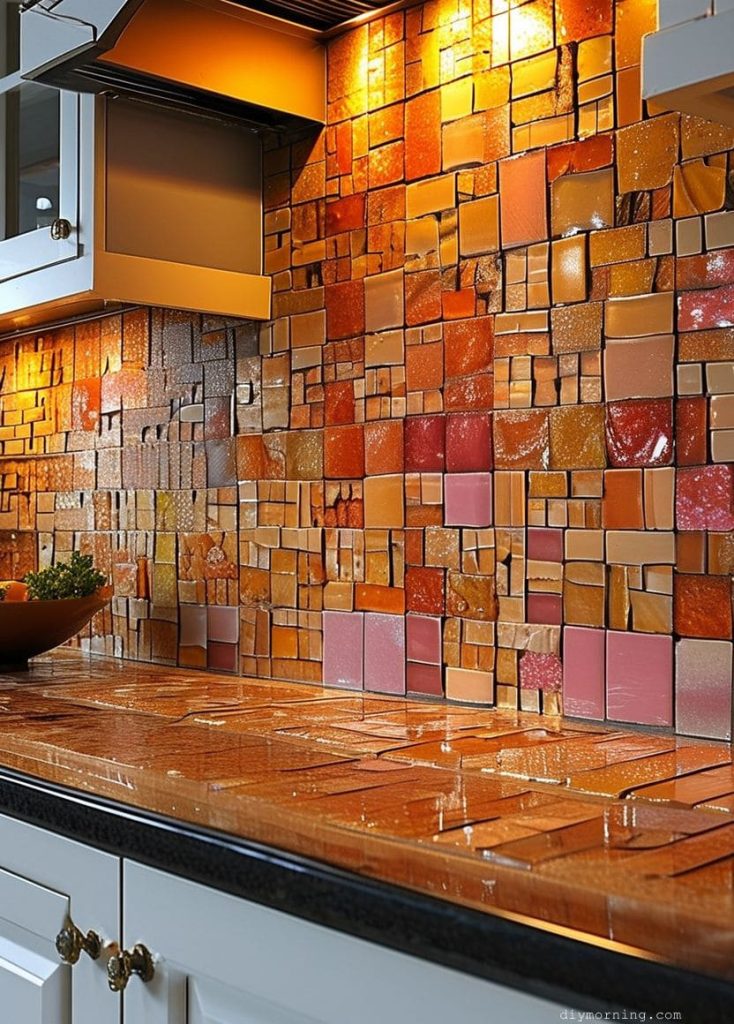
Enhance kitchen design by creating a unique and colorful mosaic backsplash using ceramic tiles.
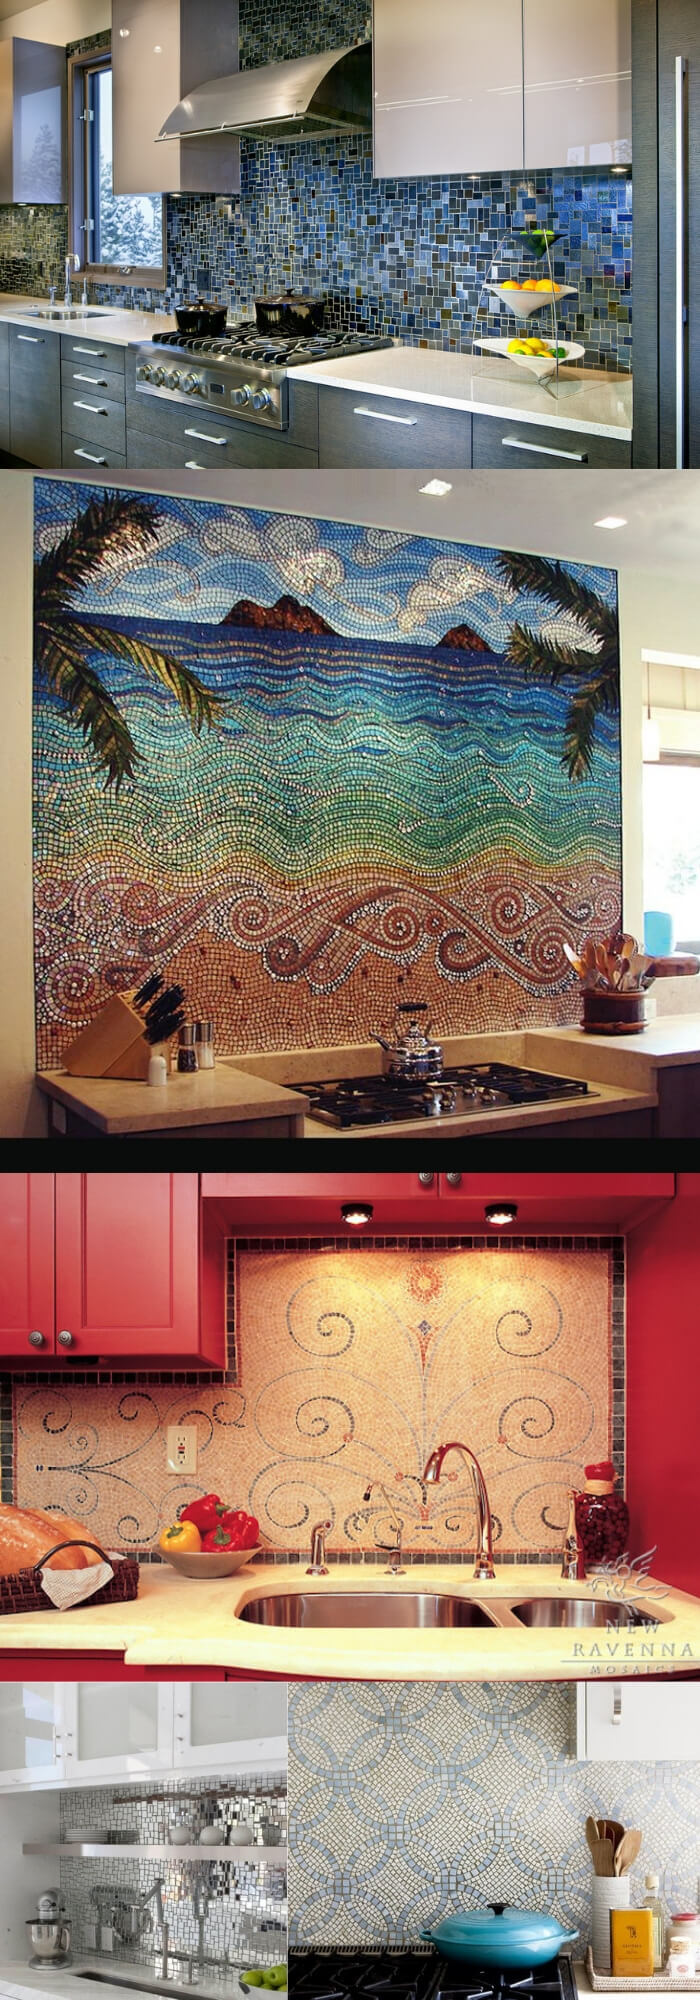
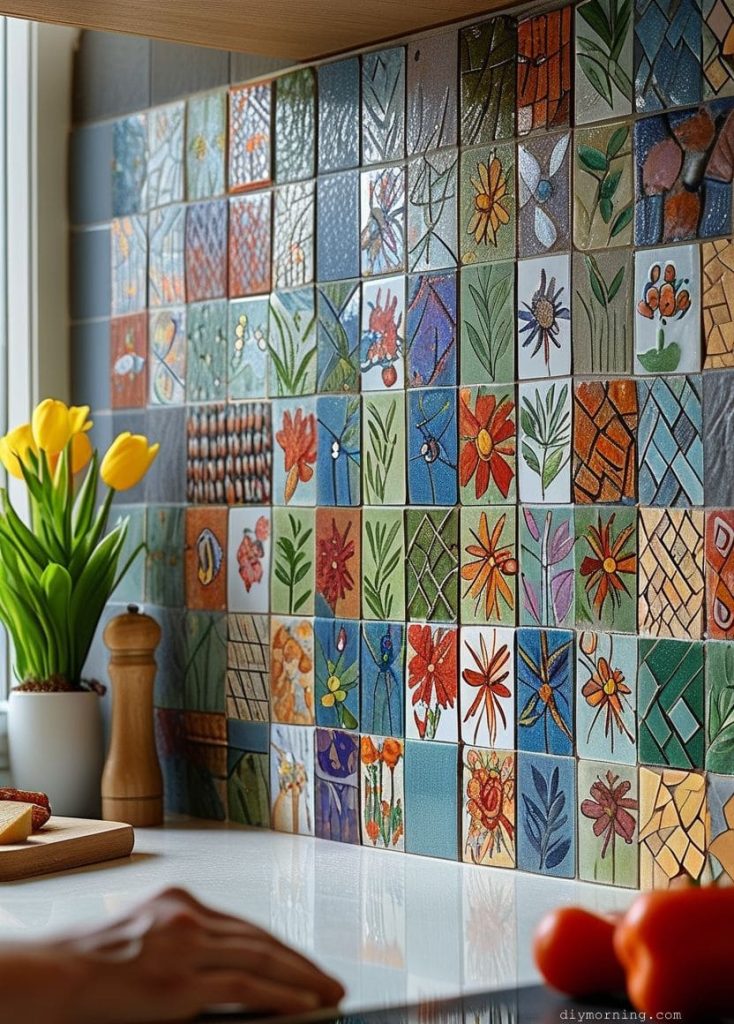
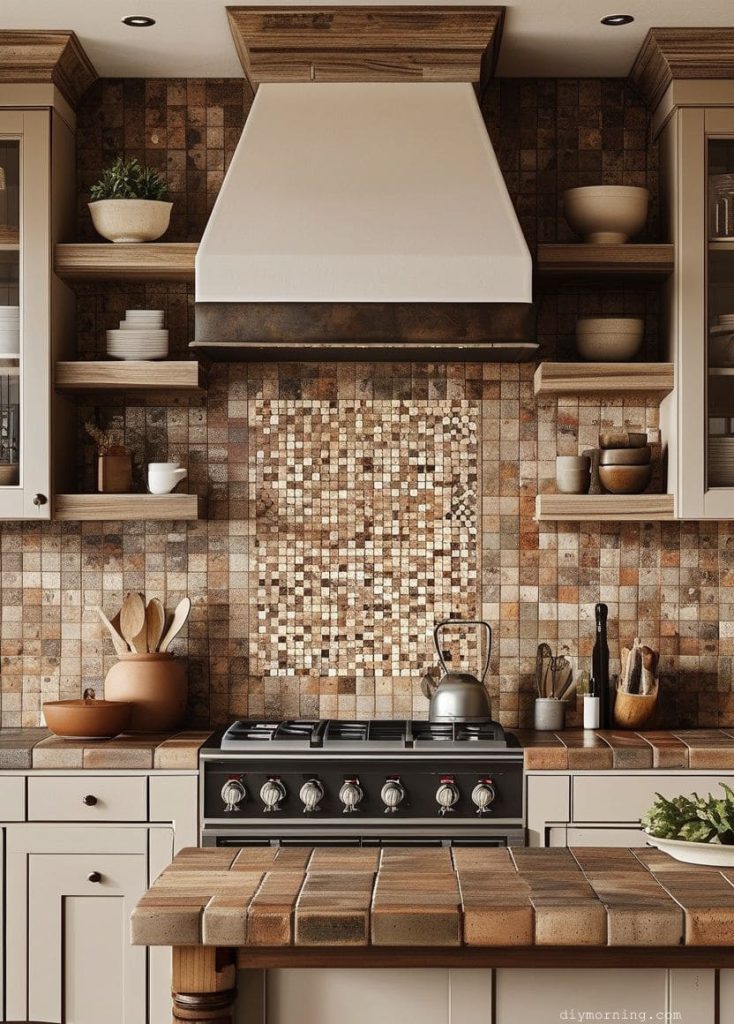
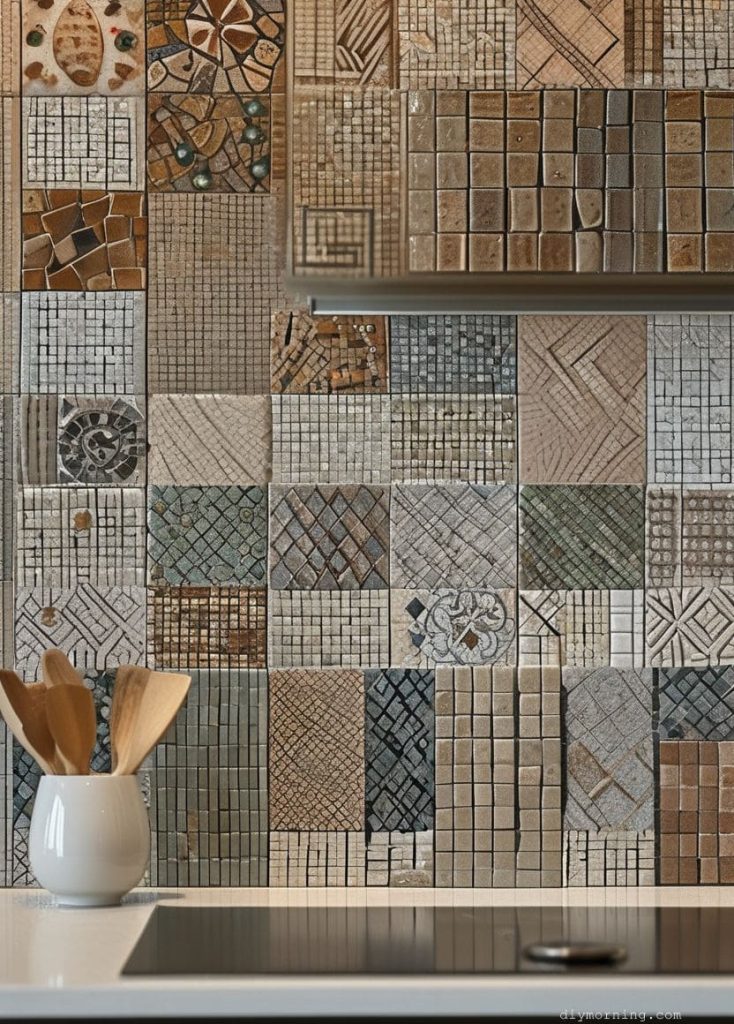
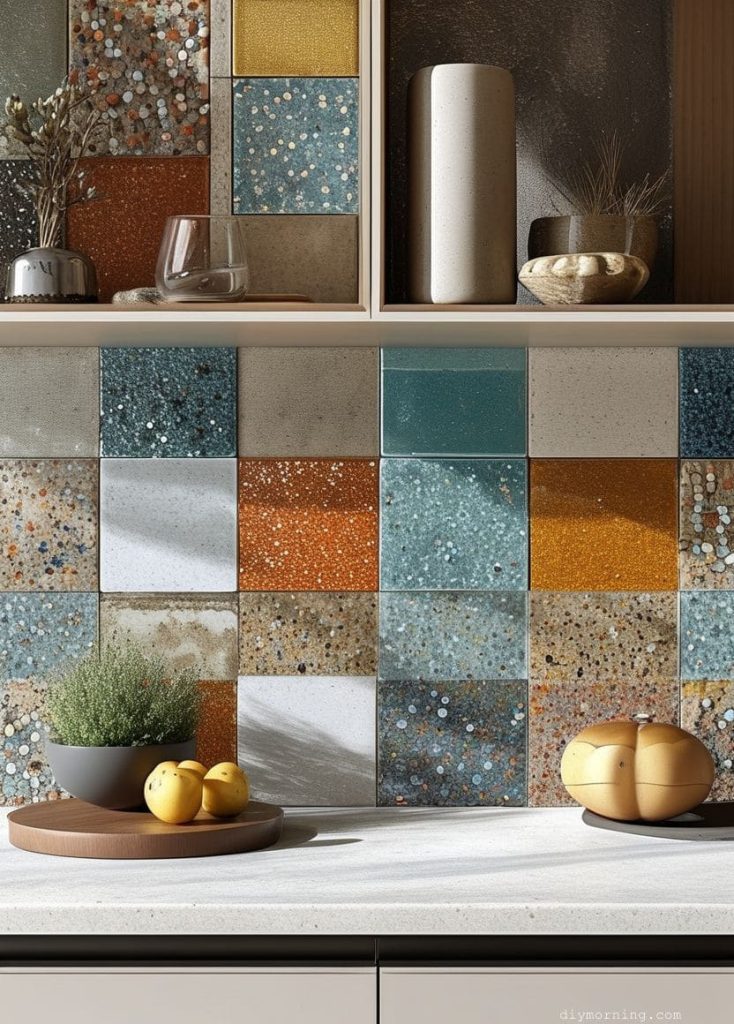
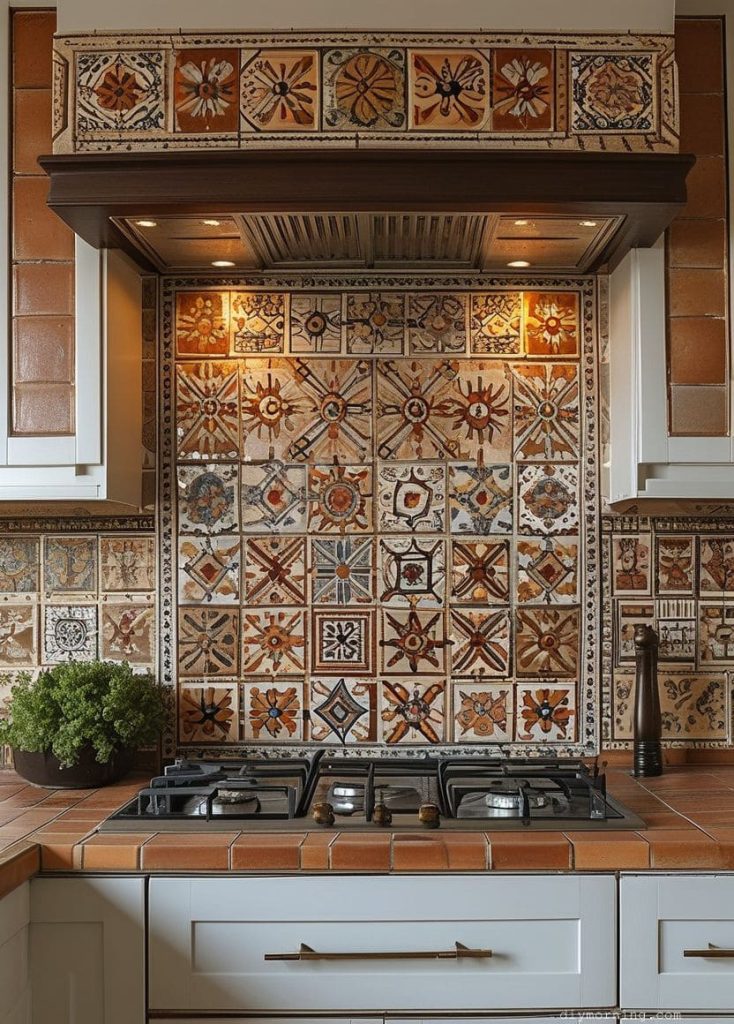
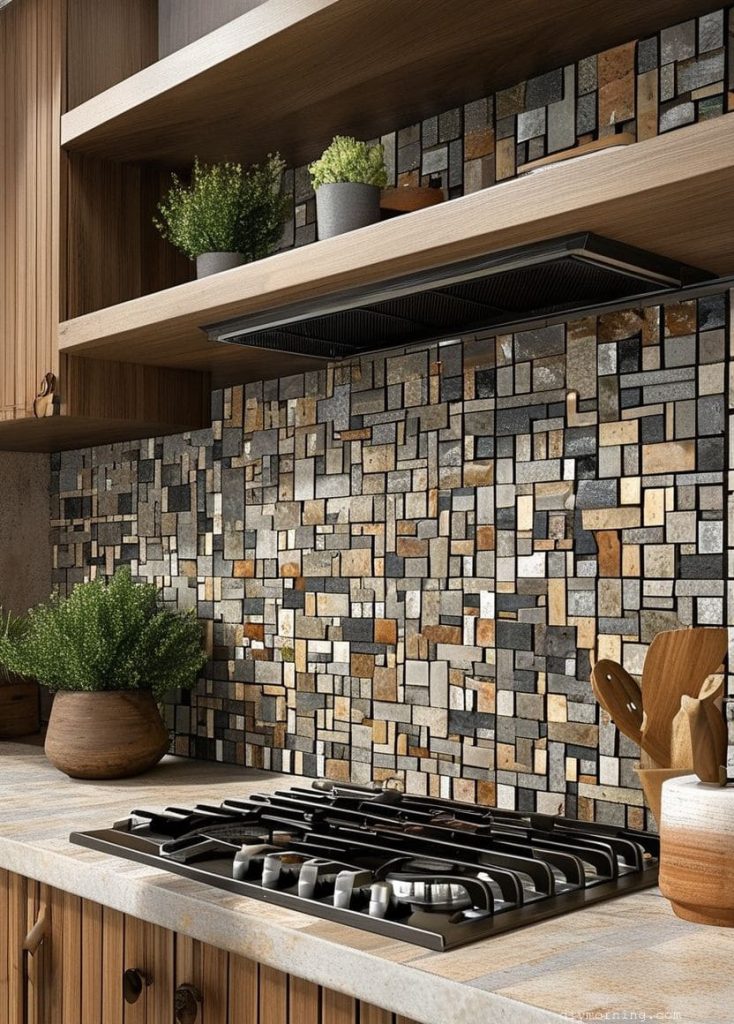
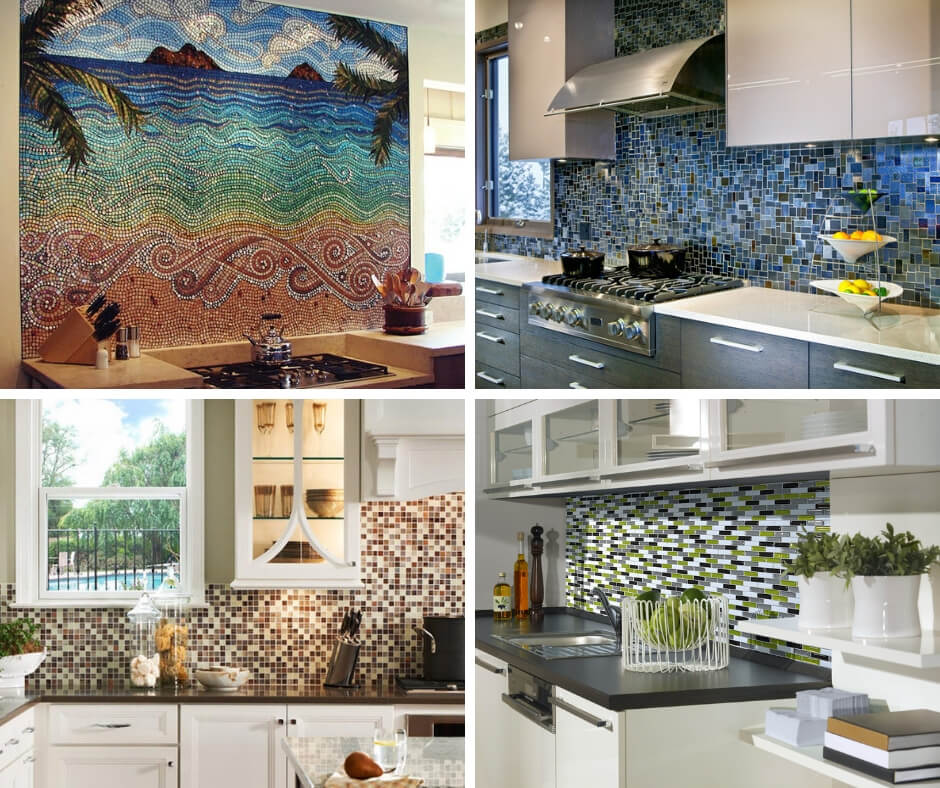
Tile mosaics provide endless design possibilities for interior decorators. A mosaic backsplash can be subtle and understated or vibrant and distinctive. By creatively utilizing tile, home owners can create original designs that will add charm to a kitchen.
Table of Contents
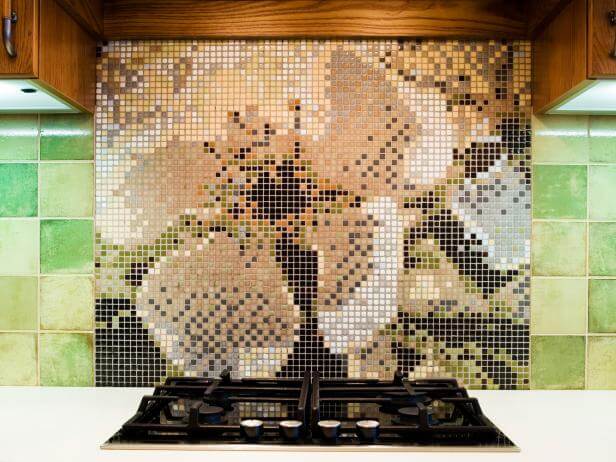
Designing a Ceramic Mosaic Mural
Before placing a hand on tiles, draw up some basic design plans for the mosaic on a piece of paper. Decide the style and subject matter of the mural and draw out the design, paying attention to tile colors, sizes and shapes. Take into account the size of the mosaic, and measure the backsplash area.
Once the basic design has been created, start assembling the following supplies and tools:
- Cement board (enough to cover the backsplash area)
- Tile
- Stud Finder
- Mortar
- Trowel
- Bucket
- Sponges
- Tile Cutters
- Gloves
- Pencil
- Grout (Pick a color that will complement the mosaic color scheme)
- Grout sealer
- Drill
- Long Screws
- Saw
- Wood Quarter Round
- Paint
Laying the Tile for a Kitchen Backsplash
The tile will not be placed directly on the wall. Instead, it will be applied to a cement board that will be screwed into the wall. The cement board must be prepared to fit the wall space before the tile is applied.
Use a saw to cut the cement board to fit the dimensions of the kitchen backsplash. Locate wall studs with a stud finder and mark the cement board where it can be drilled into the studs. After the cement board has been cut and marked, the mural design can be drawn.
Lay the cement board pieces out in the order they will appear on the kitchen wall. Use a pencil to draw the mosaic design on the cement board. This drawing will act as a template as tiles are being placed on the cement board.
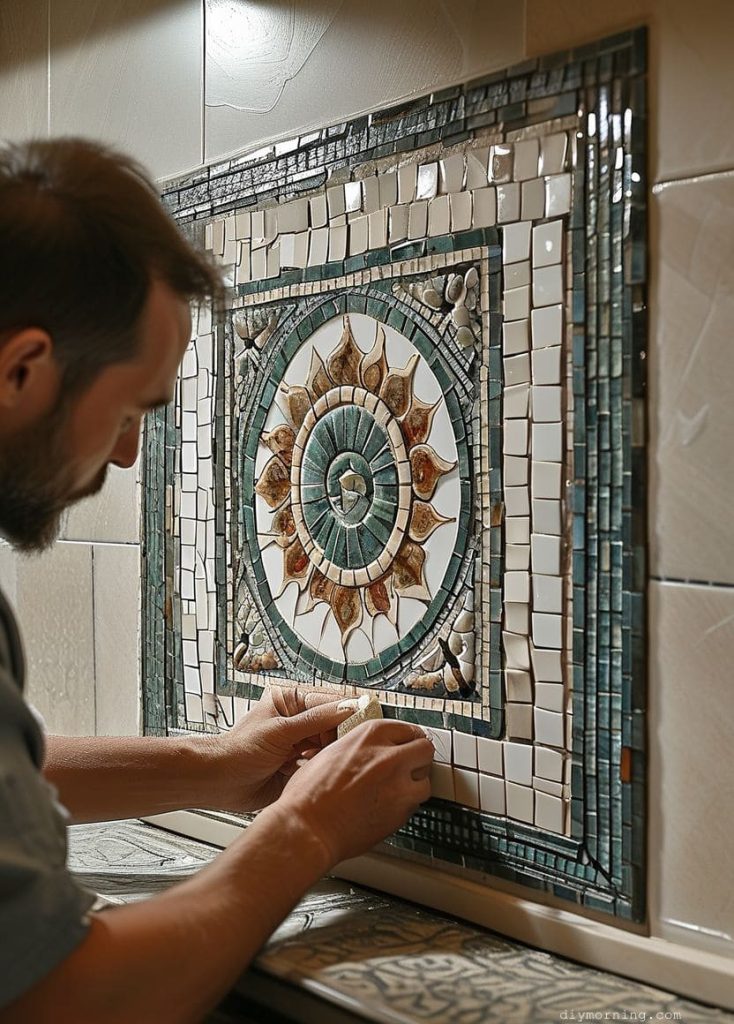
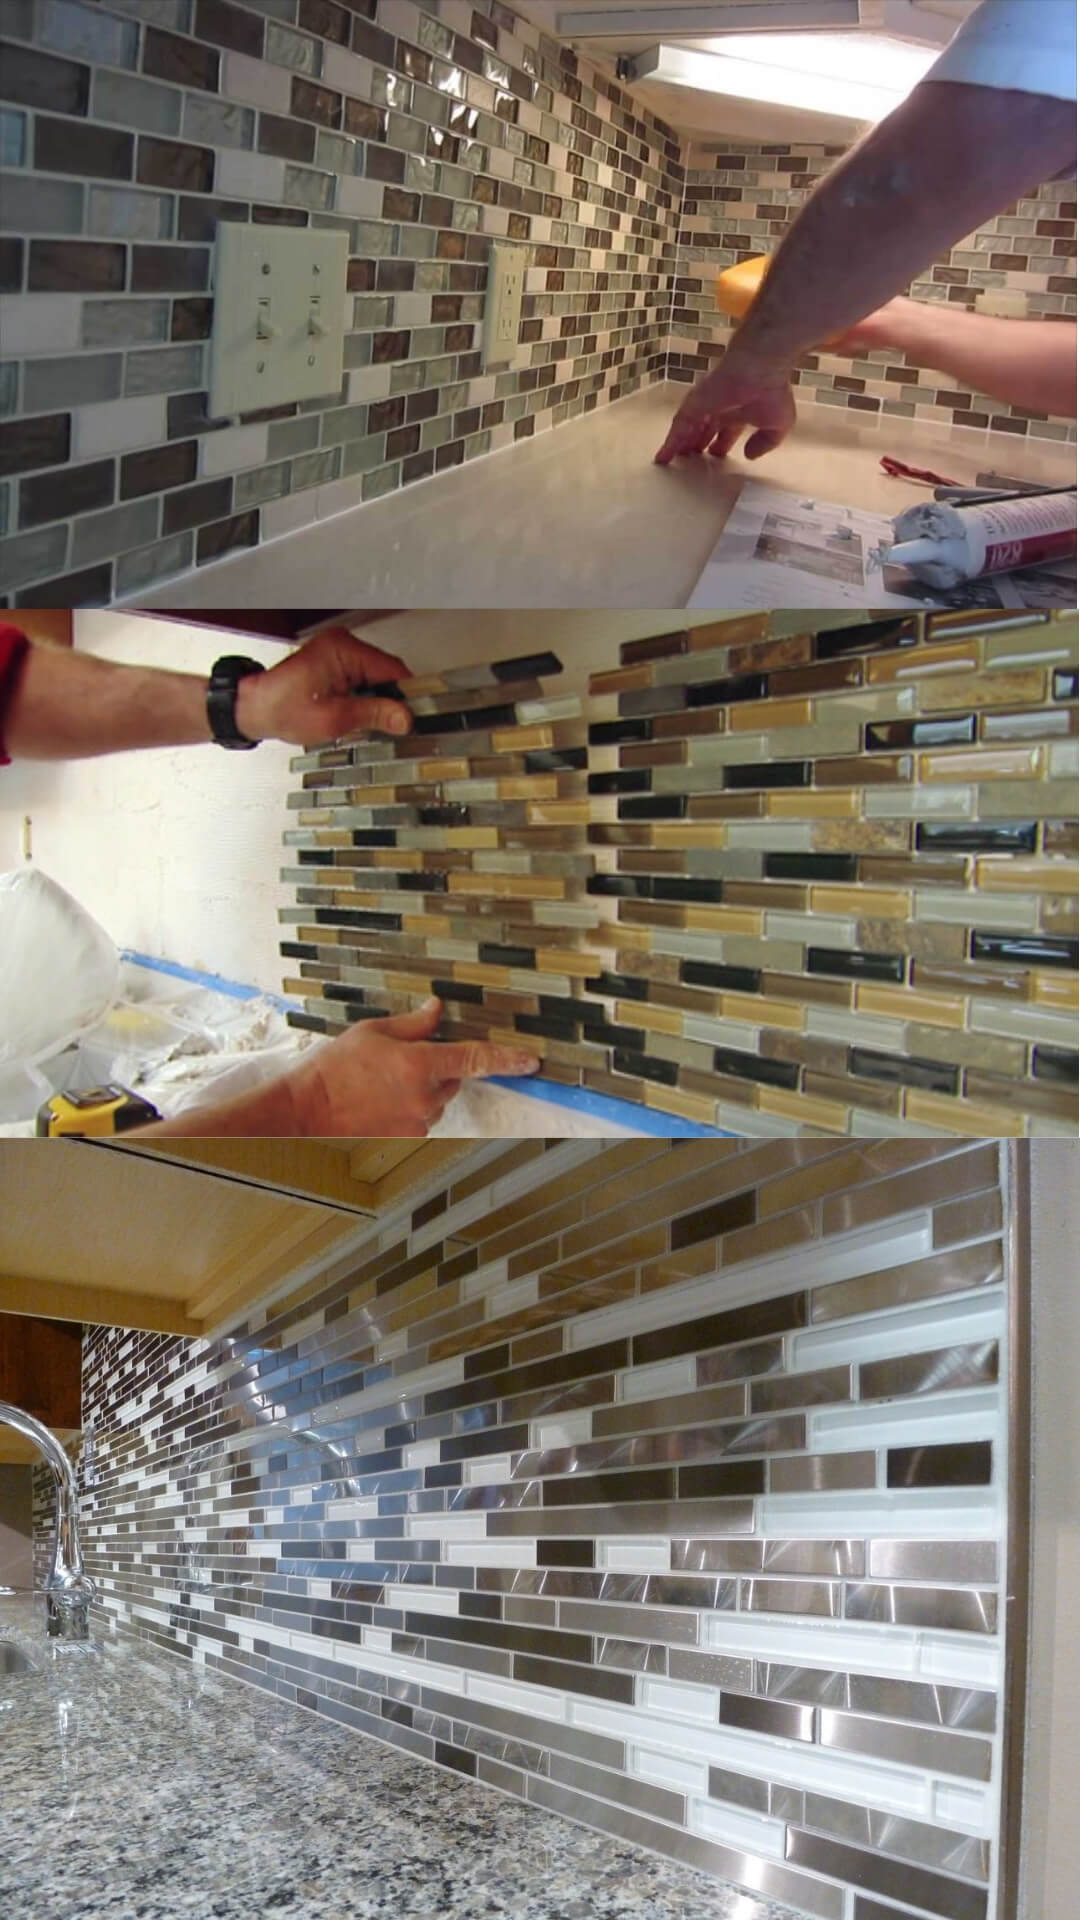
Next use the trowel and mortar to attach the tiles to the cement board. Cut the tiles as needed, if not using handmade ceramic tiles. Also make sure to leave blank spaces where the cement board will later be drilled into the wall. This will allow the board to be attached to the wall after the tiles have been applied.
After the tiles are affixed to the board and the mortar has dried, carefully pick up the cement board and drill it into the wall studs. Once the board is securely attached, tile over the screws and allow those areas to dry.
Finishing the Ceramic Tile Mosaic
Use a trowel and grout to fill in all of the spaces between the tiles. Make sure to avoid air bubbles and uneven areas. Wipe the tiles clean with a slightly moist sponge to remove the grout and prevent cloudiness on the tile surface. Allow the grout to dry.
Once the grout has completely dried, apply a grout sealer. The sealer will help to keep the grout clean and prevent damage. Read the sealer instructions carefully as some will require two or three coats.
To finish the backsplash mosaic, apply some pieces of quarter round molding to the edges of the mural. The quarter round will hide any rough edges and provide a polished look. Paint the quarter round to complement the wall and mosaic colors.
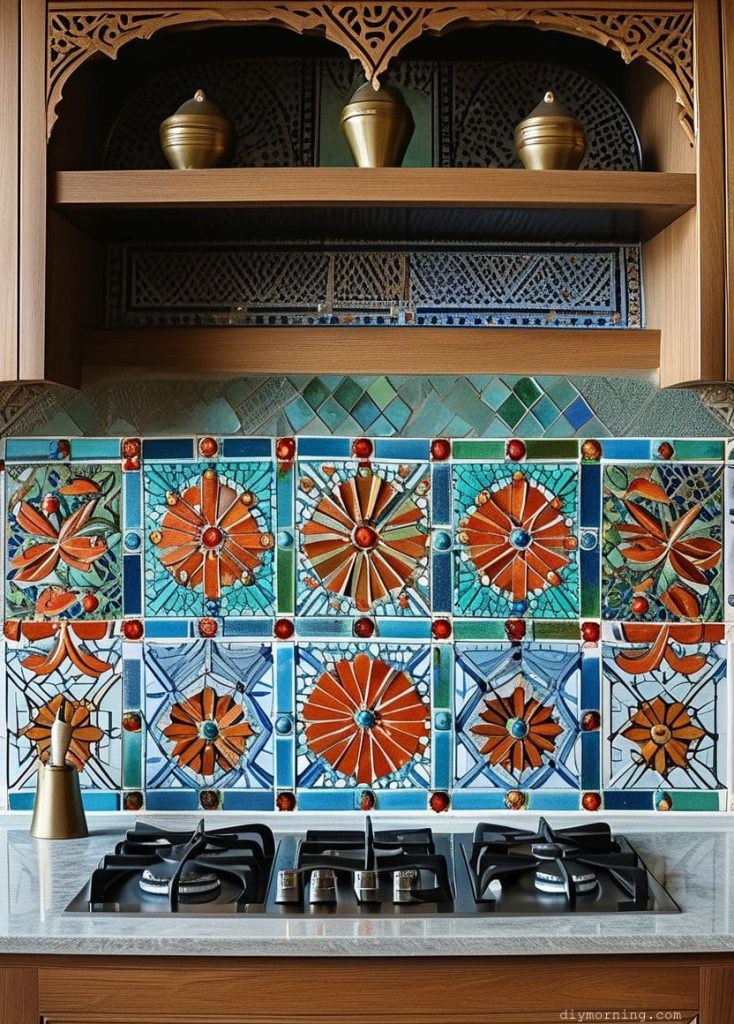
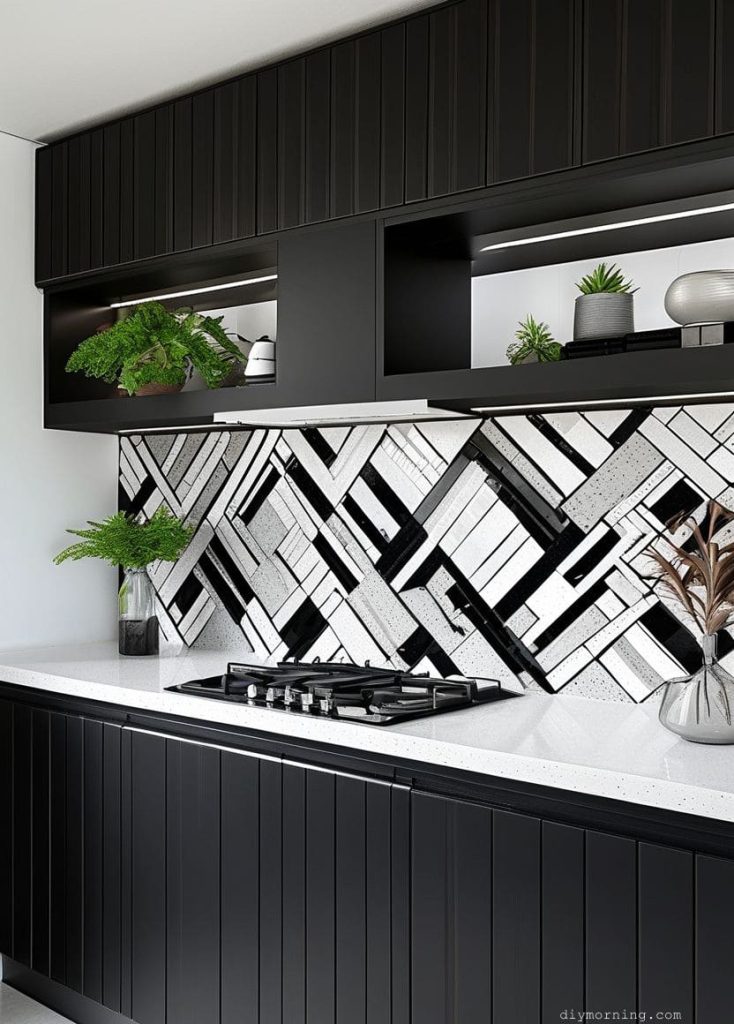
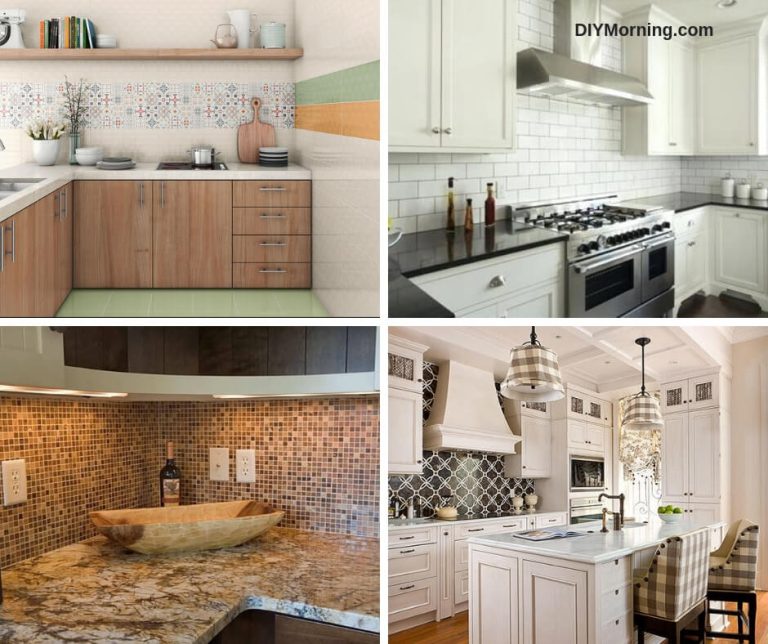
Unique Tile Designs Add to a Kitchen’s Charm
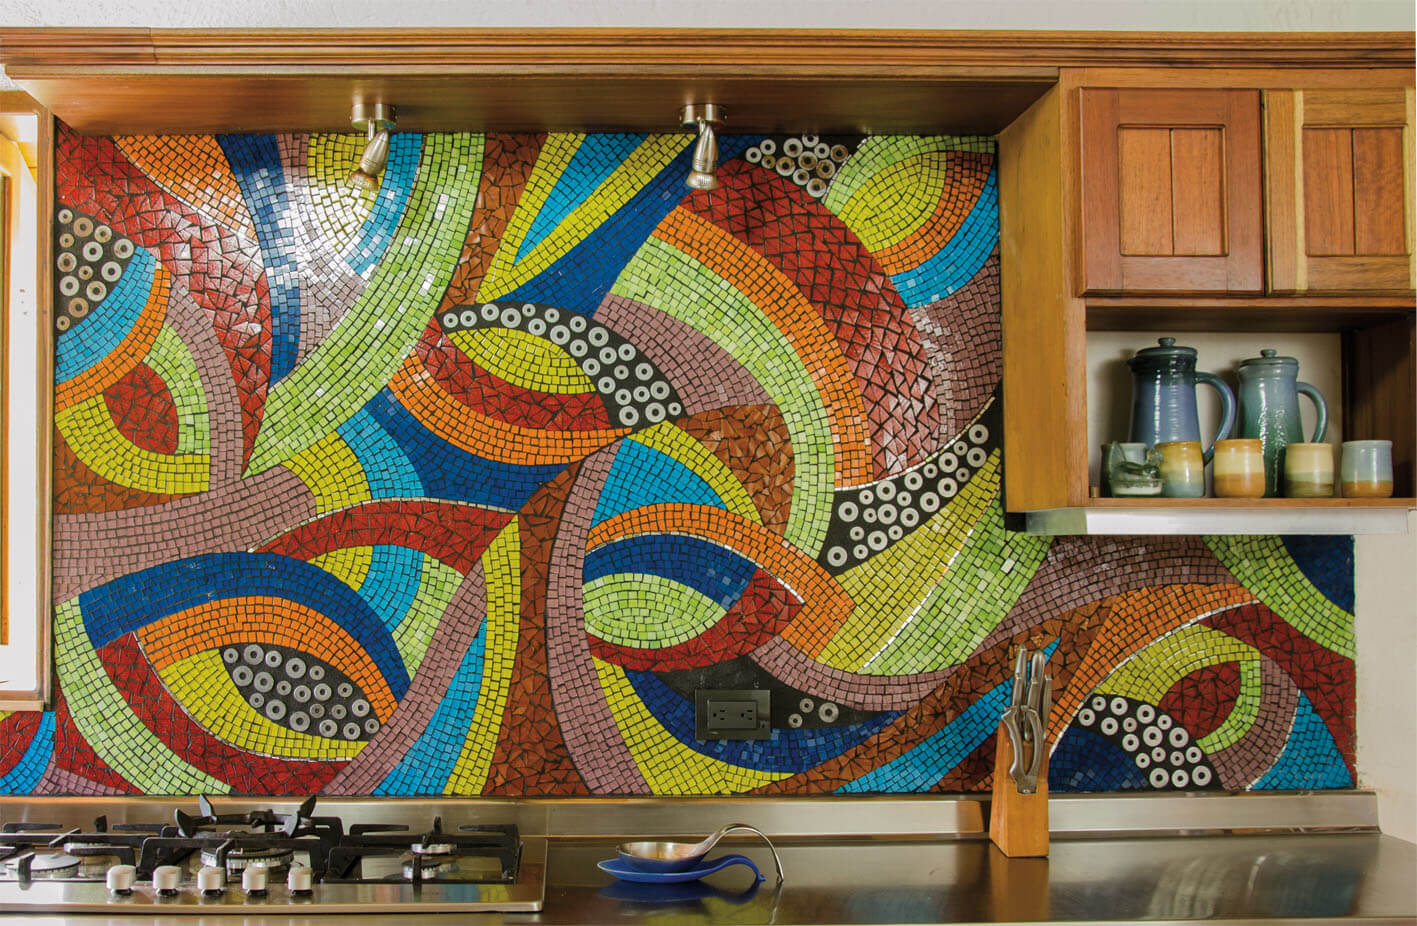
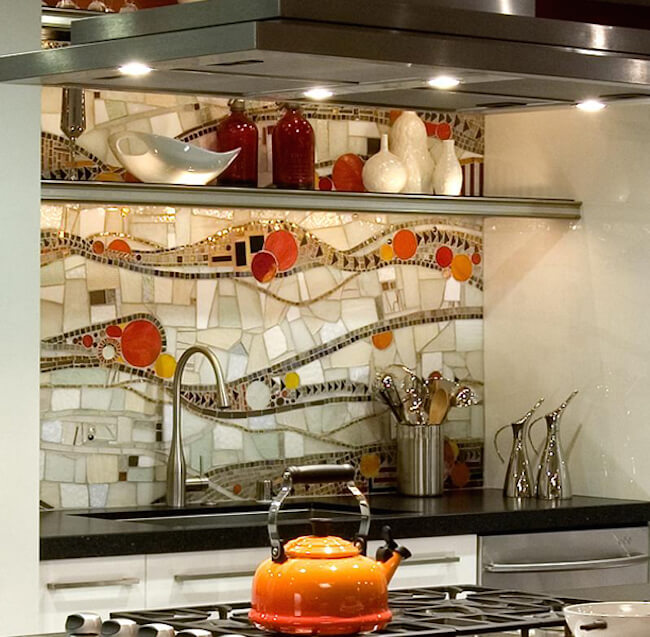
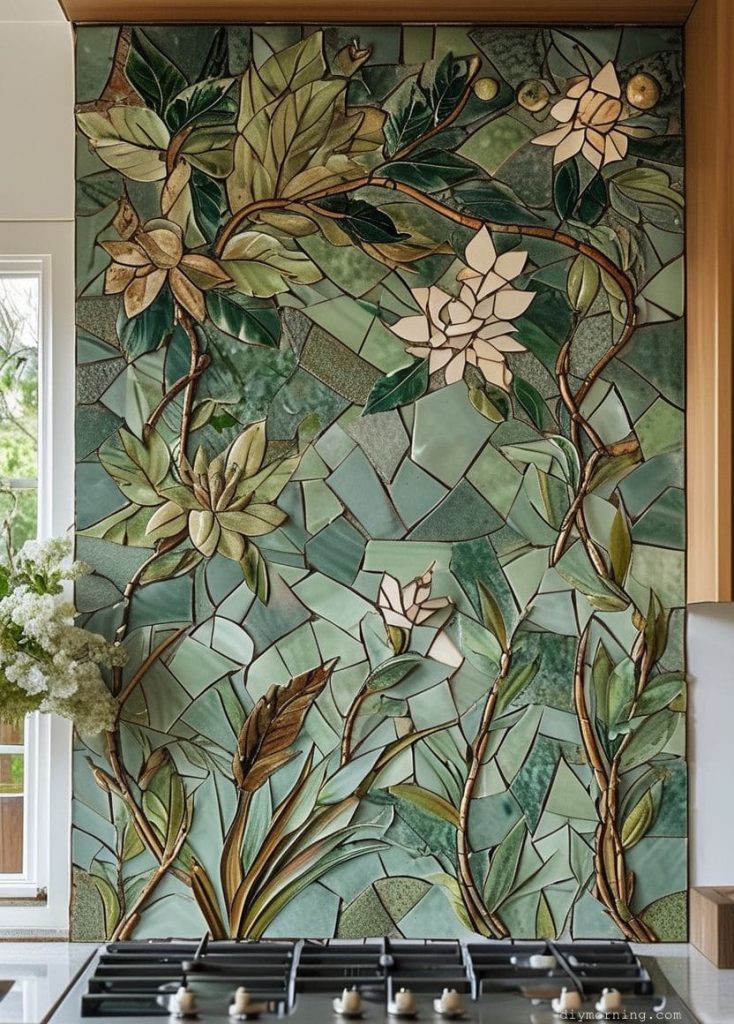
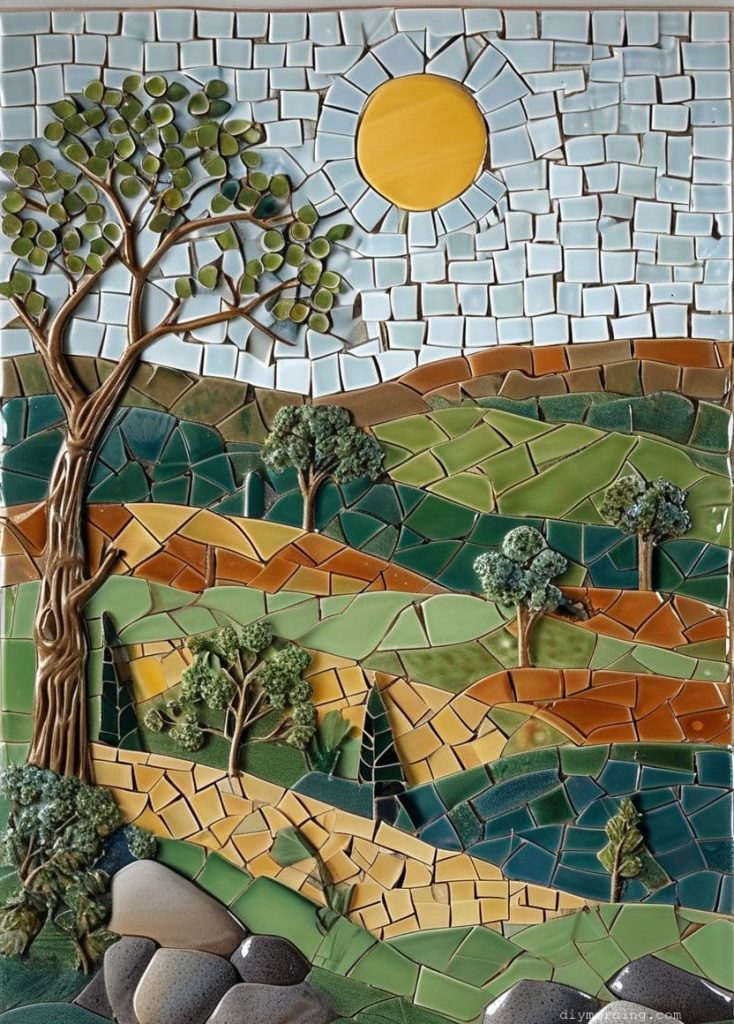
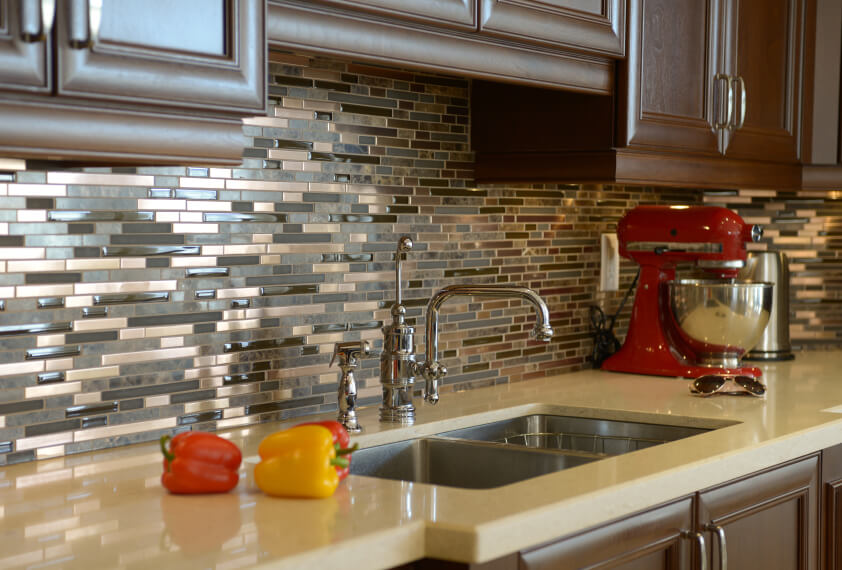
By using tiles to mosaic a backsplash, kitchen design is only limited by the creativity of the home owner. Delicate patterns or vibrant scenes can be portrayed just by using tile, some patience and a some sweat equity. Discover the beauty and usefulness of tile in the kitchen. The results are definitely worth the planning and hard work.
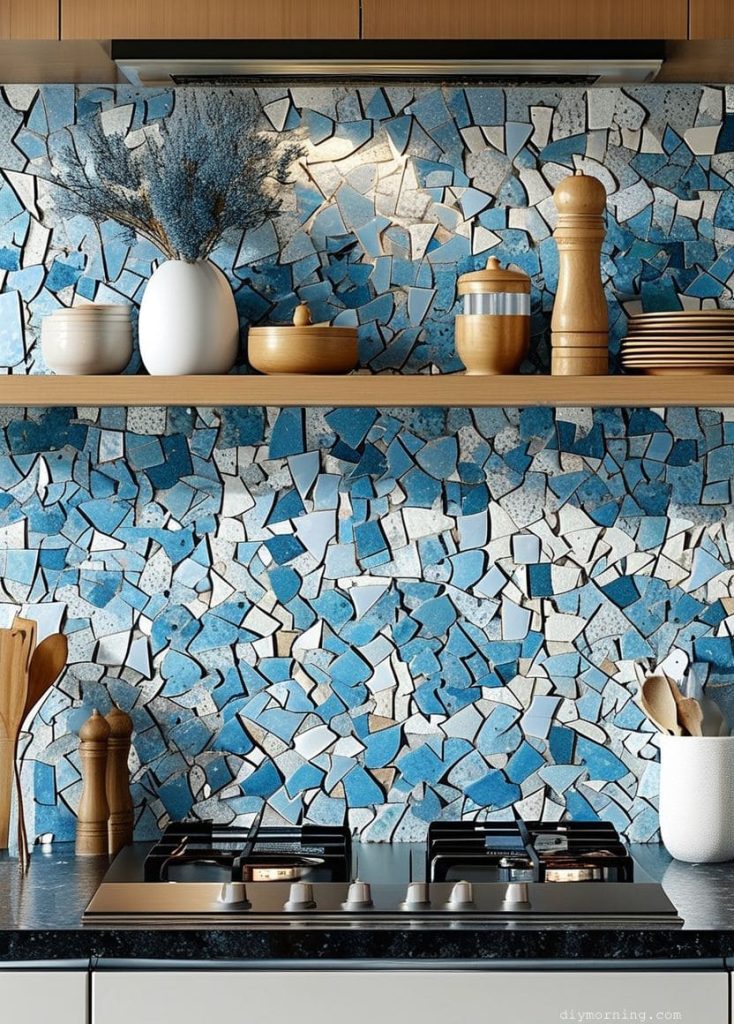
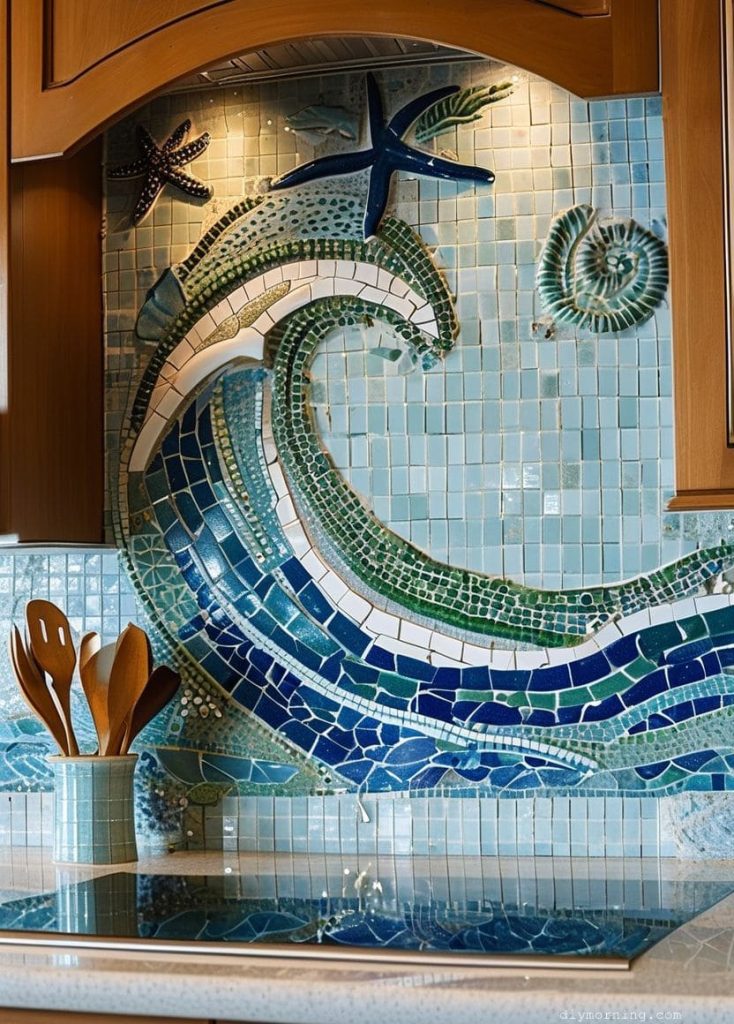
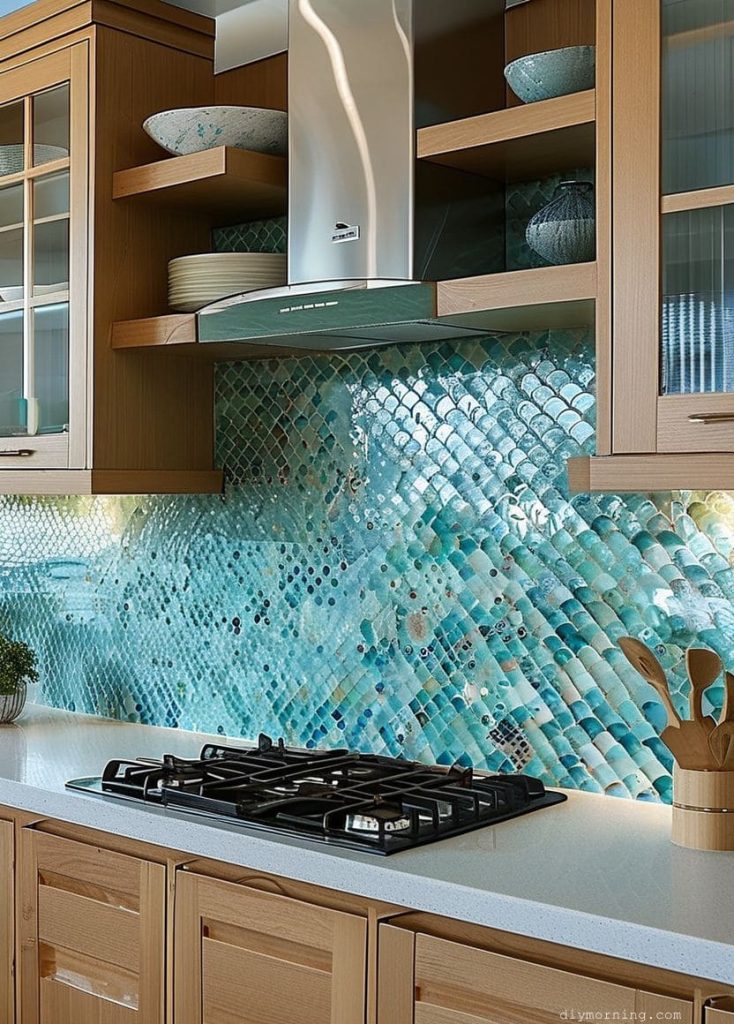
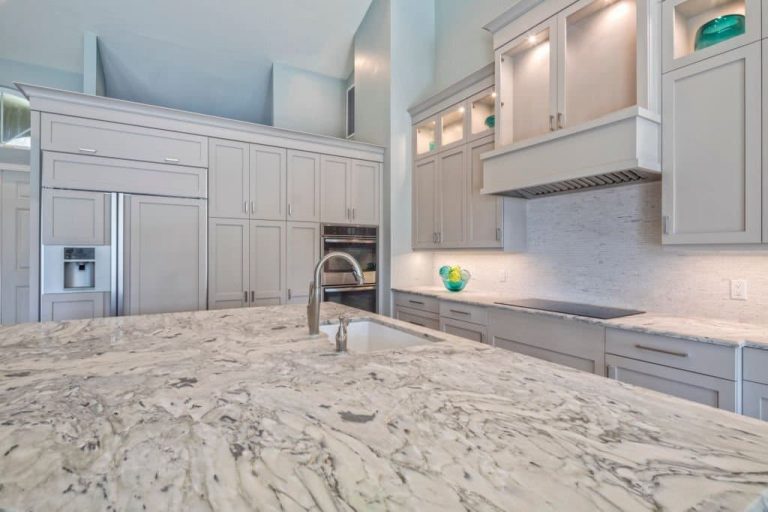
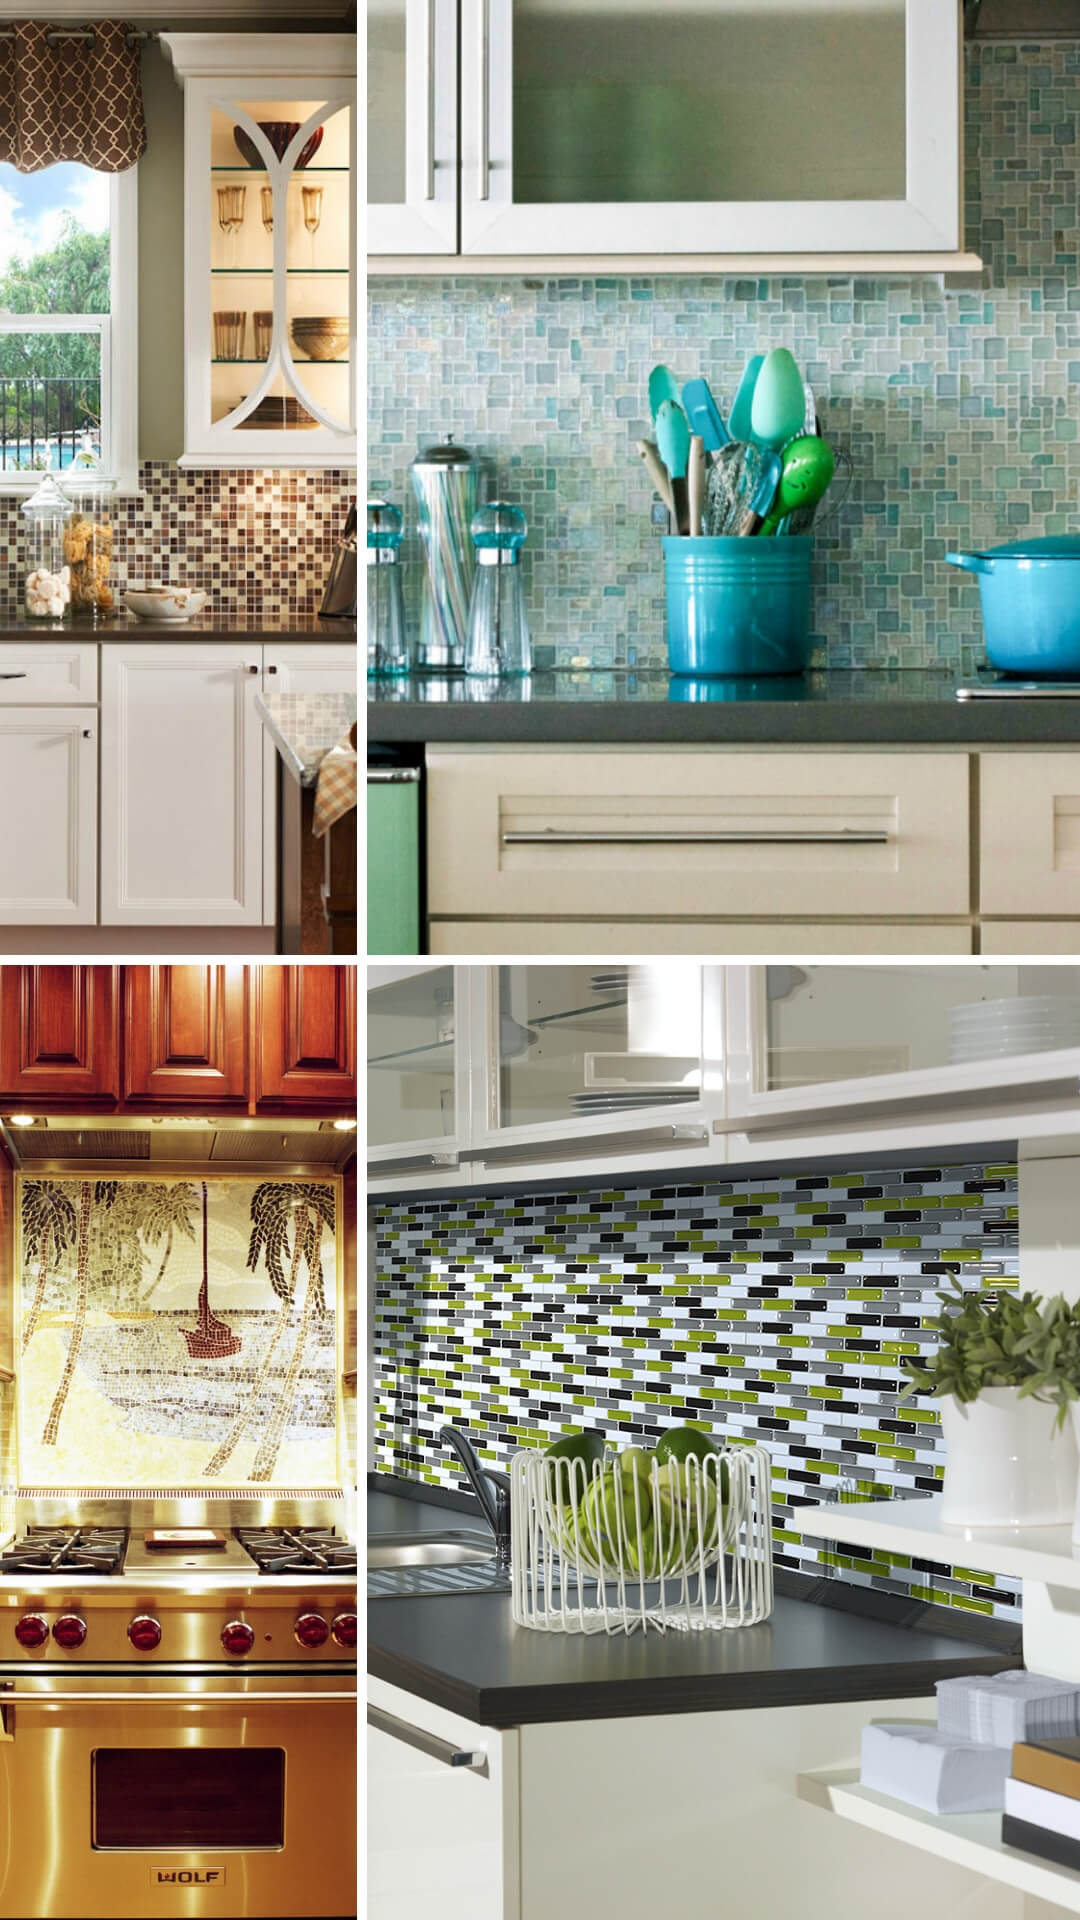
Mosaic Tile Backsplash
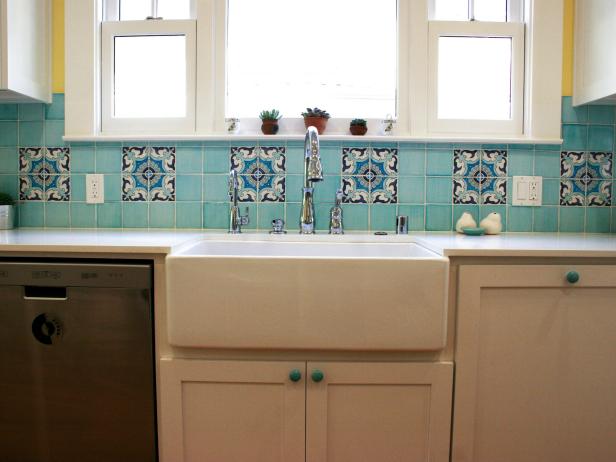
Light blue and turquoise mosaic tile kitchen backsplash
Backplash mosaic with blue overlapping circles