
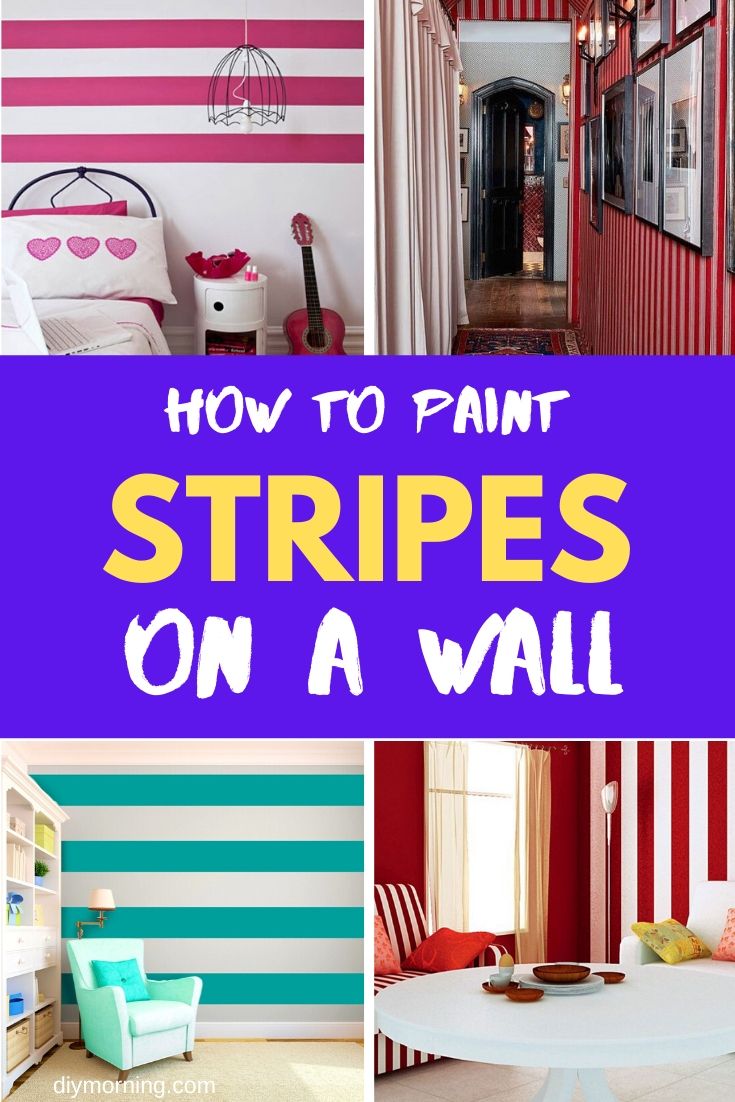
How to Paint Stripes on a Wall
Step by step instructions for striping a wall using simple faux finishing techniques. Painting stripes on a wall makes an incredible statement that adds visual interest.
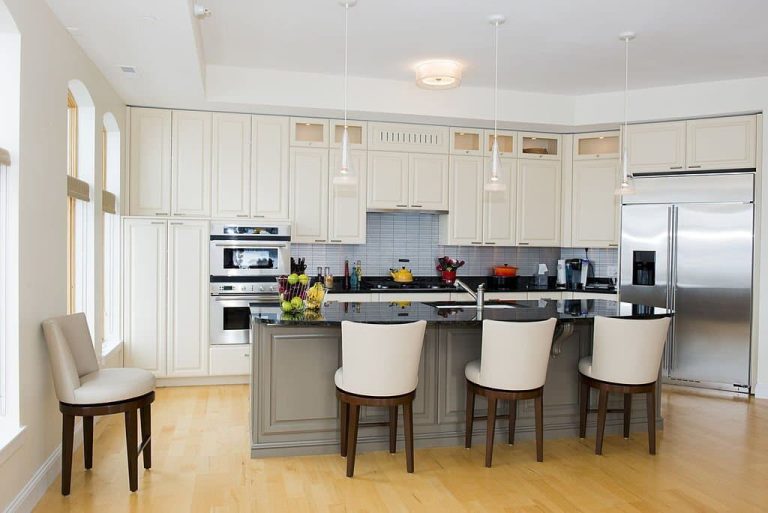
Painting stripes on a wall can add life to a lackluster decorating scheme, it can complement an existing scheme, and it can change the perspective of a room. Learn how to stripe a wall with the following step-by-step instructions.
Table of Contents
Determine the Stripe Pattern
There are limitless ways to stripe a wall, so determining the pattern beforehand is very important as it will guide every step that follows. Remember that the more stripes and the thinner the stripes, the more elbow grease will be required, whereas simple repetitive large stripes are easier. Part of selecting your pattern is selecting the colors that will be used and what level of opacity will be best.
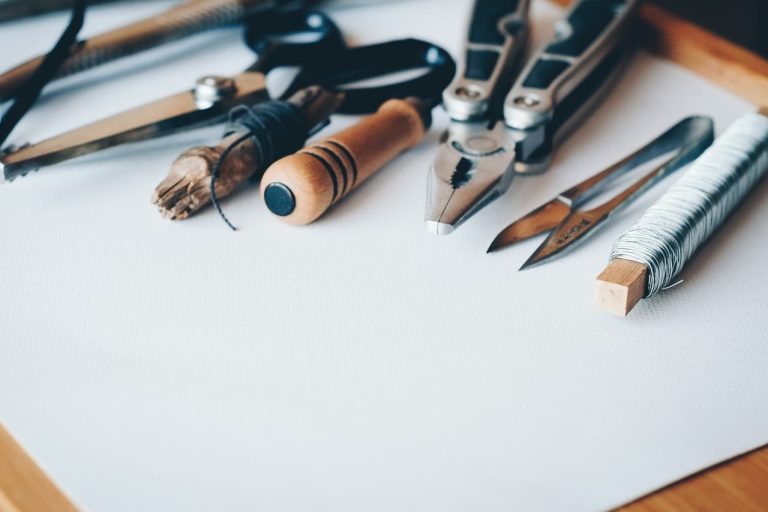
Prep the Room
As with any paint job the room should be properly prepped for painting, with the walls primed if necessary, woodwork and trim taped, and floors and furniture protected.
One easy way to add a stripe color is to paint the entire room one color. If the stripe pattern features two alternating colors of stripes it will be much easier to paint the entire wall the lighter color of the two and then begin the stripe process once the paint has cured.
Begin Taping
Taping for a stripe pattern is the most difficult part and requires the most effort. Make sure levels of several different sizes are available so you can level your stripes as you lay the tape. Uneven stripes are very distracting and can ruin the entire effect.
Use blue painter’s tape so paint doesn’t pull off the wall and the tape can be burnished to the wall so no paint leaks underneath. The more textured a wall is the more difficult it is to get a nice clean stripe. Begin in a corner of an inconspicuous wall. Remember when taping to take the tape width into consideration.
Don’t Over Think
Although taking the tape width into consideration requires a lot of thought the layout of the stripes shouldn’t. Too many people spend too much time measuring the walls and dividing them and this never works as it should in the end, each stripe will probably be off a millimeter or so and as one moves across a wall the discrepancy adds up.
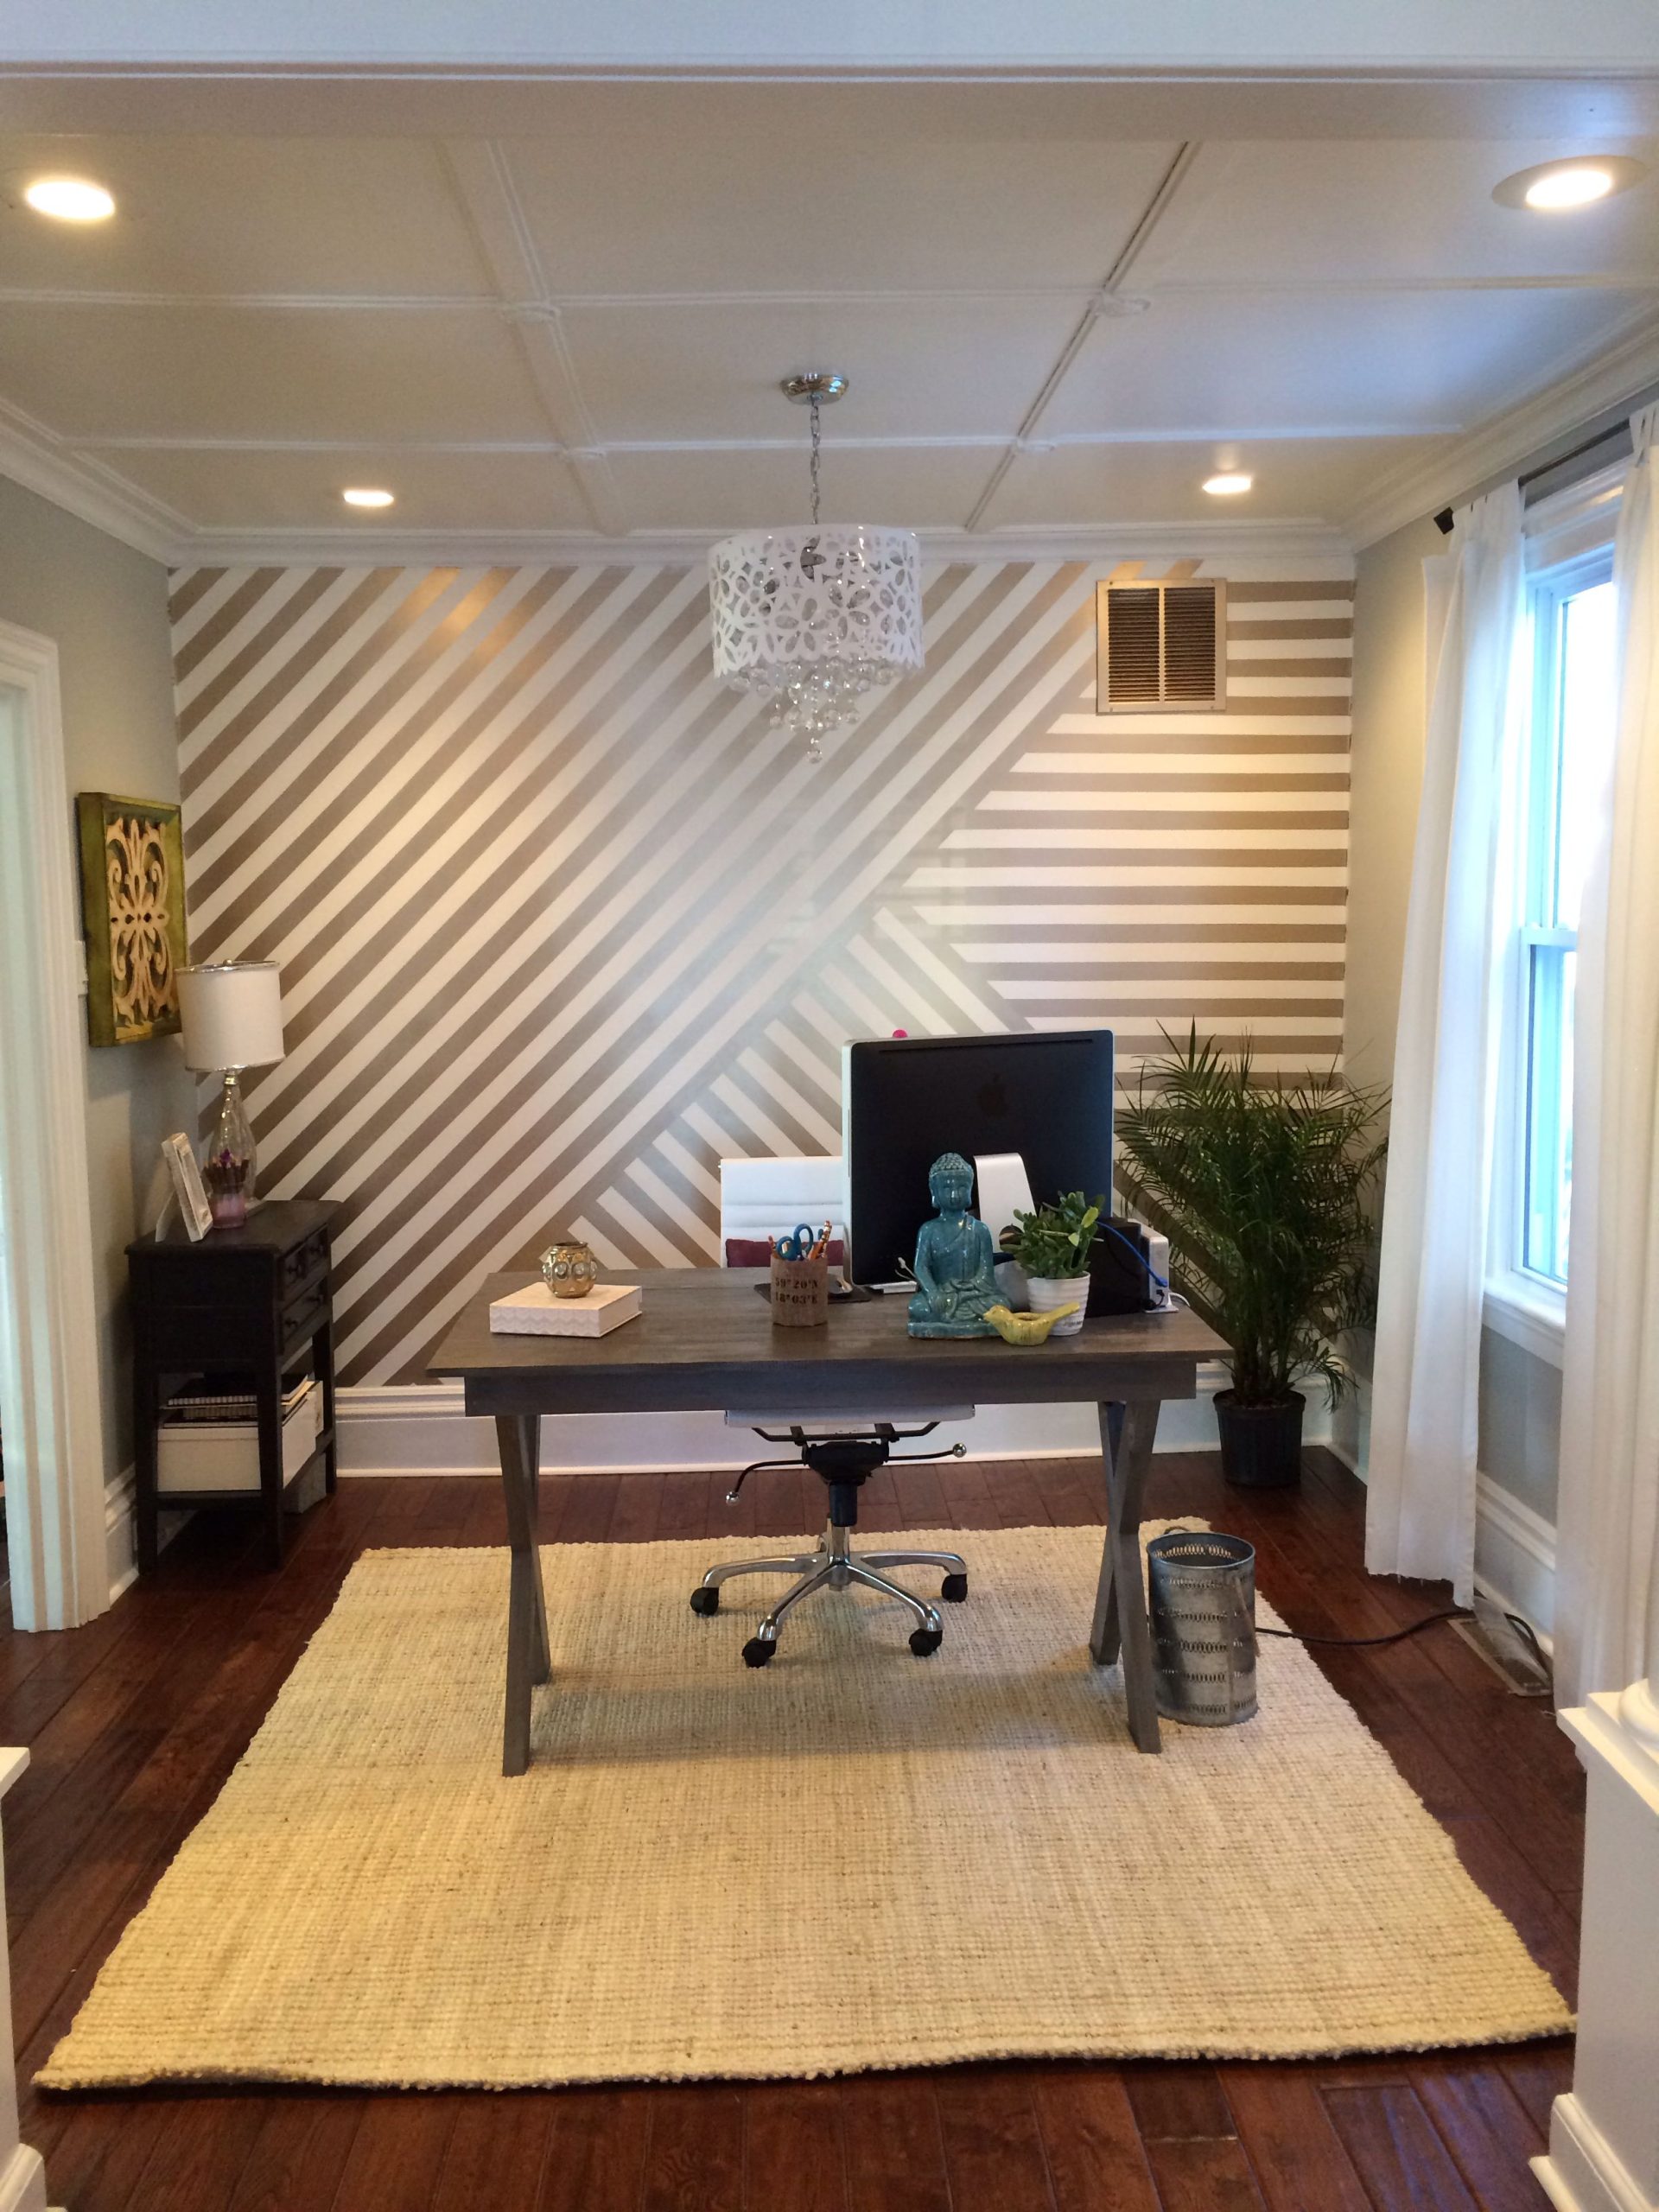
Instead tape the first three walls and half of the fourth before measuring to see if the stripe pattern will end up even. If it won’t then begin adjusting the stripe width by a quarter of an inch as most people will not be able to discern this small adjustment. A great tip is to tape a big X in the stripes that will not be painted.
Begin Painting
Once the taping is done and the blue tape is firmly burnished to the wall its time to begin painting. If only one coat of paint is necessary then take the tape off once one entire wall is done. If several coats are necessary try to do them all in one time, not giving them time to thoroughly cure. All painting professionals peel the tape off before the paint has completely dried whenever necessary as waiting until later can pull paint off with the tape. Use this tip to create a crisp line and professional finish.
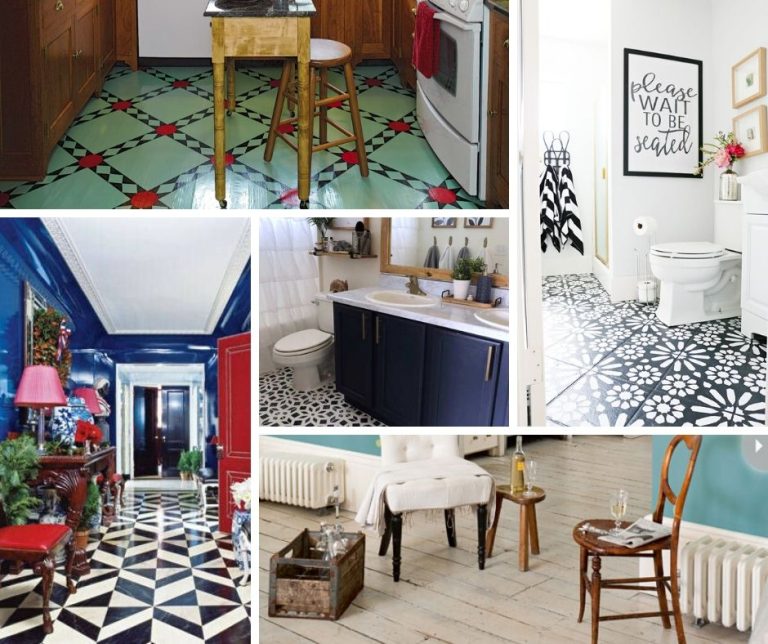
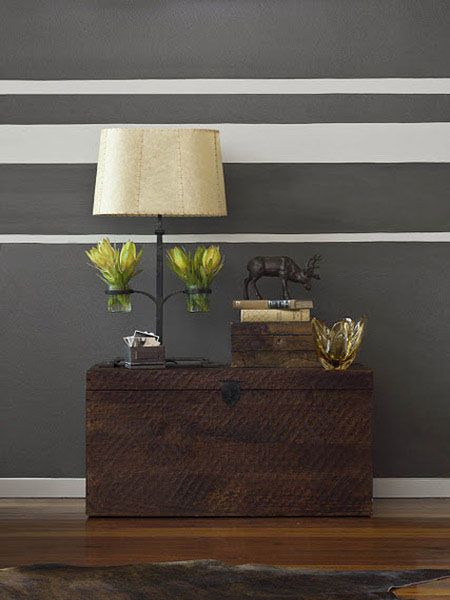
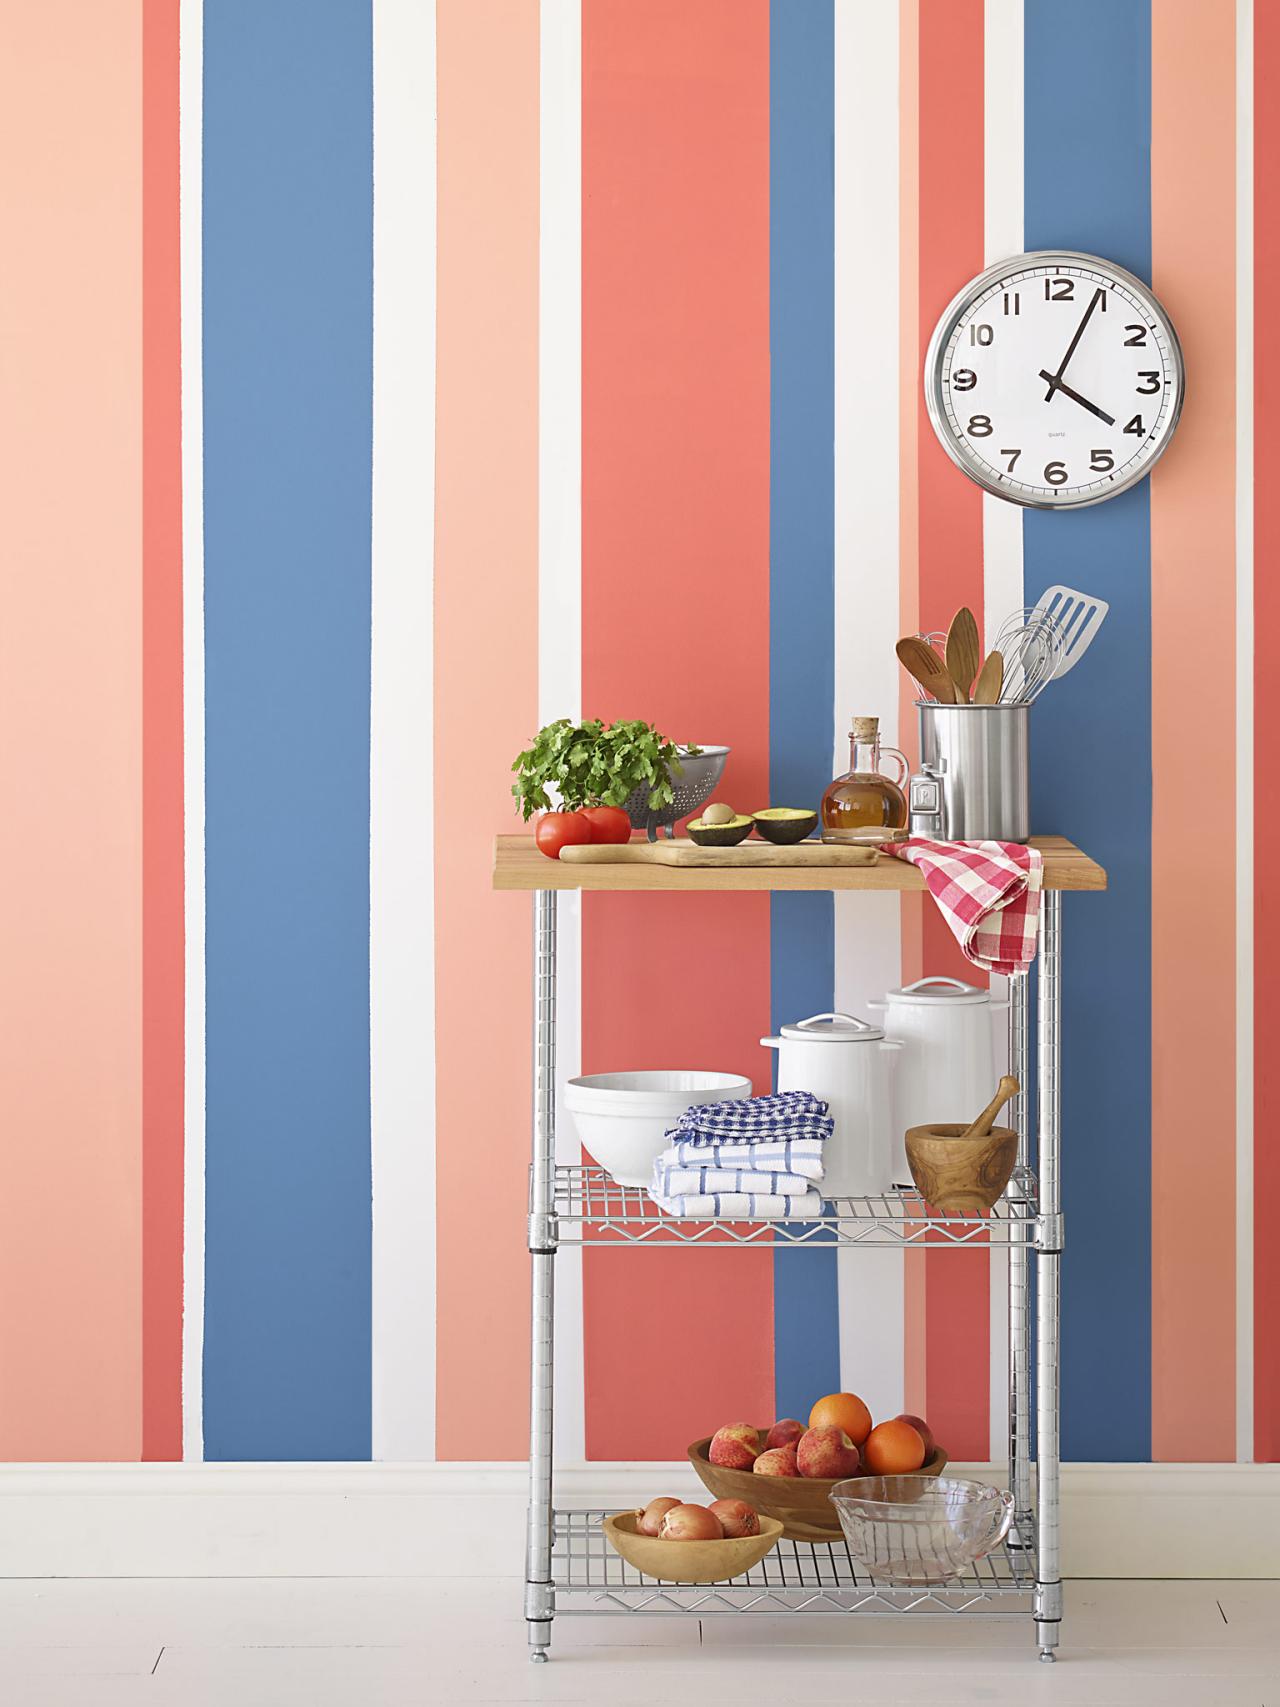
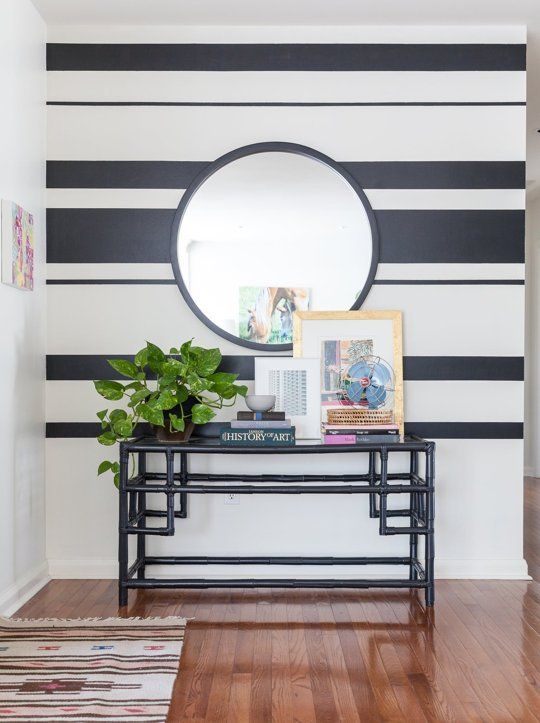
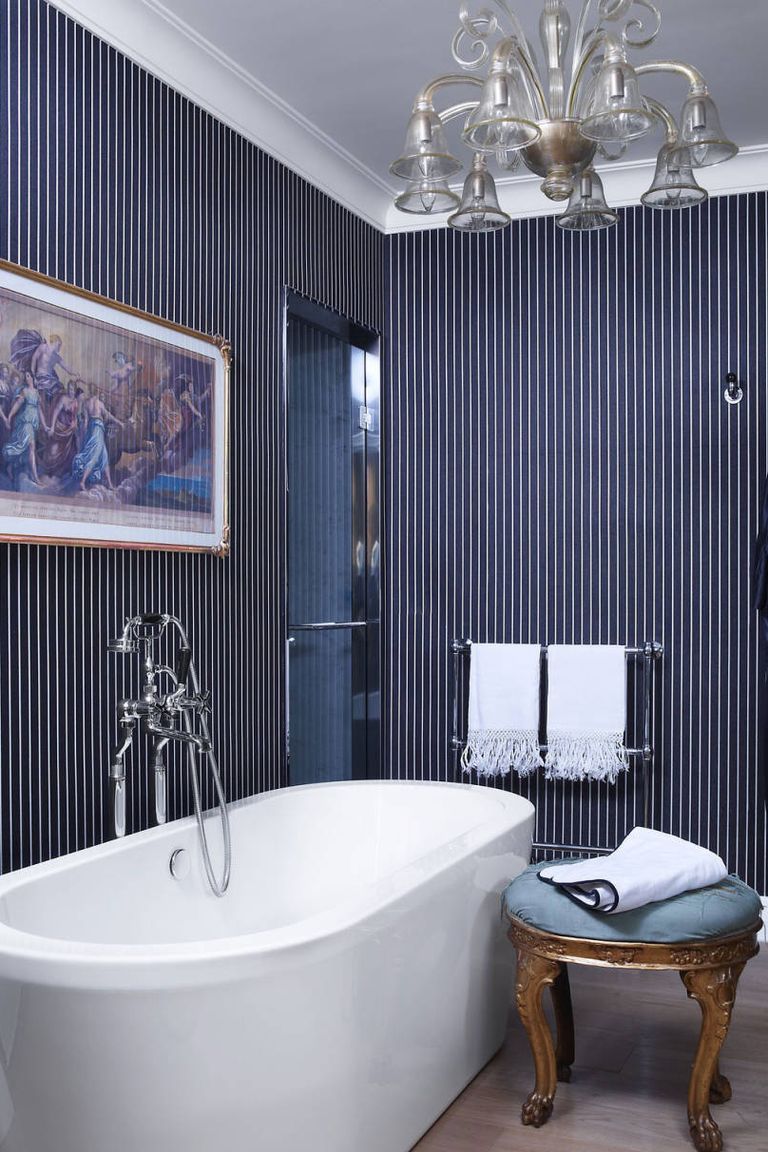
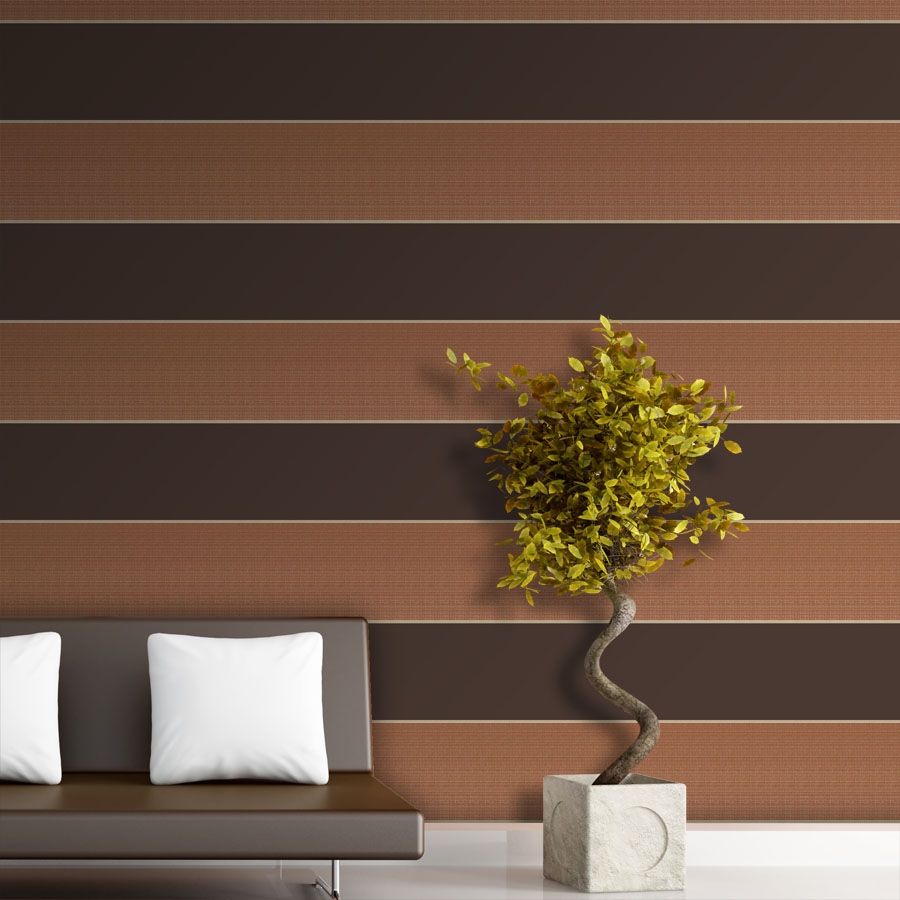
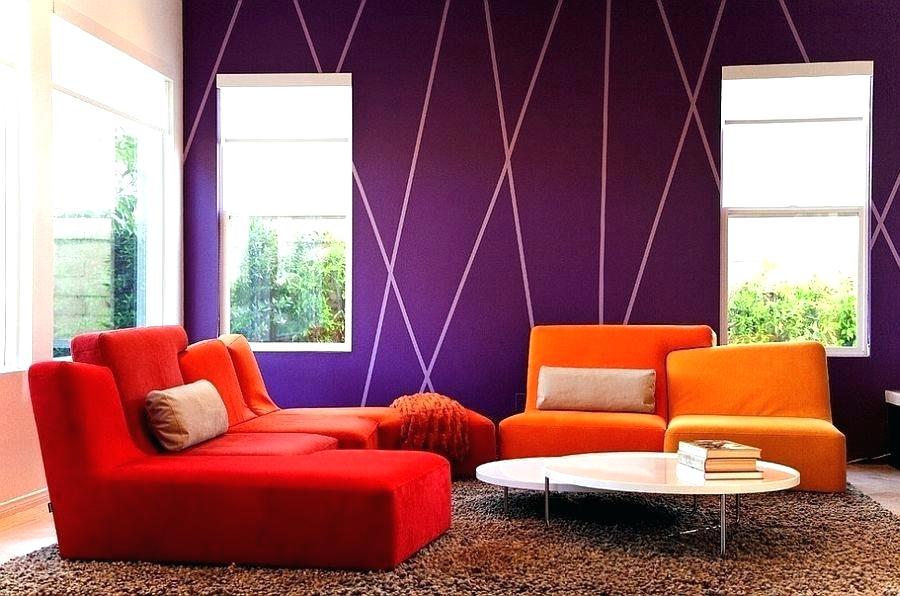
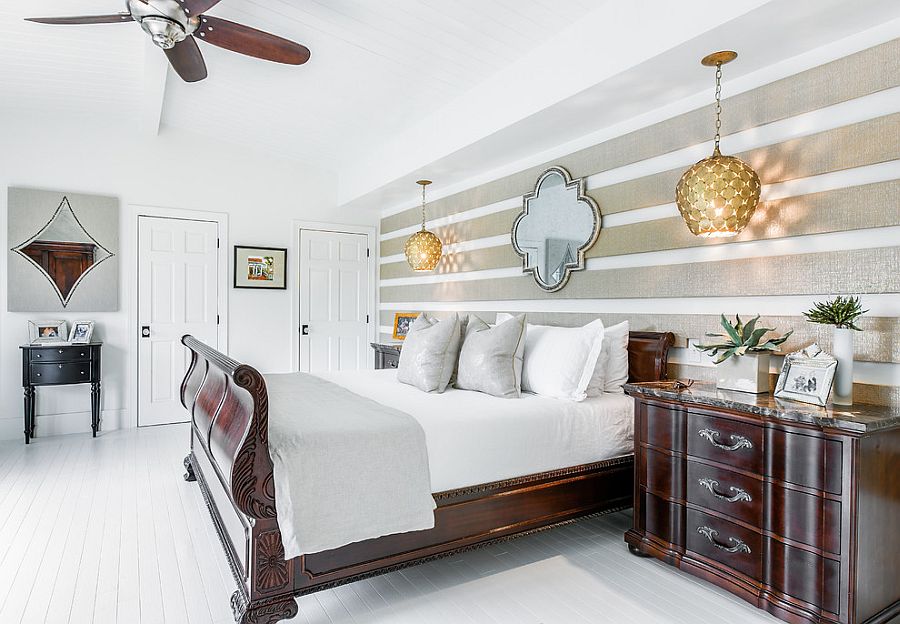
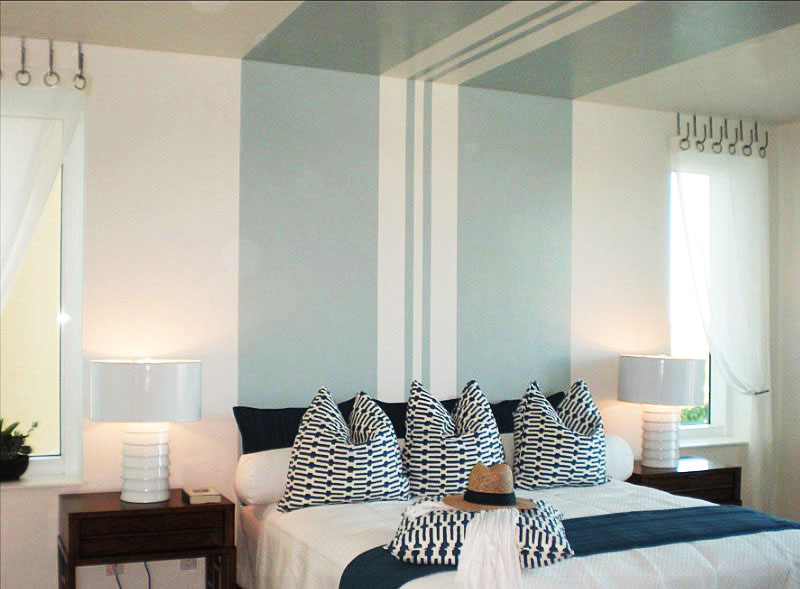
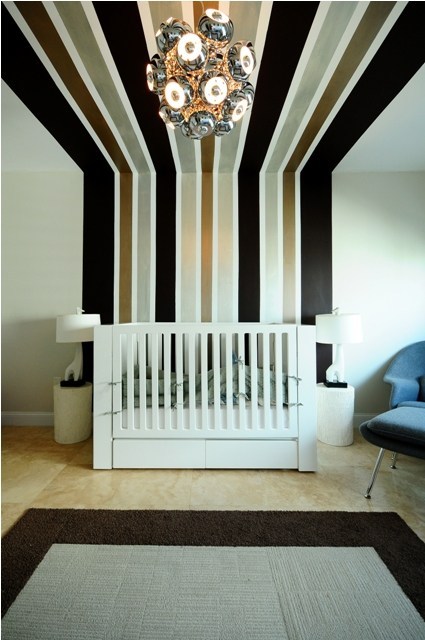
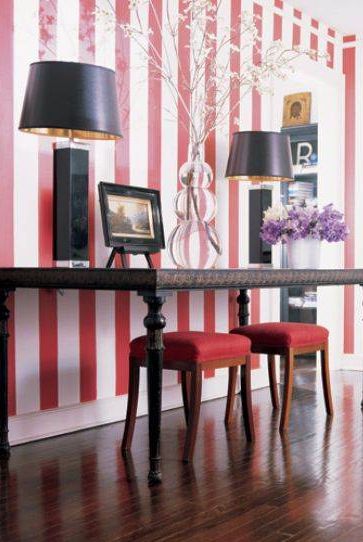
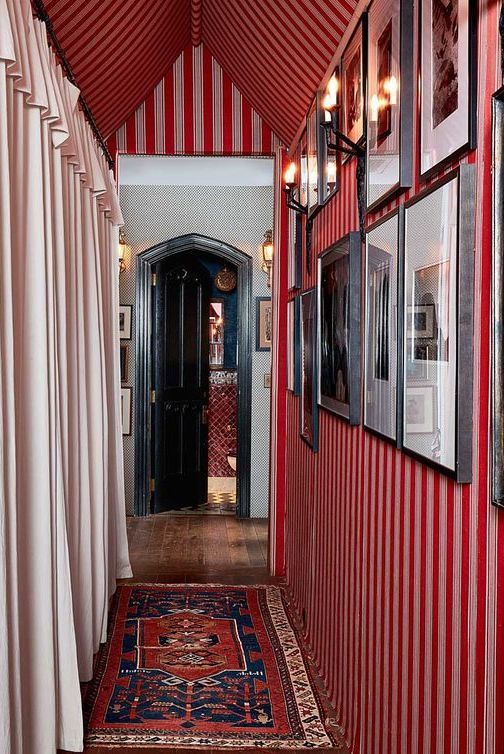
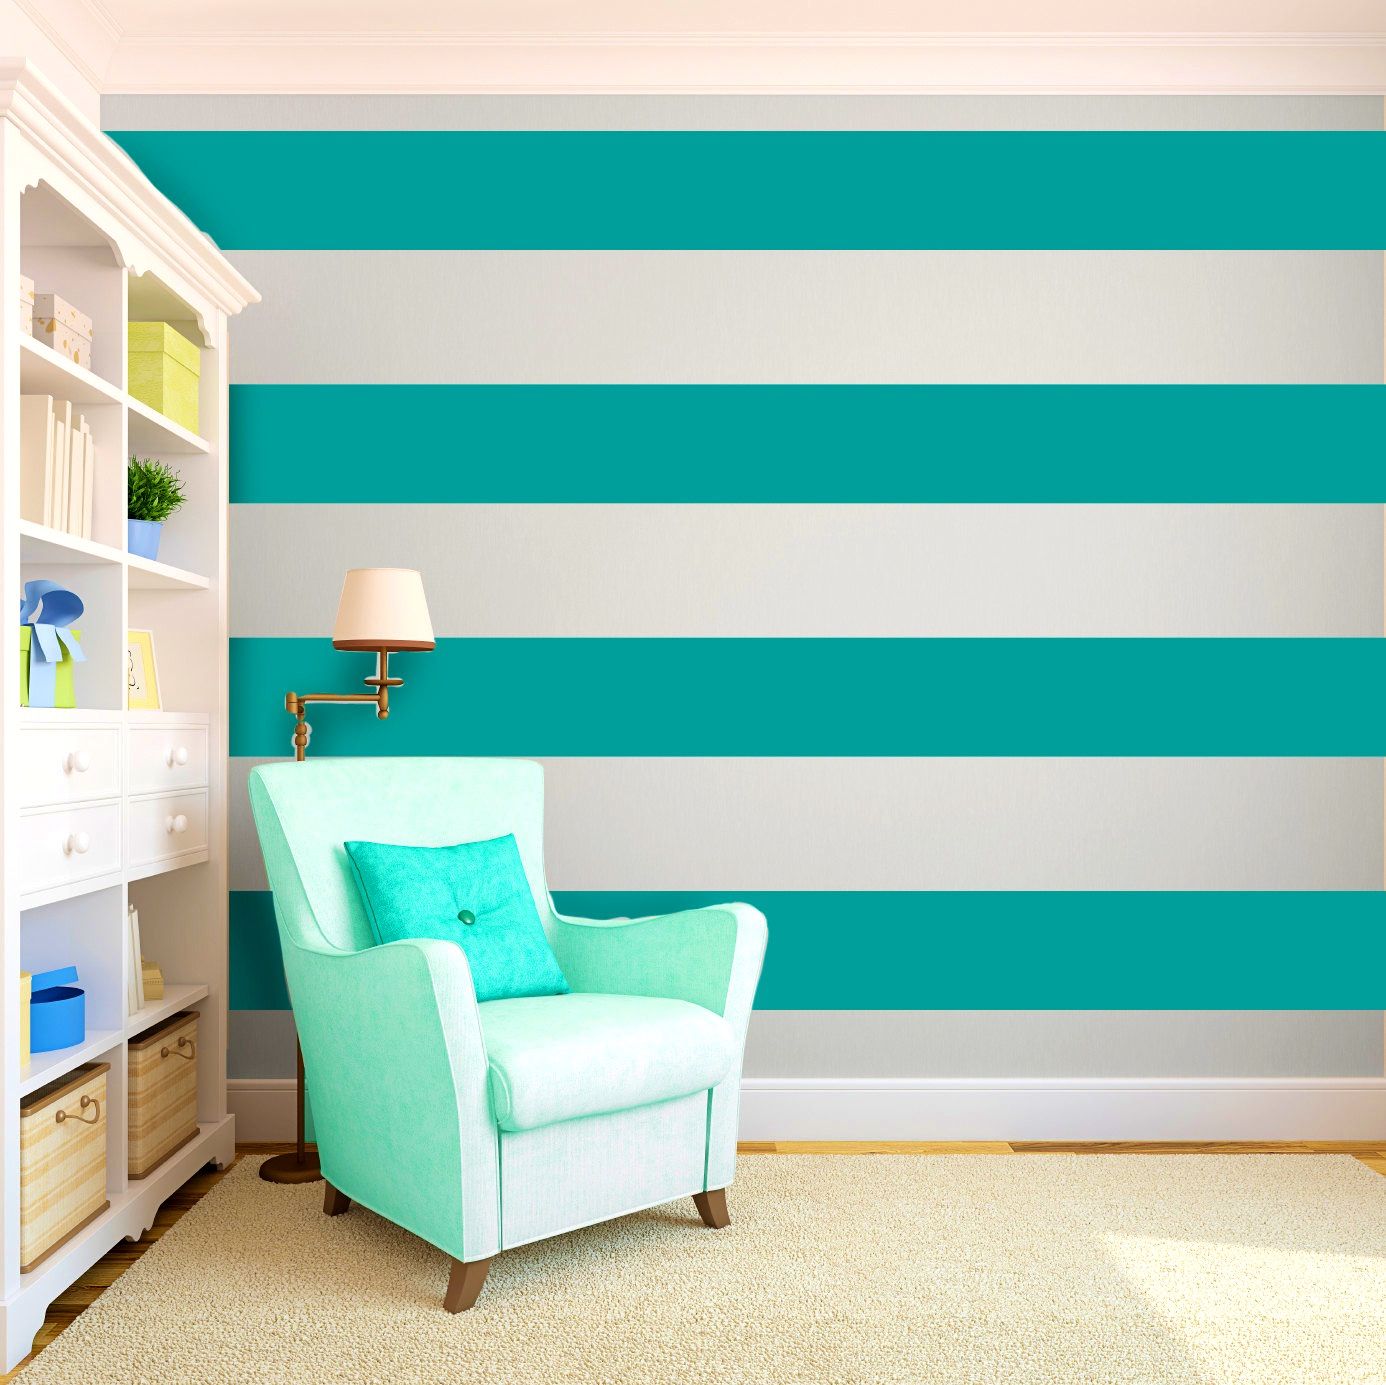
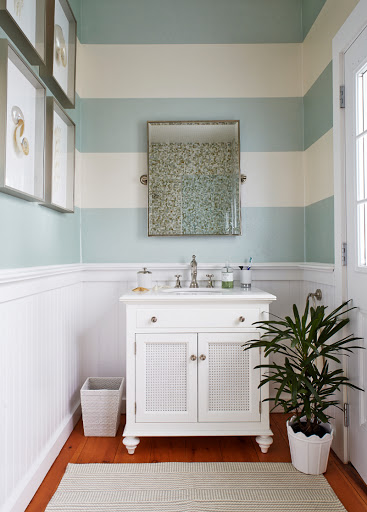
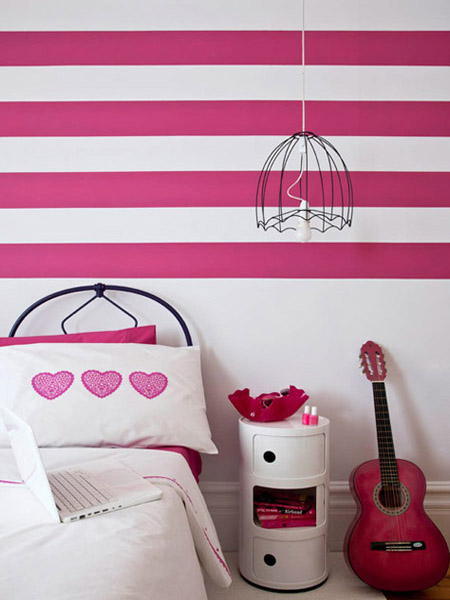
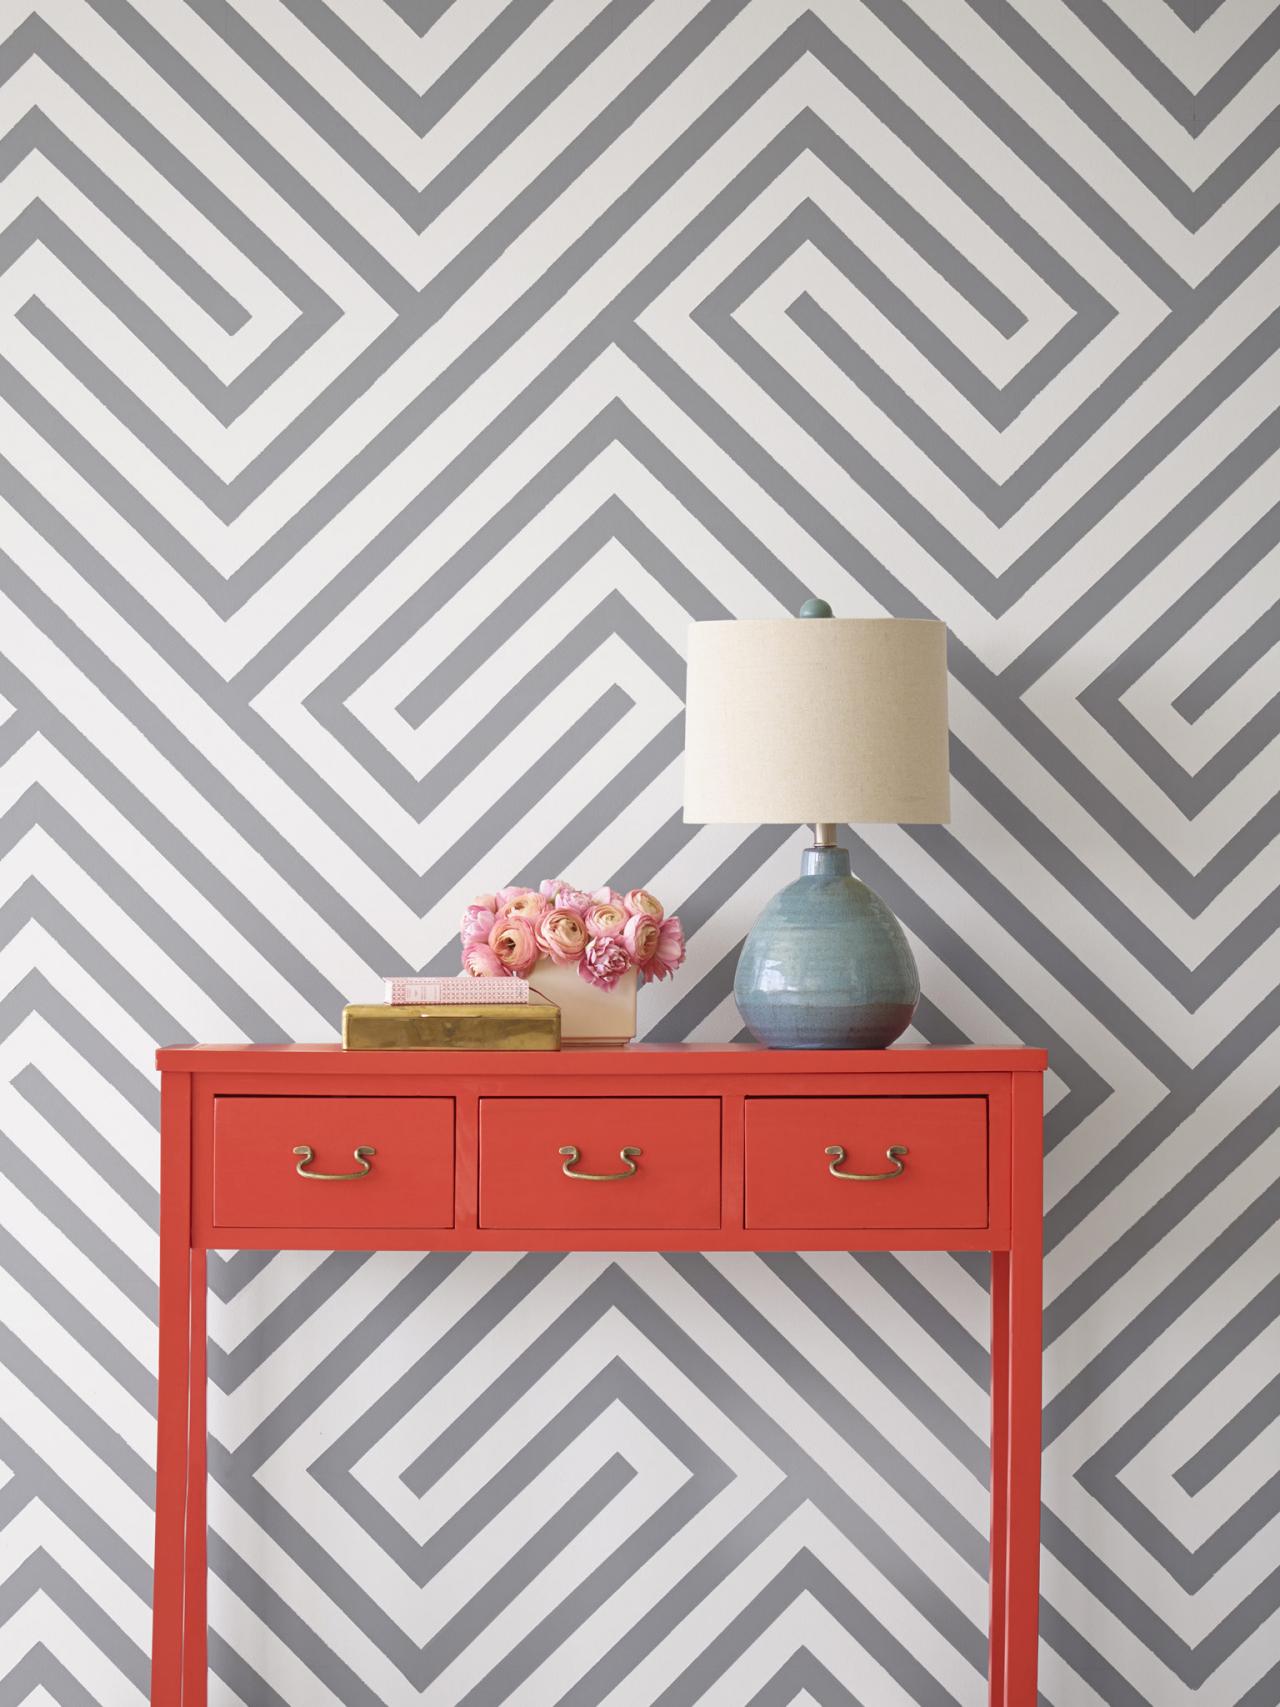
Striped wall ideas


A little touch up may be needed if the paint leaked under the tape, either carefully wipe off the offending tape with a damp rag or wait until it has dried and use an artist’s brush to paint over it.